Category Archives: food waste


tips to organize fridge

Nine Tips To Help You Organize Your Fridge

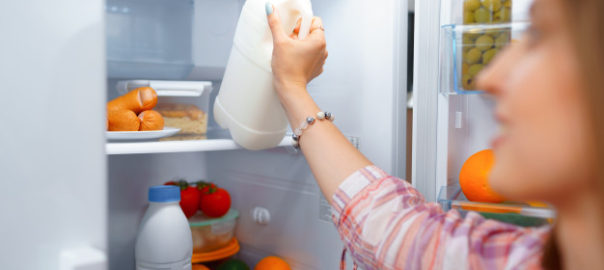
Chances are you don't think too hard about your refrigerator. It's simply a convenient appliance where you can store perishable foods until you're ready to eat them.  However if you want to take the best advantage possible of this wonderful appliance there is an efficient way to store food in it to help things stay fresh just a little longer.

One side benefit of an organized refrigerator is that you’ll always know where things are, or at least where they’re supposed to be.  And chances are if you’re keeping things organized you’re less likely to be growing science experiments in the back corner that eventually need to be thrown out.  So utilizing your fridge effectively can also help reduce food waste.

Here are the best refrigerator efficiency tips so you can get the most out of your fridge:

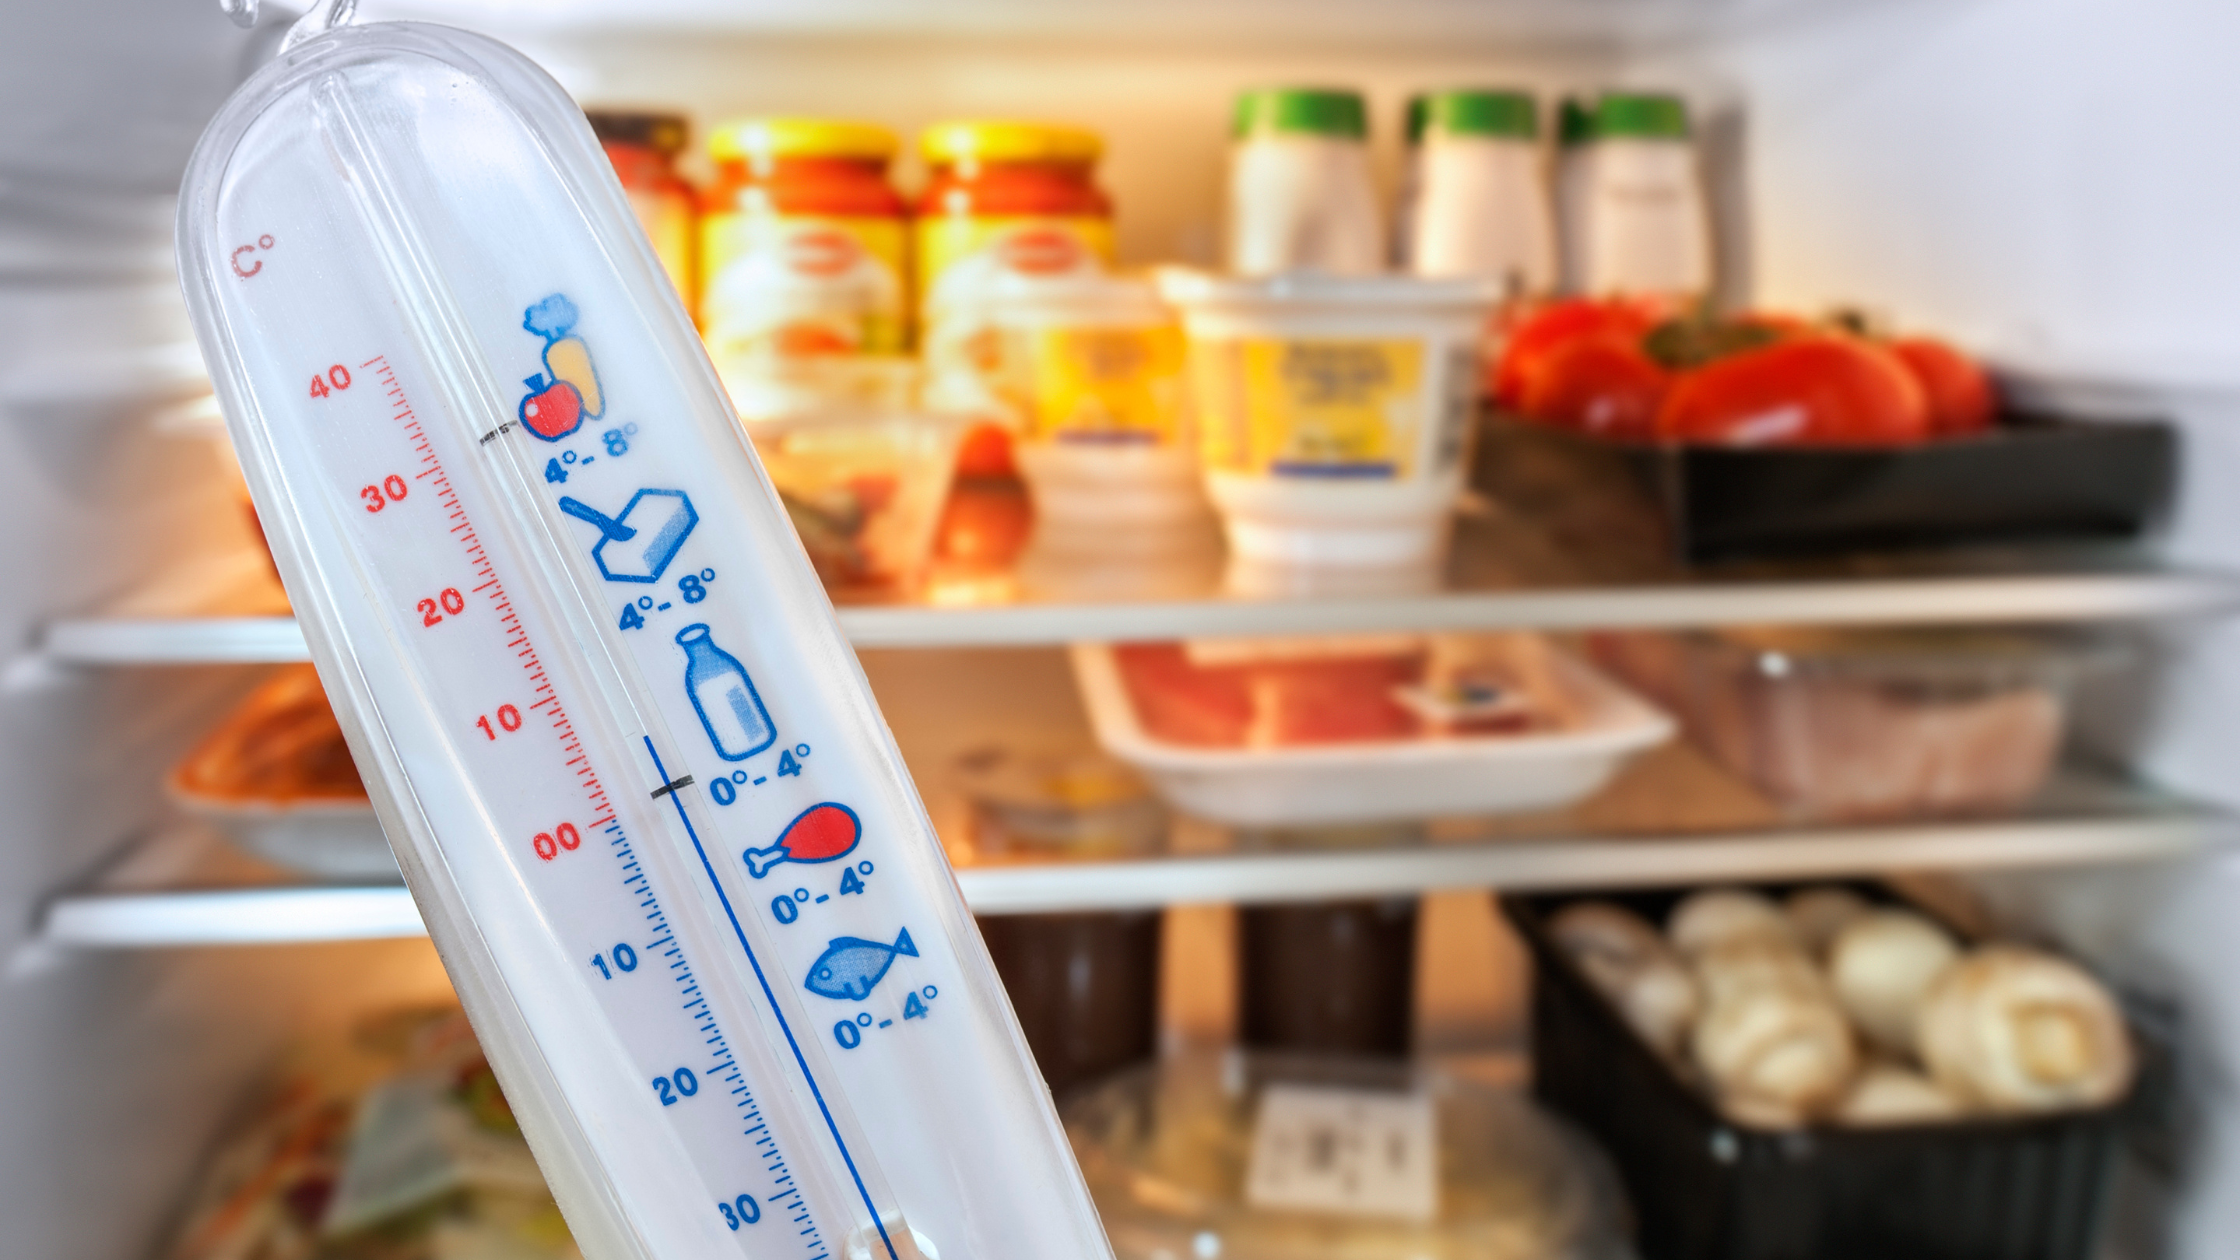
1.One of the best things you can do is purchase a refrigerator thermometer and use it to figure out which shelves in your refrigerator are the coldest. This admittedly does take a while but once you know it will help you be as efficient as possible in storing food in your refrigerator.  I prefer an analog face as I have concerns about digital and how it will eventually function in the cold

2. The coldest part of the fridge tends to be the back of the shelf closest to the freezer. If you have a side-by-side it tends to be that side. This section is where you should be storing things like milk and raw meat to keep them as cold as possible

3. When storing raw meat in the refrigerator it is helpful to put a dish, a tray, a bowl, something below it in case it leaks. The last thing you want is to have to unload your entire refrigerator to sanitize it because you have meat juices on the shelving. This also applies if you use plastic baggies to marinate your meats. You need to have something under the bag in case it leaks. I want to encourage you to shift to glass containers for marinating and food storage instead of plastic.  Not only will is stop the leaks, it's better to not have plastic touching your food.

4. Condiments and items you use regularly should be stored in the door. This way you can access them quickly.  Because the door shelves are narrower you can spot them more quickly as well. It may be tempting to keep other things in the space however if you need the space for condiments and sauces do that first. Then store other items in the door according to highest use.

5. Many people keep things in the refrigerator that don’t belong there. The following things do best if they are stored outside the refrigerator:

  • Hot sauce
  • Worcestershire sauce
  • tomatoes
  • onions
  • potatoes
  • cooking oils
  • peanut butter
  • honey
  • coffee
  • garlic
  • avocados (unless they are close to overripe)
  • soy sauce
  • vinegar

The exception to this list, of course, is if the label says ‘refrigerate after opening.’

6. Using small bins in the refrigerator can help you keep certain items together to make them easier to find like jams, pickles or olives.  Bins are also good for things that don’t stack well such as tubes of pesto or oddly shaped things that don’t stand up right

7. In order to prevent the amount of time you have to rummage around in your fridge if possible taller things go in the back smaller things go in the front.  Obviously, this makes a lot of sense, the challenge, however, is when you live with other people who aren't as mindful about how things are stored in the fridge as you are.

8. Vertical space can be a problem in refrigerators. Certain things, like that bottle of wine you’re chilling, can lie on its side. This also applies to tetra-pack containers such as almond milk.  Simply be sure that the container is not overly full and if there is a pour spout that it’s pointing up in order to reduce the potential for drips or leaks.

9. My favorite refrigerator containers are clear glass because this allows you to see what’s actually in there. I am also a fan of assembling leftovers into meal portions. Instead of putting all the meat in one container, all the vegetable number one in another container, and all of vegetable number two in another container. Create a meal and put that in the refrigerator for a quick grab and reheat access.  It’s also helpful if you stack all of your leftovers together that way people can see what’s available when they’re hungry instead of having to rummage all over the fridge.

Organizing your refrigerator is not a one-and-done proposition.  It gets used a lot and things can wind up shoved in for expediency rather than efficiency. It's a good idea to set aside a few minutes once or twice a month and re-arrange the fridge for maximum use and visibility.  Chances are because you’ve done this once you’ll know where things ought to go and it shouldn’t take as long to set the fridge to rights.

The Fridge and Freezer Food Storage E-Guide is available for FREE  when you sign up for the Preparedness Pantry Masterclass

Guide To Freezing Food: What You Can And Can’t Put In The Freezer

Did you know that the United States is the global leader in food waste? In fact, nearly 40% of the US food supply is wasted each year. That’s approximately 133 billion pounds and $161 billion worth of food.

According to the US Department of Agriculture (USDA), food spoilage is one of the main reasons why Americans throw out food. So how do we tackle food waste? The USDA suggests improving labeling, food storage, cooking methods, among others. 

To help with the movement against food waste, let’s talk about one of the greatest inventions that can help avoid spoilage– the freezer!

Here’s some food for thought: freezing is one of the oldest and safest methods to preserve food, with no chemical preservatives needed. However, many of us are not sure how to properly freeze food.

Which food is safe to freeze? How long can you freeze food? Is it okay to refreeze thawed meat?

Print and stick these guidelines on your fridge door for every family member’s reference: 

Food you can freeze


Truthfully, You can freeze almost any food, except for canned food or eggs in shells . Canned foods may be frozen once the food is out of the can. 

  • Baked goods – Be sure to wrap it in parchment paper before you wrap it in plastic or foil. If possible, consider storing in glass containers.
  • Cheese – If it is brick or shredded cheese, such as cheddar, Colby, Monterey Jack
  • Dairy – Be aware that cottage cheese, cream cheese, sour cream, etc. can be a little more liquidy after thawing.
  • Raw eggs – It is not safe to freeze raw eggs in the shell.  Eggs can be frozen either just the yolks beaten together, just the whites beaten together, or yolks and whites beaten together and then put in the freezer. Frozen whites will not loft after thawing. Be sure to label your package with the number of eggs. These are best for omelets, quiche, or baking.
  • Guacamole – Be prepared to eat it all when you thaw it because it turns brown pretty quickly (i.e., freeze in small containers).
  • Herbs (fresh) – Wash and dry thoroughly before freezing. You can also mince and put into an ice cube tray with some oil to make herbed oils for cooking or roll into butter and freeze this compound butter for cooking.
  • Honey – Theoretically, honey lasts a v-e-r-y long time, so there’s no need to do that.
  • Hummus – Fresh hummus is so much better.
  • Jam – Most jams are store-bought and shelf-stable. Otherwise, I’m assuming that you’re making your own and simply don’t want to process it. In that case, make sure there is some expansion room at the top of the container (this is called headspace).
  • Margarine – You can freeze it, but I DON’T recommend eating margarine! 
  • Cow milk – Pour a little out of the container to allow for freezer expansion
  • Nuts – A freezer is a perfect place to store them because they don’t go rancid quickly from all of their natural oils.
  • Orange juice – Although it freezes better (i.e., won’t separate as much) in smaller containers, it needs to be stirred to bring back together after thawing.
  • Salsa – You need to make sure there’s a little space at the top of the jar for the salsa to expand. Thaw fully and stir to combine before eating.
  • Wine – Technically yes, it supposedly does well in ice cube trays. I’ve had mixed success with this. My recommendation is to get a mother of vinegar, a vinegar crock, and use leftover wine for making vinegar instead.

Food you shouldn’t freeze


Some foods don't freeze well, such as mayonnaise, cream sauce, and lettuce. Cooked meat tends to dry out when frozen, so raw meat and poultry will maintain their quality longer in the freezer.

  • Almond milk – It separates, and the texture is pretty gross!
  • Coconut milk – It’s best for baking or including in something else. I don’t like the way it tastes/feels after it’s been frozen
  • Deep-fried food – You’ll lose that nice crisp and make them soggy
  • Cream-based products such as sour cream – The texture will change. Frozen sour cream is best used in cooked dishes
  • Mayonnaise – The texture can be a bit off after it’s frozen. But mayonnaise is so easy to make at home that I suggest having the ingredients on hand rather than freezing it.
  • Soft cheese – Brie and camembert can be technically frozen, but their consistency changes after thawing. Goat cheese seems to freeze okay, but the flavor may change slightly.
  • Cooked pasta – If it’s not al dente, it could become mushy and disintegrate when you reheat it
  • Gravy – As long as it is flour-based. Cream or milk-based gravies will not freeze well
  • Vegetables with high water content – These foods can become soggy and water-logged when thawed.
  • Salad – Does not freeze well

How long can you keep food in the freezer?


According to FoodSafety.gov, “frozen foods stored continuously at 0 °F or below can be kept indefinitely.” Note that the guidelines for freezer storage below are for quality only. 

  • Hotdogs, bacon, sausage – 1-2 months
  • Luncheon meat – 1-2 months
  • Hamburger and other ground meats – 3-4 months
  • Fresh beef, lamb, and pork – 4-12 months
  • Cooked, store-wrapped ham – 1-2 months
  • Fresh whole chicken –  One year
  • Raw eggs – One year
  • Soups and stews – 2-3 months
  • Leftovers, such as cooked meat and poultry – 2-6 months

Food Safety During Power Outage


During a power outage, the refrigerator can keep the food safe for up to 4 hours. It’s safe to discard refrigerated perishable food such as meat, poultry, fish, eggs, and leftovers after 4 hours to avoid food poisoning. 

You may also want to keep a nickel in your freezer to let you know just how much the contents thawed during a power outage. Put a cup of water in the freezer. Once it’s frozen place a nickel on top of it.  If the power goes out the nickel let’s you know if your food stayed frozen. When you look at the cup after a power outage if the nickel is below the surface of the ice (or even, sadly, at the bottom of the cup) that let’s you know your freezer defrosted significantly and the items in it thawed and then refroze. They are most likely no longer safe to eat and should be thrown out. ⁠

Easy & healthy freezer meal recipes


If you’re looking for ideas on how to fill your freezer, refer to my Fast Fun Freezer Meals class. Get the information and recipes you need to prepare for a week’s worth of dinner — ready to put in the freezer in less than 90 minutes!

Do you have freezing or any food-related questions? Follow me on Instagram @theingredientguru; I’d be glad to reply to your comments! 


Sources:

  •  https://www.foodsafety.gov/food-safety-charts/cold-food-storage-charts
  • https://www.usda.gov/foodwaste/faqs
  • https://www.fsis.usda.gov/wps/portal/fsis/topics/food-safety-education/get-answers/food-safety-fact-sheets/safe-food-handling/freezing-and-food-safety

Food Storage Tips

There's nothing worse than having to throw out food because it's gone fuzzy or mushy. It's even worse when it's something that you purchased organic because that means you paid an even higher price for it.  With proper food storage habits you can make sure that your food lasts as long as possible.

It's easy to wind up with an abundance of fresh produce for a number of reasons:

  • it was on sale
  • you've just visited the farmer's market and it looked inviting
  • you have a CSA share and have limited control over how many tomatoes they give you (when tomatoes are in season of course)
  • you have a home garden and discovered the awesome power of a single zucchini seed.  

Whatever the reason for having a bountiful supply of fresh food (or even dairy, eggs, and foods of that nature which can also spoil), it's important to know how long it can be stored for.  It's also a great idea to understand proper food storage.   After all, knowing which things go in the refrigerator, what has to be wrapped, and the best way to wrap it, can be the difference between eating what you paid for or creating expensive compost.

Buying organic

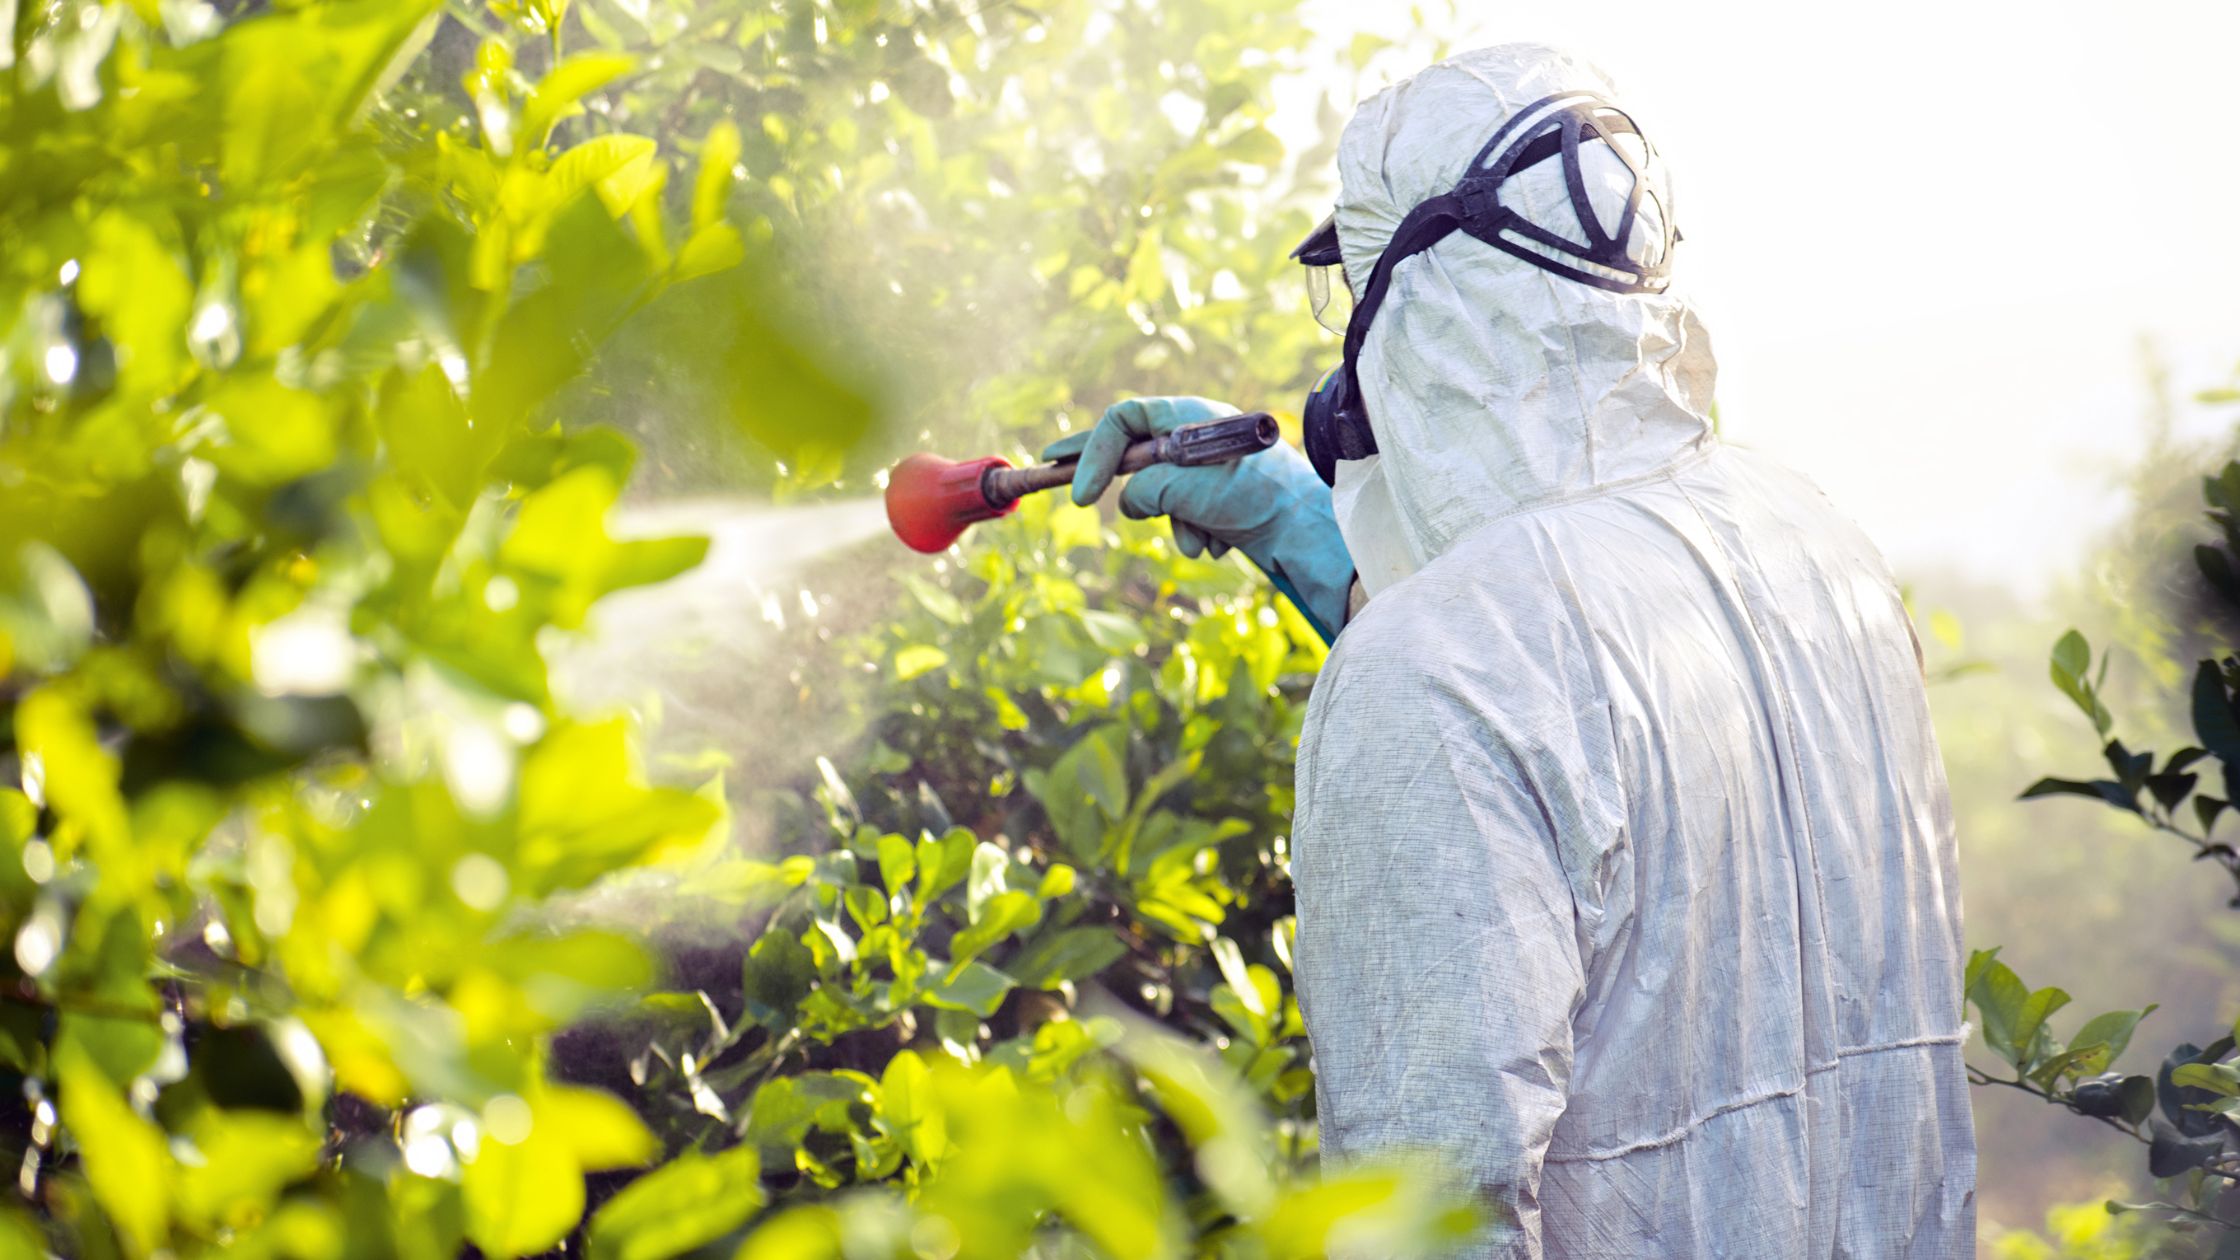
As you go through this infographic below keep in mind that there are a significant number of items which need to be purchased organically.

  • The Dirty Dozen:those 12 fruits and vegetables which need to be purchased organically in order to avoid pesticide residues) – This list changes annually, be sure to revisit it every year  
  • Dairy products: All dairy should be organic in order to avoid the artificial hormones (rBGH), antibiotics, and pesticide and GMO-laden feed that is part of conventional dairy  
  • Eggs:  Whenever possible eggs should be sourced from someone who has free range or pastured hens, in order to produce the healthiest egg.  Farmer's markets can be a great source for this, or ask around.  Many more people are beginning to raise chickens at home for the eggs.  When it's prime season, at one egg per chicken per day, they may have extras to sell

Storage

One final note, I really don't like to wrap food in plastic.  Plastics, containers and wraps, are comprised of chemical compounds that are hormone disrupting.  For more information about why plastic, and especially BPA, are harmful for you watch my interview with Lara Adler.  For storage if you must wrap use plastic, place wax paper over the food first and then wrap over that.  If at all possible try using glass or steel containers. 


Source: Fix.com

Making A New Compost Bin

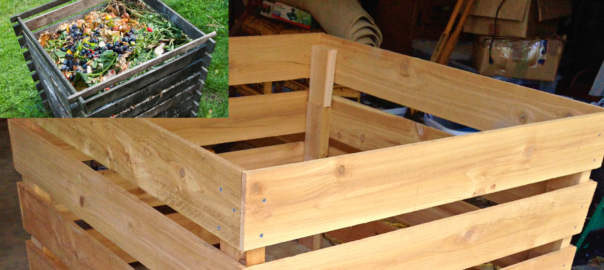
In a recent newsletter post I shared the picture above. It's a compost bin that my husband built because we needed another one in the yard.  We had two, a tumbling bin, which we use to put kitchen scraps into, and a fixed bin which we use for finishing the compost when the tumbler gets too full for me to turn it easily.  This way we always have a bin for household scraps and the finishing bin is great to let it sit a while longer either until it's done or until we can use it.

Now that we have a larger yard though, we're generating more compost from weeds and such.  The tumbling bin can only hold so much and the finishing bin works best if we put partially decomposed stuff into it.  So we needed a new one.

My husband went searching online and found this bin and the plans.  He easily made ours following the instructions given on the website.  The challenge with a lot of bins is getting to the compost when it's done.  We love the stackable/unstackable feature which will make it very easy to access compost when it's ready.  You add layers as the bin gets higher.  Then you unstack them as you're using it.

Several people asked for more information about compost. Here's what I know and what works for us:

In the house we have a small, lidded kitchen trashcan (with foot pedal because when your hands are full of kitchen scraps you can't open the lid at the same time).  My mom taught me a good trick and we line the bottom with a paper towel, shred some newspaper into it and top with another paper towel.  This serves a couple of purposes.  

First, it soaks up most of the liquid if you put wet-ish things in there like melon rinds.

Second, it adds some brown matter and improves the brown to green ratio (more on that below).  And compost needs both brown and green matter in order to break down properly.  

Third, it makes things slide out of the bin and into the compost tumbler very easily.  In the past if things started to break down too quickly they got a little sticky and it wasn't so pleasant to have to scrape the bin clean.

What do we put in our compost bin?

Everything we can.  Egg shells, potato peelings, fruit and veggie rinds, and things that are past their prime (although we try to not have too many of those).  As long as it is not dairy or meat it goes in the bin.  We don't put my husband's coffee grounds in there, although we could, because we use those straight on the roses.  We also do not add grass as we have a mulching attachment on our lawn mower and use that to help fertilize the lawn.

We do use dry leaves in the compost bin.  If you just have green matter your compost gets very stinky.  It also attracts a lot of flies.  An ideal bin would be 30 parts brown matter (which provides carbon) to 1 part green matter (which provides nitrogen).  Most websites that I've found seem to indicate that kitchen scraps are about 12 or 15:1.  Dry leaves are 50:1.  I think my paper lined bin is possibly closer to 20:1.  Sometimes my husband has sawdust leftover from a project (like making a compost bin) and we can add that.  We try not to over-think it but if we notice it's not breaking down well we try to adjust.

I do not compost manure in the bins. While I am expecting a trailer-load of horse manure any day now, that will sit in a separate pile to do it's thing until it's ready; it needs to rest for a while as horses are not very efficient digesters and if you use it right away it's too hot and too weedy.  It needs to break down for a while.  I don't use pet manure in the compost, that gets buried in the yard in an area where we don't grow food.

Compost bins also need moisture.  We've been getting enough rain and it seems to seep into the bins.  And I figure there's enough moisture in what we're putting into the bin.  If it looks a little dry as the summer progresses and the heat increases we'll adjust the moisture content as needed.  Again, we try not to be too picky about it but to pay attention to what things look like.

Once your compost is done (and there's something really amazing and wondrous about turning garbage into rich, crumbly soil) it's great to use in the garden.  I top dress my garden beds with it in the Spring and the Fall. It's also good for putting into containers when I repot them.  At this point I have more of a need than I have available supply.  This new bin is definitely going to be put to good use.

Storing Half-used Ingredients

Half Used Ingredients

Do you throw away half-used ingredients such as the remaining portions of a carrot, cabbage or a big plump tomato? There are easy ways to keep them fresh and use them later. Food waste is a huge problem in this country and many people do not plan how to store or use their leftovers.  This contributes to increased landfills, economic loss (you paid for that food didn't you?) and a waste or resources.  Before putting those half-used ingredients in the trash, let's learn how to keep them fresh.

(more…)

13 Tips To Prevent Food Waste

This video about food waste from the BBC highlights just how much food is wasted in developed countries. Some of it is due to confusion about labeling but much of it is due to carelessness. Food has become so cheap that we don't value it and discard it easily.

The GMO connection 

Food waste is balanced by the unfortunate sadness of health issues from people consuming too much food (and often the wrong kinds of foods).  Cultural habits tend to encourage finishing everything on our plate, even if we've already had enough to eat. But this can be a lead-in to weight gain and obesity. So while it's certainly not a good idea to polish off your plate simply because it's there, it's also not good to throw away large amounts of food.

Given the high number of people who don't have enough to eat in the premier nations, let alone the rest of the world, this is a major issue. Yet iI=f we continue to think there's not enough food this continues to pave the way for more GMO foods.  Unfortunately, the increased use of GMOs causes increased use of pesticides, not the decrease that was initially promised.  GMO also appears to be strongly tied to an increase in Irritable Bowel Disorders as it destroys intestinal flora.

What to do about food waste?

How do we address this issue? How can we stop the senseless destruction and waste of massive amounts of food? Remember this is food which took many man-hours to grow, nurture, harvest, transport, produce, and provide.  And which you had to work hard to earn the money to pay for it.  Food which might have provided a meal to someone in need.

One suggestion is to look at our consumption habits.  If we routinely throw out certain fresh foods perhaps we're buying too much.  If we collect foods in containers, letting them turn grey and fuzzy before we throw them out, perhaps we are preparing too much.  Or perhaps we're not just packaging them attractively enough to be appealing for a second or third meal. Below are some great tips to help you stop wasting food, and money.

Strategies to help reduce food waste

1. Shop more frequently

Some people see this as a pain.  However, while it's important to have a fully stocked pantry of staple products, it can be better for food waste to shop 2-3 times per week for fresh items buying only what you need for the next couple of days.  This requires menu planning and making it a habit to not impulse buy. 

2. Only buy what you will use

This can be a challenging habit to implement.  Oftentimes we purchase because it's on sale.  Or we think 'I've always wanted to make that.'  Perhaps we say to ourselves 'I think I just saw a recipe for that.'  And if we don't get to that item, it winds up in the trash.  If we only buy what we know we will use there will be much less waste.

3. Plan for leftovers

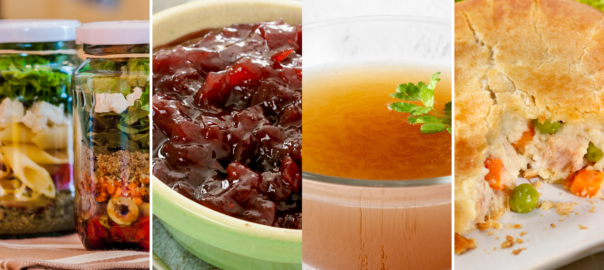
When cooking a whole chicken, for example, plan the meals that will be the result of that original meal. Have several recipes on hand that call for cooked chicken (including this fabulous pot pie recipe). This strategy works for any meal that you make.

4. Scaling back

As household dynamics change you may no longer be cooking for a large number of people. Also, many recipes are written for four to six servings. Learn how to scale back your favorite recipes or to plan that half of the meal will be stored in the freezer for a later meal. 

5. Sharing purchases

Grocery stores or warehouse shopping stores make bulk buying less expensive. For example, 10 pounds of onions is much less expensive than purchasing them either on a per pound basis or in a three-pound bag.  However, unless you're planning on making frequent batches of onion soup you can't go through it all quickly enough.  If you share with one or two friends everyone gets the benefit of the less expensive price and there is bound to be less waste.

6. Attractive use of leftovers

Using wide mouth pint jars to make a meal-in-a-jar from leftovers somehow seems much more attractive to people than looking at a collection of containers where you have to open and peer at each one to decide which one(s) you want to eat.  This food saving tip also includes learning to make a composed plate with perhaps one new food (usually a quick saute of some kind) and arranging everything well on the plate.  If you put the same attention into arranging a plate of leftovers as you do a plate of freshly cooked food, people will respond positively.  If you plop it wherever on the plate and just lump it there, they are less enthused about the meal.

7. Rummage cooking

I'd love to see a t.v. show on this concept (rather than the immensely stocked everything-you-could-imagine pantries) and it's one that takes a bit of practice.  This is where you notice that the refrigerator is getting full.  Learn to look at the ingredients gathering in your refrigerator and begin to plan what you can make for a menu using up those last bits.  In the beginning, it may be a soup or stew.  But as you learn to put flavor profiles together you'll begin to have more varied meals.  While not all of them may be successful as a "menu" chances are, because you made them, they are all tasty, something you enjoy, and a great way to prevent waste.

8. Serve smaller portions

It's always better to go back for seconds than to have too much on the plate.  Studies have shown that we eat more than we think if we have larger portions in front of us.

9. Dehydrating

If you have food that is still edible but you either have too much or it will go bad before you can use it dehydrating it can be a good way to preserve it.  Use either a dehydrator or dry in your oven on low (approximately 170 degrees) until dry.

10. Save the scraps

Remember that ends and peels of things such as carrots, onions, celery, and mushrooms can be saved in the freezer until you have enough to make a bone broth. Don't throw them out when you can get a little more nutrition out of them and make a super tasty broth.

11. Pickle the peels

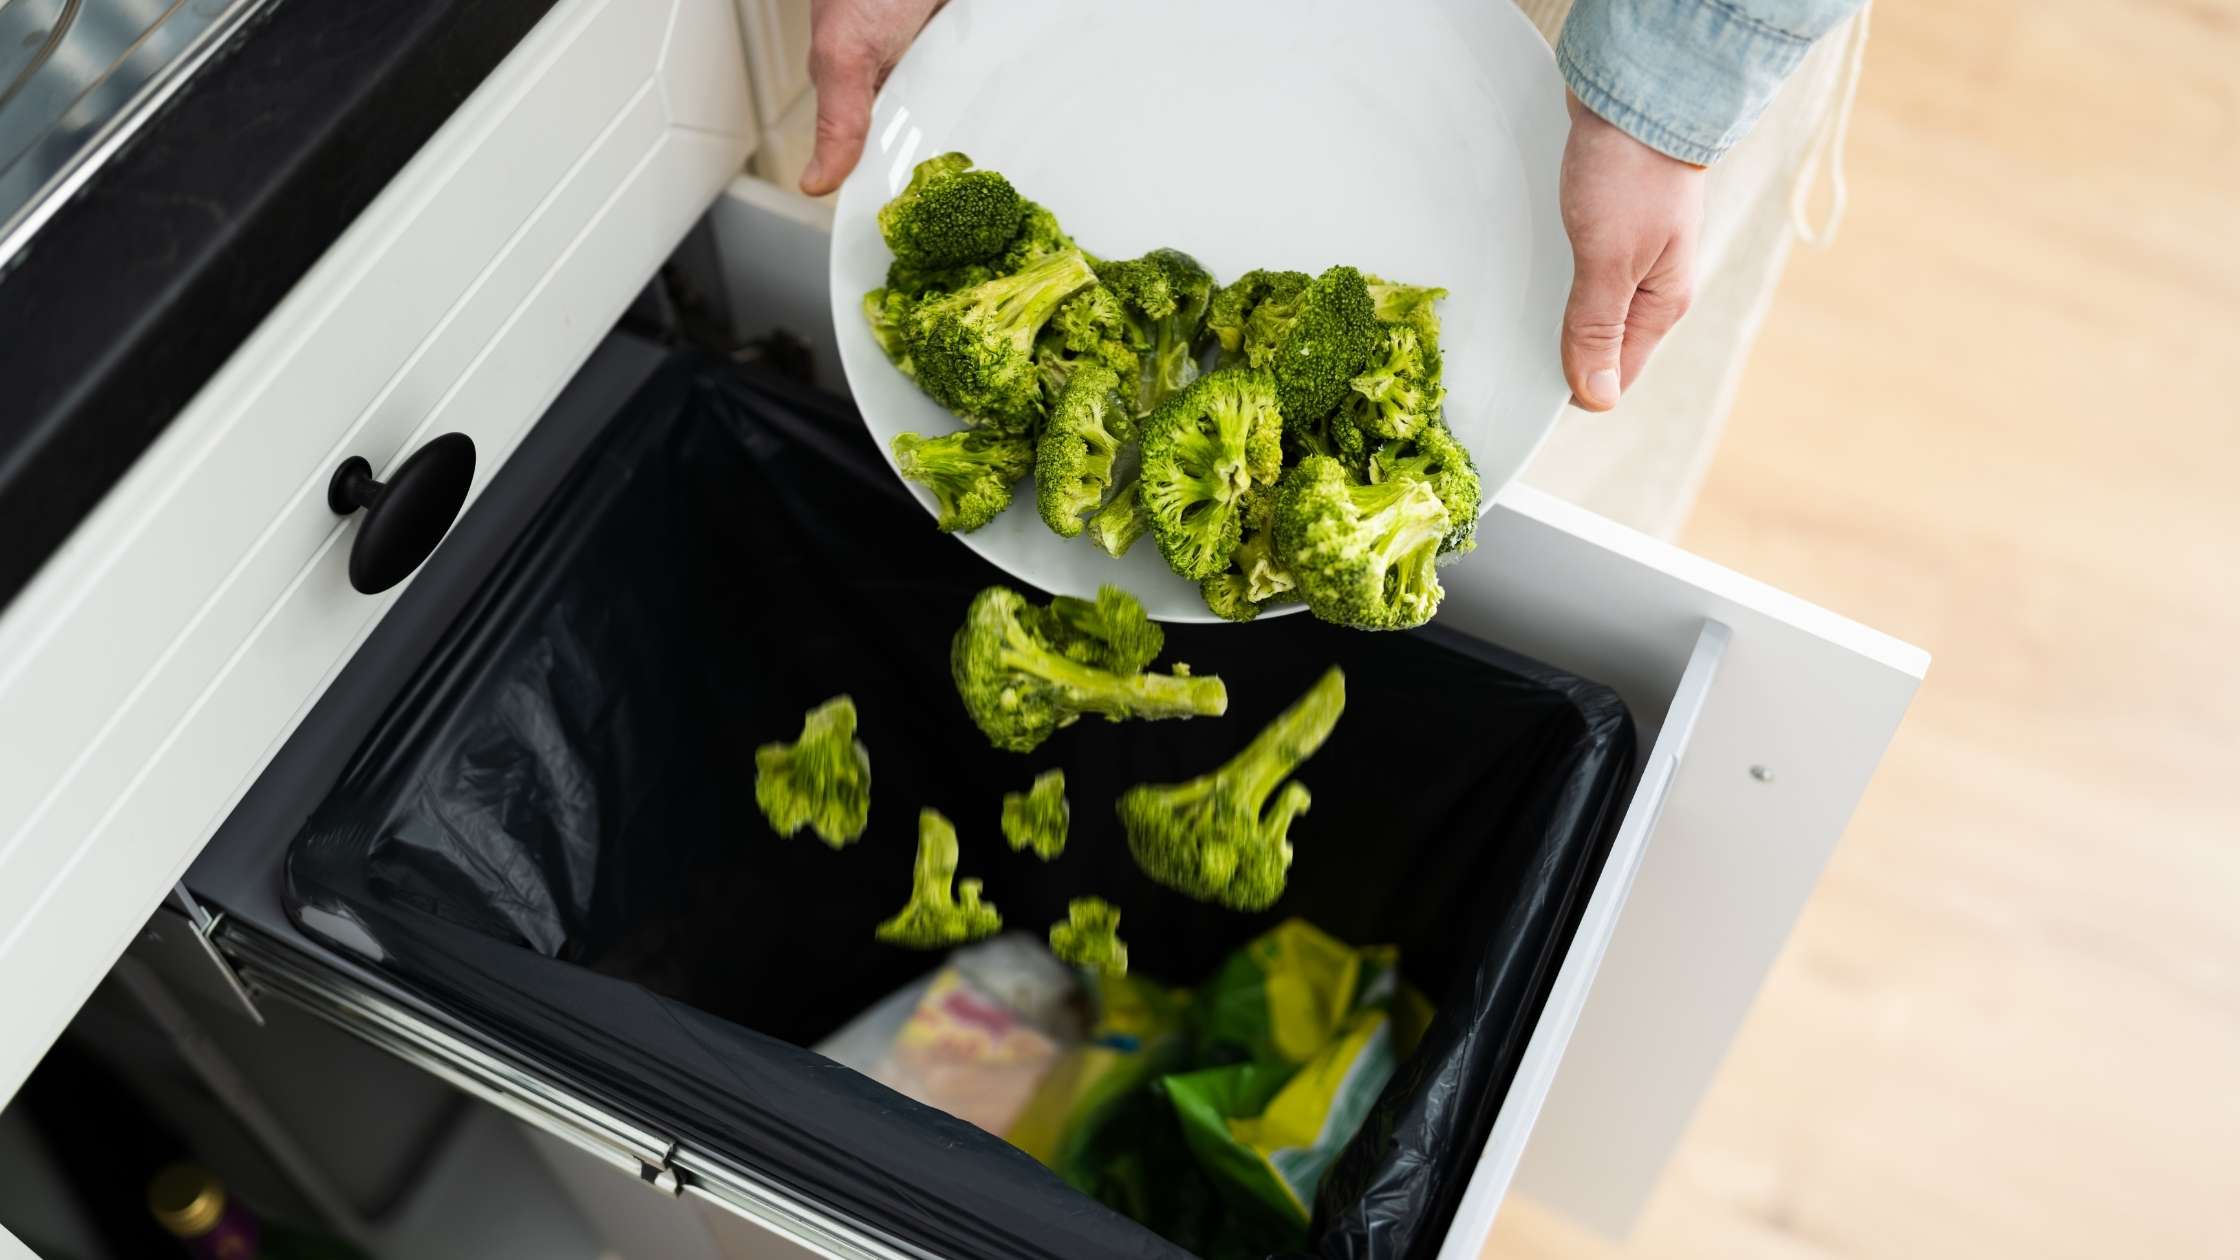
Most people discard the stems of broccoli and cauliflower leaves. These are actually edible and can be a great way to make kimchi, a delicious fermented food. If you’re not familiar with how to make it this cookbook has a number of recipes to get you started.

12. Save the seeds

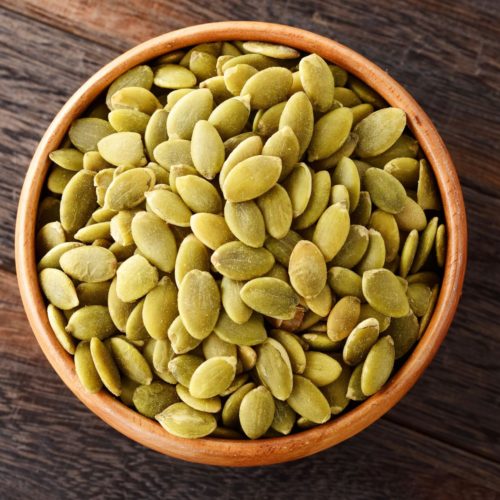
Pumpkin and squash seeds are a wonderful snack, nutrient dense, and super easy to prepare.

Pumpkin and Squash Seeds

Instructions
 

  • Simply wash thoroughly to remove the gunky bits, rinse the seeds, toss with a little olive oil and your seasoning of choice.
  • Then place in a single layer on a cookie sheet lined with parchment paper in a 250° F oven, turning occasionally, for 35 minutes.
  • Turn the heat up to 325° F for another 10-12 minutes until dry and crisp (keep stirring every 5 minutes).

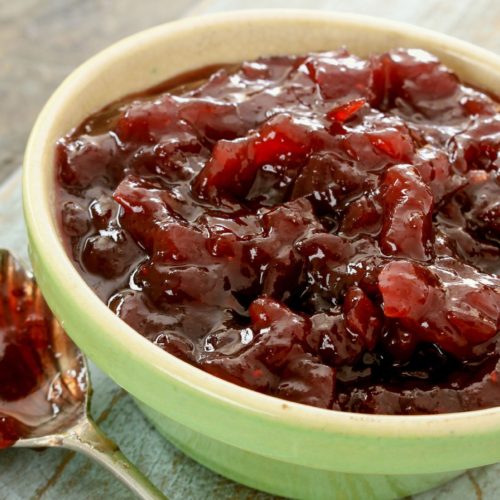
13. Make chutney

If you’ve got some fruit that’s getting a bit over-ripe it’s perfect for making chutney. Here’s a super simple chutney recipe:

Chutney

Ingredients
  

  • one pound of fruit peeled, cored, and chopped
  • 1 cup water
  • 1 pound of tomatoes, chopped
  • 1 medium diced onion
  • 1/4 cup Thompson’s organic raisins
  • 1/3 cup organic cane sugar
  • 1 teaspoon molasses
  • 1 cup apple cider vinegar
  • 2 teaspoons sea salt
  • 2 teaspoons curry powder
  • 1 teaspoon mustard seed

Instructions
 

  • Place fruit and water in a medium sauce pan, set to a boil, and cook until fruit is slightly soft.
  • Add remaining ingredients to saucepan and stir to combine completely.
  • Turn temperature down to a simmer.
  • Stir and cook until mixture has reduced and thickened, about 1 hour.
  • Ladle into sterilized canning jars, seal, and water bath 15 minutes.

Use these tips and chances are you'll not only save time and money, but you may also discover a newfound creativity in the kitchen.