Category Archives: vegetarian


chocolate chip cookies

Small Batch Cookie

Every now and then the urge for a cookie hits me.  I don't buy them because most of them are loaded with ingredients that I don't need or want in my pantry.  But baking a batch of cookies is overwhelming because most of them make at least two dozen and having that many cookies in the house is too much of a temptation.

At the library I saw the book Small Batch Baking.  It looked really interesting so I checked it out and realized that this is a great way to satisfy that sugar urge without overdoing it.  Most of the recipes make just enough for dessert.  No more dozens of cookies or huge cakes waiting in ambush in the kitchen.  This is a wonderful option when that sugar urge hits without having to have all those leftovers.

The other day I was in the mood for a cookie; I changed a few of the ingredients to make a vegan, gluten-free small batch of chocolate chip cookies based on the recipe from Small Batch Baking.  I reduced the sugar because I didn't want anything too sweet, just a hint of sugar to satisfy that craving.

The recipe needs a little refinement as the cookies ran more than I liked so they were flatter/thinner than I wanted.  I prefer a chocolate chip cookie that is a little thicker and gooier and these were more crispy.  Feel free to try it and see what you think.

chocolate chip cookies

Small Batch VGF Chocolate Chippers

Ingredients
  

  • 2 T. plus 2 t. coconut oil (this is probably what made them spread so much)
  • 3 T. evaporated cane juice crystals
  • 2 T. ground flax seed
  • 2 T. water
  • 1/4 t. vanilla
  • 1/4 C. plus 2 T. GF flour
  • 1/4 t. baking soda
  • Generous pinch sea salt
  • 1/4 C. dark chocolate chips

Instructions
 

  • preheat oven to 375 F
  • cream coconut oil and sucanat together
  • mix flax seed, water and vanilla together
  • add to coconut oil and sucanat
  • mix together dry ingredients and add to wet mixture
  • add chocolate chips and blend well
  • drop by tablespoonful onto greased cookie sheet
  • makes 6 cookies

How To Control Common Tomato Pests

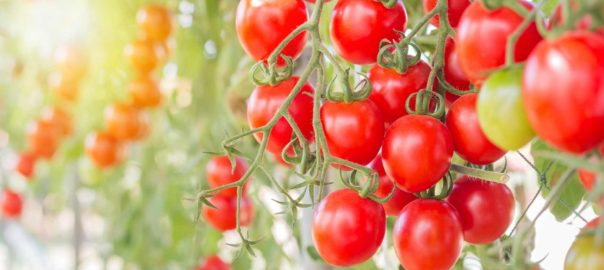
There is surely nothing better than a fresh, sun-ripened tomato. The aroma and the flavor are indescribably and mouthwateringly delicious. That’s probably why so many people give in to the lure of tomato plants on display at the hardware or grocery store in early spring. The promise of eating your own home-grown tomatoes is a temptation that's hard to resist.

If you do give in and proudly cart home your tomato plants chances are you’ll soon discover you’re not the only one who loves tomatoes. There are a number of common pests that are only too happy to feast on your delicious tomatoes and ruin them in the process.

Top Tomato Plant Pests


Unfortunately, garden pests are inevitable. The good news is if you know what you are doing you can get rid of them before they’ve done a number on your tomatoes. Although there are dozens of pests which can be harmful to your tomatoes, these are a few of the most common ones you’ll find in the garden.

Aphids - These are small insects which can be green or black and may or may not have wings. Typically they like to cluster on the bottom of the tomato leaves. They damage the plant by sucking moisture, and nutrients, which causes curled and yellowed leaves. The damage may also stunt the plants.

Cutworms -These are actually a species of moth caterpillars and they live in the soil. They pose a threat especially for young tomato plants as they like to chew the stems.  If you see your tomato plants there one day and “cut” off lying on the ground the next, chances are you have cutworms.  They have been known to decimate an entire crop of newly planted tomatoes overnight.

 They aren’t just a problem for the immature seedlings. Cutworms can also damage older tomato plants by chewing on the stems and leaves creating holes in them. 

Colorado Potato Beetles - Although it’s called a potato beetle, this pest also affects tomatoes, peppers, and eggplants.  Both the larvae and the adults eat the leaves of the tomato plant leaving only the stalks and veins.

Hornworms - Another caterpillar, this one is the immature form of a five-spotted hawkmoth.  They are known for having a voracious appetite and can plow through tomatoes, both the plants and the fruit. Due to their tomato leaf coloration and habit of hanging out on the underside of the leaf these can be hard to spot. If you notice dark droppings on the leaves you can turn them over to see if there is a hornworm on the bottom of the leaves.

Stink Bugs - The immature nymphs and the adult stink bugs suck the sap from the plant and can harm the fruit.  As the name indicates, they have a rather unpleasant odor, especially if squashed or threatened. One way to tell if you have stink bugs on your tomato plants is if you see yellow-white spots underneath the skin of the ripe fruit.

Luckily there are ways to deal with these pests without the use of harmful ingredients. As much as possible you want to use organic method. This is because many of the chemicals used in commercial insecticides and pesticides are known to be toxic to humans. In some cases studies indicate a link between the use of pesticides and neurodegenerative diseases like Parkinson’s. 

Your Organic Garden Pest Solution

As soon as you notice any of these common garden pests on your tomato plants you need to address the issue.  Spraying the plant with water can dislodge the pests.  This can be repeated for several days in a row in order to remove as many as possible.  You’ll also want to incorporate one or more of the following organic, non-toxic, solutions: 

Beneficial insects – add beneficial insects (ladybugs, praying mantis, and lacewings) to the garden and let them forage on the bug population.  These beneficial insects can usually be ordered online. 

Collars - make a rectangular strip of cardboard and place one around each tomato stem. This can protect the plant from cutworms as they typically will not climb over the collar.

Companion planting - adding plants like basil, dill, or marigolds to your garden may help ward against the pests.

Hand-picking – not a very pleasant task, this is, nonetheless necessary.  Put on a pair of gardening gloves, prepare a container with warm, soapy water, and pick them off, dropping them into the water. 

Organic insecticidal soap – follow the directions to mix up a 2 to 3% solution. This can then be applied directly to the plants/pests to remove them.  

Neem oil – an organic, plant-based oil, neem can be very effective against many garden pests, especially aphids, stink bugs and tomato fruit worms.

Weeding – garden debris and weeds around your plants potentially creates a habitat/hiding place for many pests. Keeping the area around your plants clear can cut down on this. 

What To Do With Tomatoes

Of course, if you’re going to grow tomatoes you are certainly going to want to eat them.  I confess my favorite is a deliciously ripe tomato sliced, sprinkled with sea salt, and a smear of homemade mayonnaise

If you’re fortunate enough to have overly abundant tomato plants there are a few other tasty things to do with tomatoes including:
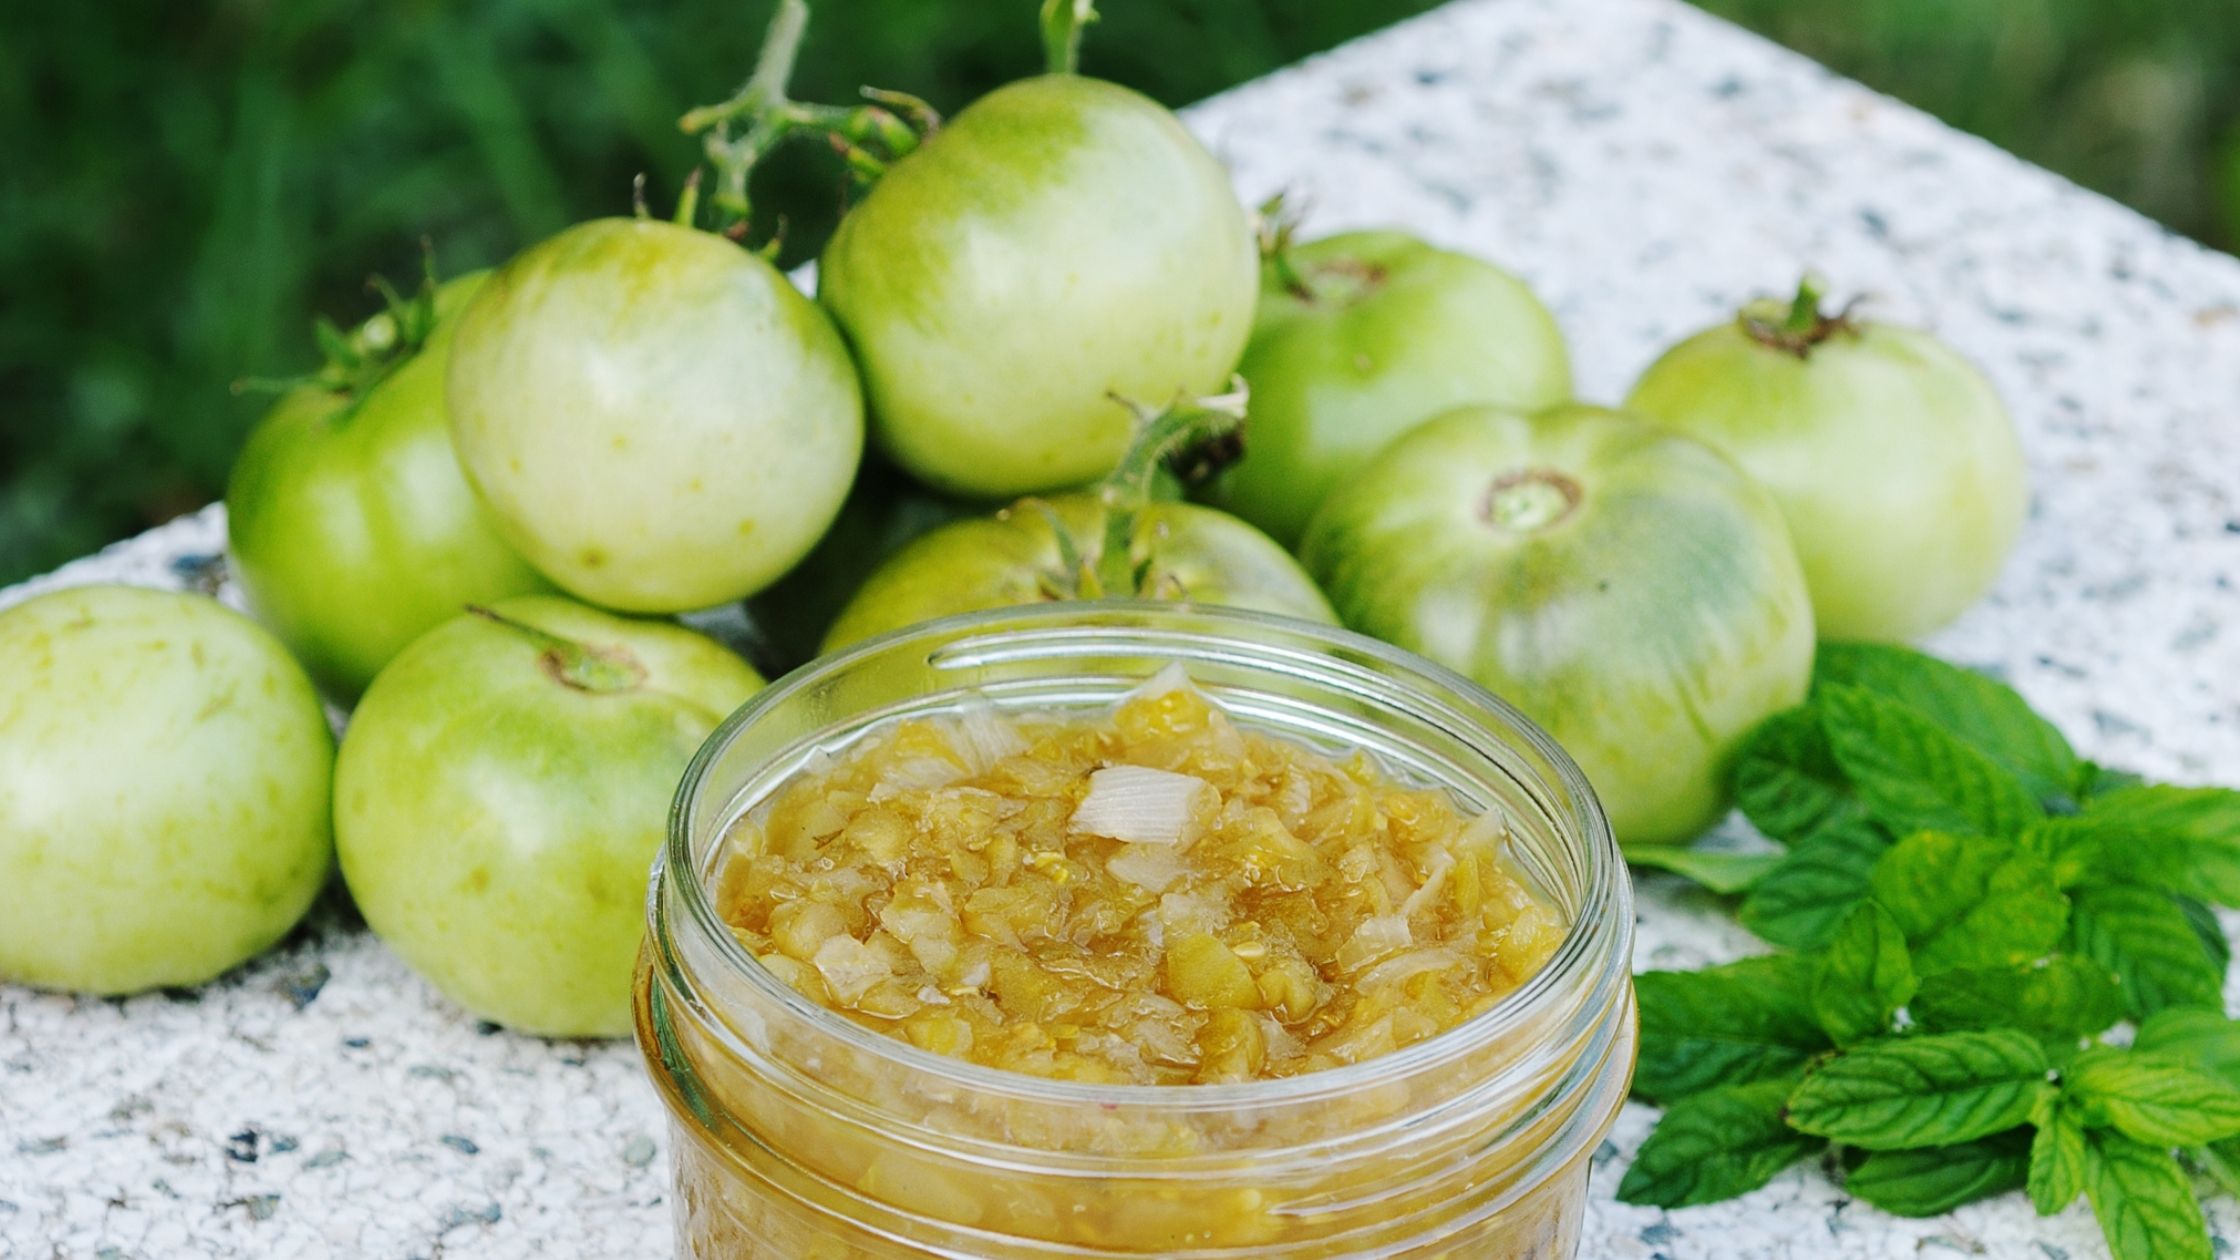
Green tomato chutney 

A perfect condiment for roast meats, hotdogs, and Indian food.
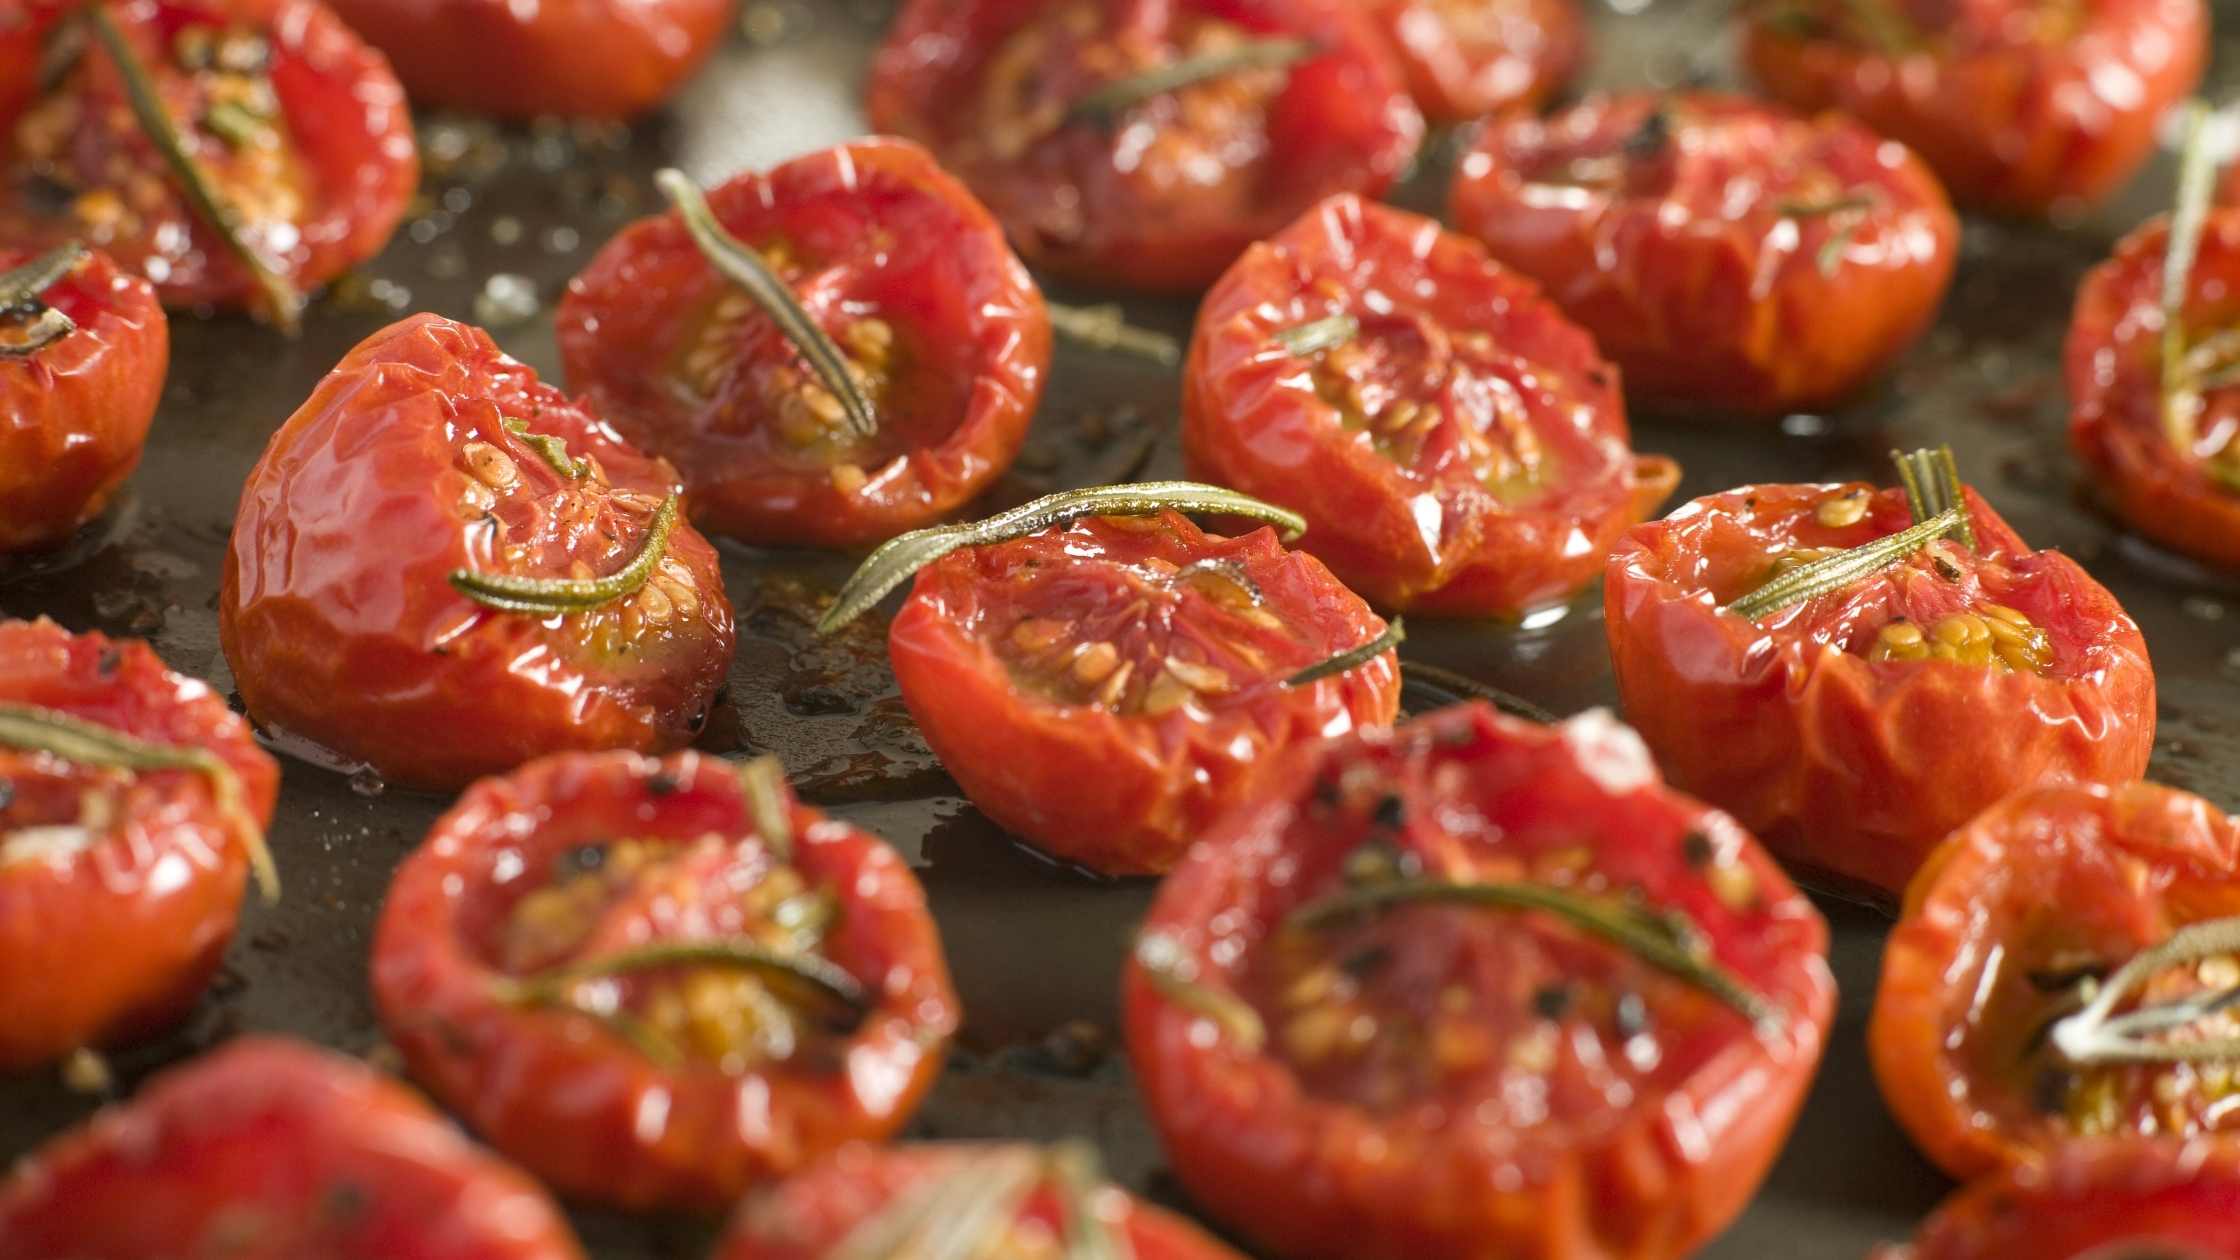
Oven-roasted tomatoes 

This is a good way to preserve tomatoes so you can enjoy them later in the year when they are no longer in season

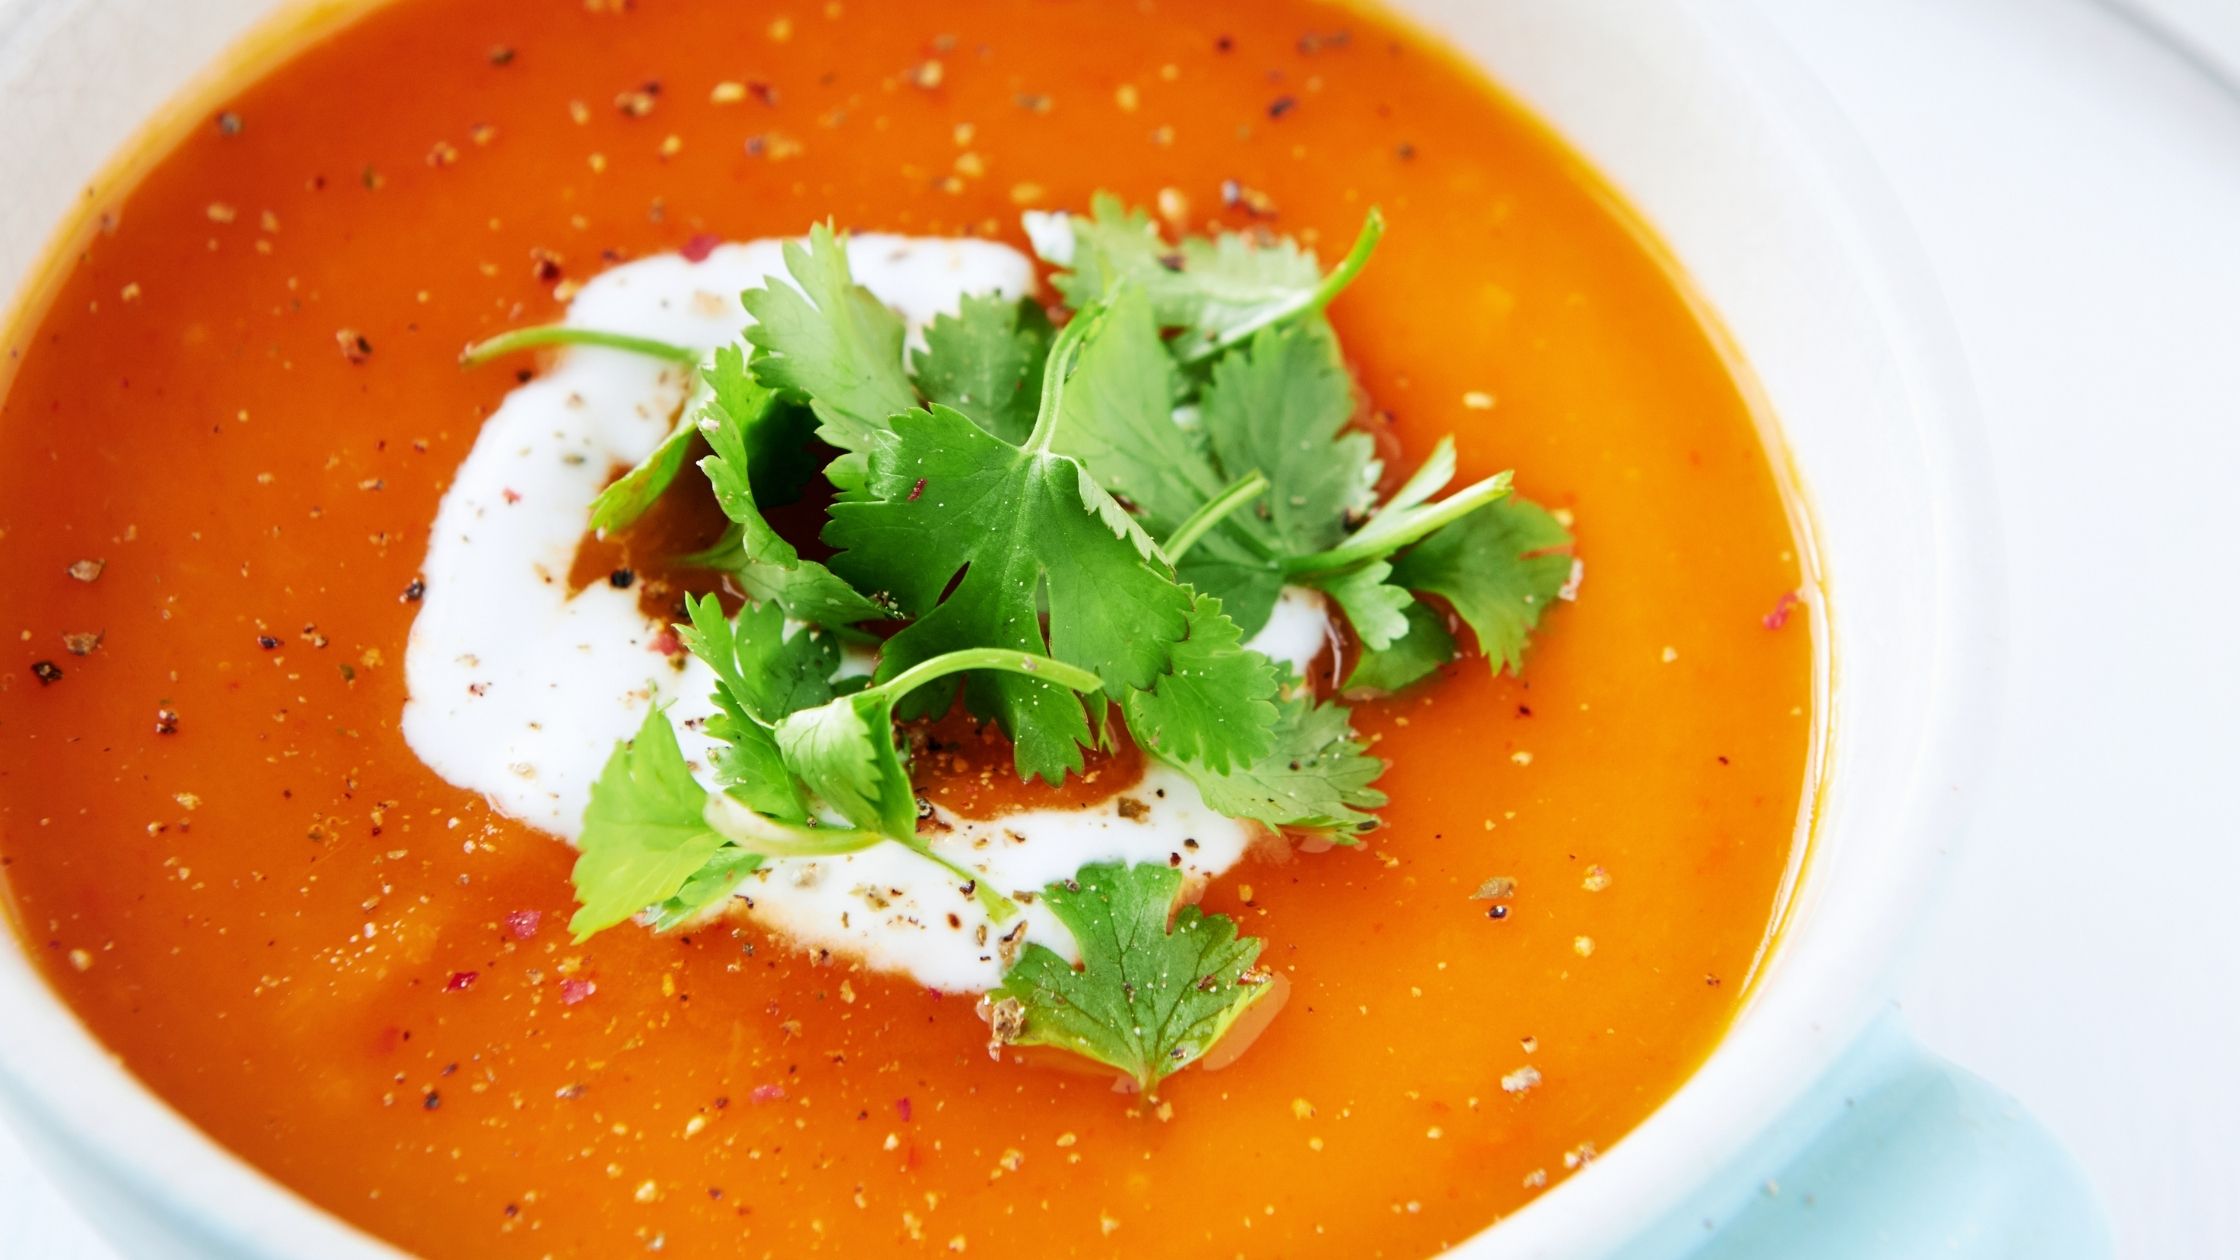
Roasted vegetable soup with tomato and fennel

Although the recipe calls for Roma tomatoes really any tomato will do. This is a wonderful soup when tomatoes and fennel are in season. If you have enough you can make and freeze it to enjoy in the middle of winter.

Sources

"Toxicity Of Pesticides". Penn State Extension, 2021, https://extension.psu.edu/toxicity-of-pesticides.

Costa, Lucio, G. "Neurotoxicity Of Pesticides: A Brief Review". Frontiers In Bioscience, vol 13, no. 13, 2008, p. 1240. Frontiers In Bioscience, doi:10.2741/2758.

PMC, Europe. "Europe PMC". Europepmc.Org, 2021, https://europepmc.org/article/PMC/5285268.

Rauh, V. A. et al. "Impact Of Prenatal Chlorpyrifos Exposure On Neurodevelopment In The First 3 Years Of Life Among Inner-City Children". PEDIATRICS, vol 118, no. 6, 2006, pp. e1845-e1859. American Academy Of Pediatrics (AAP), doi:10.1542/peds.2006-0338.

Mockstroni soup recipe

Mockstroni Soup

What is mockstroni?

I love minestrone soup. But it tends to come with pasta and I find I do better when I avoid eating gluten. This soup was born out of a need to avoid gluten but also not wanting to include gluten-free pasta. While I'm not opposed to gluten-free pasta, I find that it tends to disintegrate pretty easily in soup, especially if there are leftovers. So I created this very satisfying soup that features that classic minestrone combination of herbs, beans, and vegetables. Because it's not your classical minestrone I decided to change the name and call it mockstroni.

This soup is very hearty and can be served either as a starter to a meal or simply use bigger bowls and it becomes a meal all by itself. Don't forget that the traditional way to make this soup was to use whatever was in season. So feel free to experiment with whatever vegetables you happen to have on hand. Fresh herbs are always best, but in the wintertime (my favorite time to make this comforting soup) dry herbs are fine.  And if you want to make a vegetarian version, you can simply use vegetable broth instead of the bone broth.

Mockstroni Soup

Mockstroni Soup
Print
Ingredients
  1. Serves: 6-8
  2. 3 T. extra virgin olive oil, divided
  3. 2-3 cloves garlic, finely minced
  4. ½ medium yellow onion, chopped small
  5. 3 medium carrots, chopped small
  6. 3 large stalks celery, chopped small
  7. 1 28-oz. can diced tomatoes, undrained
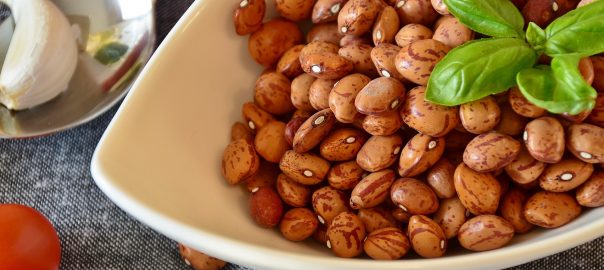
  8. 2 cups cooked beans (cannellini and red kidney beans work well)
  9. 4 C bone broth*
  10. 2 bay leaves
  11. 1 T. fresh rosemary leaves, finely chopped (or 1 t. dried)
  12. 1 T. fresh thyme leaves (or 1 t. dried)
  13. 1 T. fresh oregano leaves (or 1 t. dried)
  14. ½ T. crushed red pepper flakes
  15. Sea salt and black pepper, to taste
  16. 2 c. fresh green beans, cut into ½” pieces
Toppings
  1. 1/4 C. freshly parsley, minced
  2. Shaved parmesan
Instructions
  1. Heat 2 tablespoons olive oil and garlic in a large pot or Dutch oven over medium-high heat
  2. Sauté garlic, stirring occasionally, for 2-3 minutes or just until the garlic starts to turn golden brown
  3. Add chopped onion, carrot, and celery and cook for another 4-5 minutes, stirring occasionally, or until vegetables are soft and tender
  4. Add diced tomatoes, beans, broth, bay leaves, rosemary, thyme, oregano, and red pepper flakes to the pot, stir to combine
  5. Season with salt and black pepper, to taste
  6. Bring to a boil, reduce heat to medium-low
  7. Cover and simmer 20-25 minutes.
  8. Remove the cover from the pot and add the green beans
  9. Stir to combine and continue cooking, uncovered, another 20-25 minutes or until green beans are crisp-tender
  10. Add additional broth, if needed, stir to combine
  11. To serve, divide among individual serving bowls and top with chopped parsley and freshly grated Parmesan cheese, if desired.
  12. Enjoy!
Notes
  1. * If needed use extra broth to reach the desired consistency
  2. ** Fresh herbs are always preferred but if needed you can use dry herbs. Reduce to 1/3 of the fresh herbs called for
  3. *** 3 teaspoons = 1 Tablespoon
The Ingredient Guru, Mira Dessy https://theingredientguru.com/
Powerhouse Summer Smoothie Bowl

Powerhouse Summer Smoothie Bowl

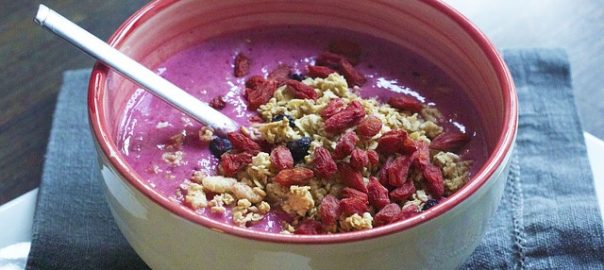
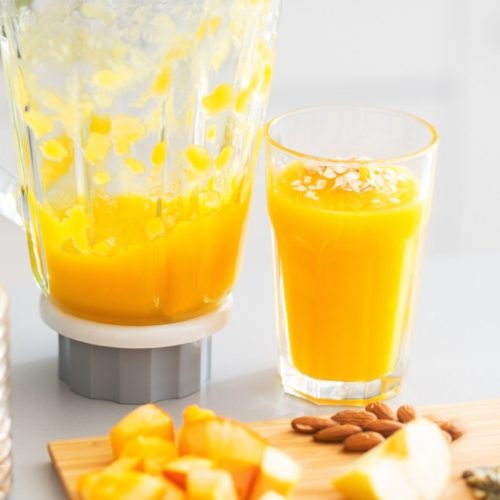
Smoothies are a familiar way to get fruit into your diet. But you can take it one step further by adding veggies and healthy fat. This means you’re not simply getting a dessert disguised as a healthy snack, you’re actually getting several nutrient dense servings of fruit and vegetables.

If you’re familiar with the idea of smoothie bowls, then you know that there are a wide variety of bowl types as well as a never-ending list of ingredients to choose from. Smoothie bowls are a great way for you to get a lot of nutrients in an easy to digest dish. So where do you start?

This article provides a smoothie recipe that you are really going to love. The Powerhouse Summer Smoothie Bowl delivers great nutrition that’s easy to prepare and simply delicious.

Why You Should Try It

The reduced sugar in this smoothie is a definite plus. It’s more than just a fruit and fruit juice sugar bomb.  With the addition of leafy green veggies plus avocado for a healthy fat, you’re getting a more nutrient-dense smoothie. And the toppings are booster foods that add a delicious and nutritious extra.

  • Dark leafy greens are always a good choice. Rich in antioxidants and important nutrients they tend to be high in vitamin A, vitamin C, calcium, iron and more. Due to their bitter nature, they’re also great for heart health and can help stimulate the liver.
  • The bromelain in pineapple aids the digestive function. A fabulous source of vitamin C and manganese, pineapple is also anti-inflammatory and an antioxidant-rich food. 
  • Avocados are a good source of pantothenic acid and fiber, but they also deliver a nutrient dense punch with vitamin K, copper, and folate. Studies have shown them to be supportive of cardiovascular health as well as helping to balance blood sugar.
  • Known for their phytonutrient dense qualities, blueberries are high in vitamin K, manganese and are a great source of anthocyanins. Research indicates that they are helpful for blood pressure regulation, memory support, and have anti-carcinogenic properties.
  • Using green tea instead of juice not only cuts down on the sugar, but it also bumps the antioxidant qualities of this smoothie. Rich in the amino acid theanine and EGCG (epigallocatechin gallate), green tea has been shown to be supportive for brain health, boosting the metabolism, protective of brain function, and it’s anti-carcinogenic.
  • And last but not least are the toppings. The seeds are wonderful sources of protein and omega-3 fatty acids. The cacao is high in both fiber and iron as well as providing antioxidants and magnesium.

So all in all this smoothie is a great choice for real food nutrition. Either as a bowl or a traditional smoothie, it definitely delivers a nutrient-dense punch.

Powehouse Summer Smoothie Bowl
Print
Ingredients
  1. 1 cup organic baby kale or spinach
  2. 1 cup frozen organic blueberries
  3. 3/4 cup green tea
  4. ½ cup pineapple
  5. ½ of an avocado
  6. 1 scoop collagen protein powder
Topping suggestions
  1. ¼ cup granola
  2. 2 Tbsp. pumpkin seeds or mixed sprouted seeds
  3. 1 Tbsp. flax seeds
  4. 2 Tbsp. cacao nibs
  5. 1-2 Tbsp. blueberries
  6. 1 Tbsp. goji berries
Instructions
  1. Start by blending the blueberries, green tea and leafy greens
  2. Add remaining ingredients and blend until smooth
  3. If a thinner consistency is desired (for a smoothie rather than a bowl) add a little more tea
  4. If a thicker consistency is desired then freeze the pineapple before adding to the blender
  5. Pour/scrape into a cup or bowl
  6. Use toppings of choice and garnish the smoothie as desired
  7. Enjoy!
The Ingredient Guru, Mira Dessy https://theingredientguru.com/

More delicious summer recipes

Here are a few more fabulous summertime recipes


quinoa tabbouleh - delicious recipe

Quinoa Tabbouleh

Tabbouleh is a Middle Eastern salad dish; it makes a great meal when paired with falafel (fried chickpea patties), dolmas (stuffed grape leaves), hummus and other Middle Eastern or Mediterranean food items. It's primary ingredient is cracked bulgur wheat, something that is not allowed for those who cannot eat gluten. In order to make a version of tabbouleh that would be suitable for a gluten free diet I've substituted quinoa as the base.

Quinoa is a gluten free grain.  Actually it's a pseudo-grain.  Quinoa has a lot of fiber, and is high in B vitamins, calcium and iron. It also has balanced amino acids which gives it a good protein profile. Before you use quinoa you'll need to wash it (unless you buy pre-washed).  This is because the outer coating has saponins on it. If they don't get washed off they will make the quinoa taste soapy. When cooking quinoa the ratio is pretty much the same as rice, two cups of water to one cup of grain, simmered for 14-18 minutes.

Most tabbouleh is made with parsley and mint.  In this recipe I exchanged the mint for cilantro which makes a delicious change and gives it a bit of a kick.  Rich in phytonutrients, fiber, iron and magnesium the cilantro adds even more to the nutrient profile of this recipe.

This is one of my family's favorite summertime recipes.  Easy to make it's delicious as a side dish or it makes a great part of a composed salad plate.

Quinoa Tabbouleh
Print
Ingredients
  1. 2 C. cooked quinoa
  2. 1 C. finely minced cilantro
  3. ½ C. minced parsley
  4. 1 clove garlic minced
  5. 1 t. sea salt
  6. 1 C. cherry tomatoes – halved
  7. 1 red pepper, small dice
  8. 3 scallions, mostly white part, minced
  9. 3 T. fresh lemon juice
  10. 2 T. olive oil
  11. ¼ C. pine nuts
Instructions
  1. Mix all ingredients together
  2. Stir well
  3. Add fresh ground pepper to the top
  4. Enjoy!
The Ingredient Guru, Mira Dessy https://theingredientguru.com/

Three Delicious Pumpkin Recipes For Fall

It’s that time of year when the days are getting shorter, the temperatures are dropping, and all those scrumptious, warming, Fall foods are appearing at your grocery store. This includes pumpkin, one of my favorite, most versatile vegetables. Fabulous in soups, baked goods, as a side vegetable, and even as a snack using the seeds. Pumpkins are so tasty that I find it surprising how in the United States we spend nearly $600 million on pumpkins just to carve them up for Halloween and then discard them. They’re so nutritious and delicious that I think we should all be eating more of them.

Superfood Benefits of Pumpkin


Qualifying as a superfood, pumpkins are a wonderful source of potassium, vitamin A, a good source of vitamin C, and also provide quite a bit of fiber. Health-wise, due in part to their high antioxidant status, studies show pumpkin may be supportive in decreasing the risk of cancer. They’re also believed to help with improving insulin regulation, lowering blood pressure, providing lignans (which can have an antimicrobial benefit), and consuming pumpkin may even be helpful for the treatment of benign prostatic hyperplasia.

It’s not just the flesh of the pumpkin that’s good for you. The seeds also have health benefits. Helpful for cholesterol metabolism and in addition to being a good source of protein, the seeds also deliver tryptophan, manganese, phosphorus, copper, magnesium, and zinc. All of this goes a long way towards making pumpkins and their seeds something you definitely want to add to your nutritional plan.

Pumpkin Recipes


While almost everyone is familiar with pumpkin pie and pumpkin bread, and possibly even pumpkin soup, there’s so much more you can do with them.  Here are a few delicious ways to add more pumpkin to your Fall menu and bump up your nutrition.

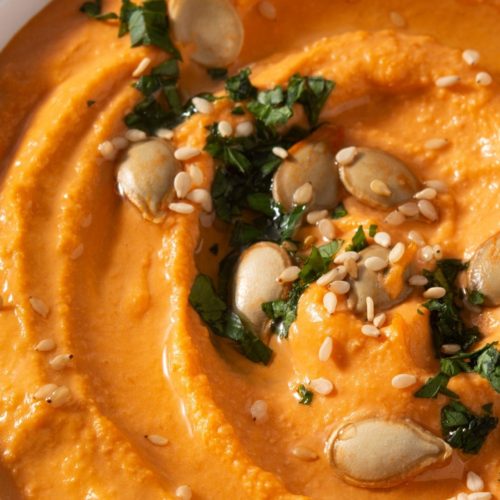
Pumpkin Hummus

Ingredients
  

  • 2 cups cooked chickpeas (or 1 15 oz can organic chickpeas, drained and rinsed)
  • 15 ounces pumpkin puree
  • juice of 2 lemons (about 4 tablespoons)
  • 1/3 cup virgin olive oil
  • 1/2 cup tahini paste
  • 3 cloves garlic finely minced
  • 1/2 tsp cinnamon
  • 1/4 tsp nutmeg
  • 1/4 tsp allspice
  • 1 1/2 tsp sea salt 
  • 2-4 Tbsp chickpea liquid, as needed for consistency

Instructions
 

  • Blend all ingredients except salt and liquid together
  • If needed, add chickpea liquid 1 Tablespoon at a  time for smoothness and consistency
  • Once fully blended add salt to taste
  • Best served at room temperature

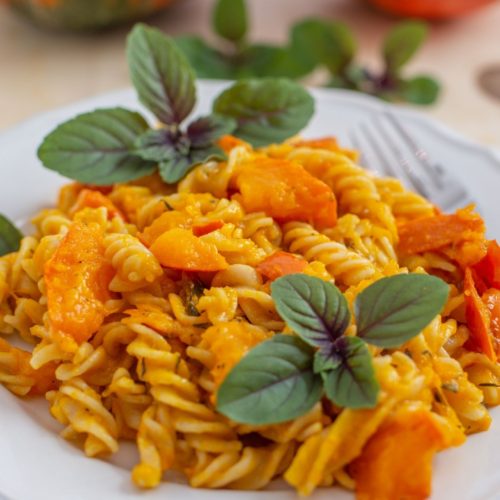
Pumpkin Alfredo

Ingredients
  

  • 1 pound gluten-free tagliatelle (my preferred brand is Jovial)|
  • 2 Tbsp organic butter
  • 2 Tbsp gluten-free flour
  • 3 garlic cloves, minced finely
  • 4 cups organic milk
  • 1 cup pumpkin puree
  • 1 tsp finely minced rosemary
  • 1 pinch red pepper flakes (to taste)
  • sea salt and fresh ground pepper to taste
  • shaved parmesan for topping
  • minced rosemary for topping

Instructions
 

  • Cook, drain, and lightly rinse pasta
  • Heat butter in a saucepan, add flour and whisk until combined
  • Add garlic, pepper, rosemary, and milk, reduce heat
  • Whisk all ingredient together until fully combined
  • Add pasta to the sauce and combine, coating noodles well
  • Garnish with extra minced rosemary and shaved parmesan

Superfood Pumpkin Shake

Servings 2

Ingredients
  

  • 1 cup pumpkin puree, cold, not freshly cooked
  • 2 bananas
  • ½ cup plain organic Greek yogurt (full fat if possible)
  • ½ cup unsweetened almond milk (avoid carrageenan)
  • 2 tbsp protein powder
  • 1 tsp honey
  • 1 tsp ground flax seeds
  • 1 tsp bee pollen granules
  • 1 tsp pumpkin pie spice
  • 2 cups ice

Instructions
 

  • Blend well until fully combined
  • If needed add extra liquid to fully blend ingredients together


For a few more Fall posts be sure to check these out:

Vegetarian Shepherd’s Pie

Seasonal eating

If we choose to eat seasonally (and we should) we need to respect the foods that are available during certain seasons.  That means also paying attention to the needs of our body.  In the cooler months of the year, we are looking for comfort food.  Warming, nourishing foods that are deeply satisfying. Not the lighter, crisper salads and cooling foods of summer. That's because winter is the settling in and deep, rooted nourishing time of year.  It's perfect for hearty dishes like Shepherd's Pie.

The versatility of shepherd's pie

Shepherd's pie is a great dish because it is so versatile; a “crust”, a vegetable filling and a mashed root vegetable topping.  It makes a delicious meal served with say, a hearty salad, and a simple millet muffin. The crust can be made with ground meat or you can use a legume base, such as lentils. For the topping potatoes tend to be the most common. But sweet potatoes, a carrot and parsnip combination, or even turnips can be a delicious way to top off the pie.

One of my favorite dishes for this time of year is my vegetarian shepherd's pie using lentils for the crust.  Because only half of my family are vegetarians, I usually make two pies, one with a ground turkey crust and one with a lentil crust.  This means there are plenty of tasty leftovers to keep everyone happy for a couple of days.

About lentils

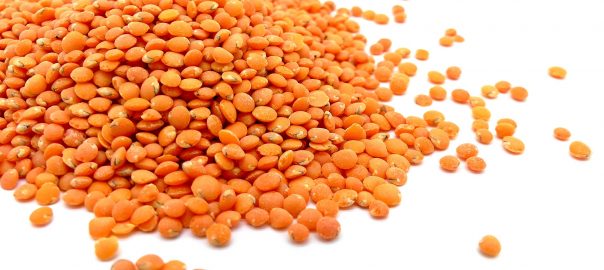
Lentils, (Lens Esculenta), also known in Indian cuisine as dal, are a legume (as are all dried beans and peas).  While most legumes need to be soaked before cooking, lentils are very quick and easy to prepare. 

They come in different varieties, green, brown, black, yellow, orange, and red, although most of us are familiar with the green kind which is easily available.  Lentils are nutrient-dense powerhouses and their nutrition content includes being very high in fiber, folate, tryptophan, and manganese. Their nutrient-rich profile makes them good for healthy bones, fatty acid and cholesterol synthesis, and help stabilize blood sugar among other things.  They are also good sources of protein, iron, and phosphorus, all of which the body needs for bone health.

Cooking with lentils

When cooking lentils it's important to know that they are often packaged straight from harvest. So they need to be sorted and rinsed before you can cook them. The general ratio for cooking lentils is 1 cup of lentils to three cups of water or nourishing broth.

After cooking it's best to let them sit for 10 minutes or so to firm up before using in a recipe. Otherwise if you try to use them while they are still warm they tend to get mushy.

If you are using them in a salad, let them cool completely before adding the other ingredients and your dressing.


Vegetarian Shepherd's Pie
Print
Ingredients
  1. 1 cup lentils
  2. 3 cups water
  3. 1/2 C. chopped onion
  4. 1 T. nutritional yeast
  5. 1 T. dried, Kirkland No Salt seasoning
  6. 1 tsp. sea salt
  7. 2 C. lightly steamed or heated veggies
  8. 1 Tbsp GMO coconut aminos
  9. 2 C. mashed potatoes
  10. paprika
Instructions
  1. Lightly grease pie pan
  2. Preheat Oven to 350F
  3. Bring the water to a boil
  4. Add the lentils and the onion, cook on medium for approximately 30 minutes
  5. Remove the lentils from the heat and let sit 10 minutes
  6. Mash together with nutritional yeast, seasoning, and salt
  7. In a lightly greased pie pan, put in the mixture and shape it into a bottom crust
  8. Fill the crust with veggies
  9. Drizzle with coconut aminos
  10. Top with mashed potatoes
  11. Sprinkle with paprika
The Ingredient Guru, Mira Dessy https://theingredientguru.com/


Spicy Millet Muffins
Print
Ingredients
  1. 2 1/4 C gluten free flour baking blend
  2. 1/3 C millet
  3. 1 t baking powder
  4. 1 t baking soda
  5. 1 Tsp fine sea salt
  6. 1 jalapeno seeded and minced fine
  7. 1 T toasted cumin seeds
  8. 2 T toasted pine nuts
  9. 1 C buttermilk
  10. 1/2 C olive oil
  11. 1/2 honey
  12. 1 egg whisked
Instructions
  1. Preheat oven to 400 degrees Fahrenheit.
  2. Oil a 12 cup muffin tray and line the bottom of each with cut parchment paper
  3. Mix all dry ingredients with the jalapeno, toasted pine nuts and the cumin seed.
  4. Mix all wet ingredients together then fold into the dry ingredients until incorporated well.
  5. Fill each cup 3/4 full and bake for approximately 15 minutes.
  6. Let cool and remove from tin.
Notes
  1. You may want to do 2 pans as this recipe makes a little more than a dozen muffins. You can fill the empty muffin tins with water or pie-weights to help make the cooking time a little more even.
The Ingredient Guru, Mira Dessy https://theingredientguru.com/
 
Don't forget to check out these other delicious lentil recipes:

How To Get More Veggies Into Your Diet

Vegetables and whole foods are classic ingredients for a healthy diet. Most of us do not eat nearly enough, leaving us deficient in fiber and important nutrients. Integrating vegetables into daily recipes and menus for a family can be challenging if you're used to the standard meat-and-potatoes diet. Here's how to liven up your mealtimes with vegetables and whole foods that everyone will enjoy.

Make Superb Soups

Soup is cheap and very easy to make. When made with bone broth it's even better because the broth adds vitamins and minerals to the soup. Blending in a variety of vegetables is an ideal way to get more vitamins into your diet. Soups are great for using up old vegetables, and they also freeze well. Mix in a few extra lentils to bulk out the soup, and you have a hearty meal full of goodness on a cold day.

One-Pot Wonders

A one-pot meal is perfect for a supper dish, and adding vegetables is an excellent way of getting more fiber and vitamins in the diet. Try a tasty stew or curry which are simple to put together. Or, go for a Moroccan tagine, which is bursting with flavors and has dried fruits as well as vegetables within the dish. Don't forget to make double portions so you can freeze the surplus, saving you time in the kitchen.

Make a Colorful Plate

One of the great things about vegetables is the color. Instead of a meat and potato-colored plate of food, go for a variety of colors in the meal. You can even get kids to eat as many different colors as they can. Salads also look great with colorful vegetables, such as red radishes and tomatoes, yellow pepper and orange carrot. Add quinoa as a protein accompaniment, and you have a nutritious meal.

Get Organized with Packed Lunches

Being prepared with packed lunches saves money and avoids snacking on sugary food. Store lunches in the refrigerator overnight and take them to work or school the next day.  Pack the portions into lunch boxes and you have a cheap lunch full of vegetables to enjoy. Alternatively, chop some celery, carrot, and pepper the evening before and use them in a hummus dip for lunchtime. You can add grated carrot or chopped celery to a sandwich and take some vegetable sticks to work as a snack to enjoy on a break. If you take a salad to work, consider making a salad in a jar for a quick and easy delicious lunch that's got a lot of veggies.

Salad In A Jar
Print
Ingredients
  1. 1-4 T. dressing (lemon juice and extra virgin olive oil plus herbs is great)
  2. Then firm veggies (carrots, celery, jicama, etc)
  3. Then proteins (tuna, cooked egg, diced leftover chicken, etc)
  4. Then soft veggies (zucchini, avocado, cucumbers, etc)
  5. Then nuts and seeds salad greens (add a lot, stuff them in there)
  6. To serve the salad turn it over back and empty it onto a plate or into a bowl
  7. Dressing will wind up on top, coating your salad.
Instructions
  1. These can be made 3-5 days worth at a time for a quick grab-and-go lunch
The Ingredient Guru, Mira Dessy https://theingredientguru.com/


Have a Meat-Free Day

Going at least one day a week without eating meat allows you to be creative with using a variety of vegetables and whole foods. A vegetable curry can be made with carrot, eggplant, and other vegetables but can be bulked out with chickpeas or lentils. Try a stir-fry with corn, mushrooms, and peppers or create a tasty salad with whole grains and a variety of vegetables.

Create Some Juices

Vegetables in juices can taste surprisingly good and are an excellent way to increase your vitamin uptake. They can be mixed with fruits or combined with other vegetables to make a variety of drinks. Try mixing kale or carrots to create a range of colorful juices to enjoy with breakfast. While there is some controversy over the juicing versus smoothies issue I believe there's room for both. Juicing can add a lot of enzymes and nutrients to the diet, especially beneficial when you've been eating away from home or “off plan.” 

Grow Your Own

One of the best ways to get kids and fussy eaters to eat more vegetables is to get them to grown their own. Salads, tomatoes, beans and many other vegetables can be grown in just a few square feet of dirt. Many can even be grown in a pot for container gardening. Adding a few herbs gives you a choice of flavors for salads and cooking. Anything homegrown is sure to look good on a plate and taste even better.

By taking a few simple steps your vegetable intake will increase with very little effort and you'll enjoy some fabulous flavors.

Pumpkin Oat Breakfast Bars

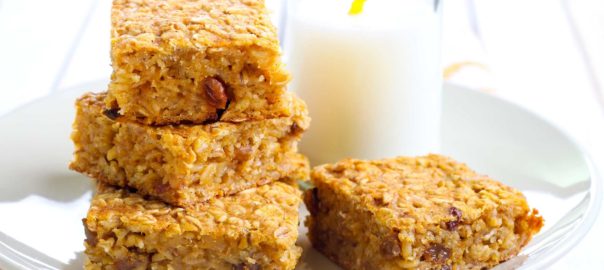
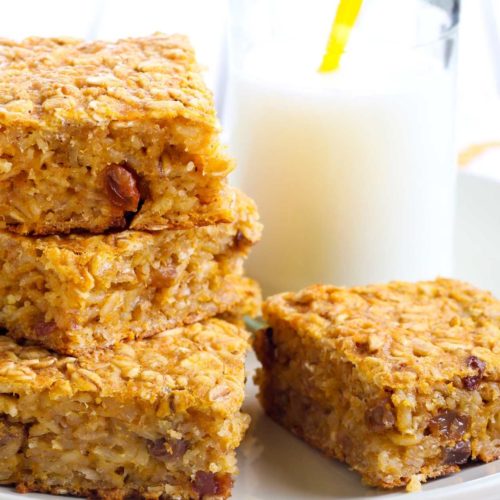
My friend Erin recently shared this delicious recipe for a great on-the-go-snack bar. With pumpkins in season, it's easy enough to make your own puree. If you don't have the time or inclination to make your own, the canned stuff works just fine. A couple of words of caution, however, when choosing canned pumpkin:

  • It's best to use a brand that has a BPA free lining
  • Organic pumpkin is preferred
  • I highly recommend that you read the label and make sure that you are getting only 100% pumpkin. You don't need all those other ingredients.

These breakfast bars are fabulous for a quick breakfast, perfectly portable if you need to have breakfast on-the-go. And so tasty that they also make a great snack. If you'd like, add a serving of protein powder to make your bars even more nutritious. If you do add the protein powder you may find that you need just a Tablespoon or two of water so the mix isn't too dry.

Pumpkin Oat Breakfast Bars

Ingredients
  

  • 3/4 cup pumpkin purée
  • 2 eggs
  • 1/4 cup organic butter or ghee at room temperature
  • 1 large or 2 small ripe bananas
  • 1/4 cup honey
  • 2 cups rolled oats (not the quick cook variety)
  • 1/2 cup pecans, chopped (you can also use walnuts or sunflower seeds)
  • 2 Tbsp shredded coconut, unsweetened
  • 1/4 cup oat bran (optional)
  • 1/2 tsp cinnamon, ground
  • pinch of Celtic sea salt
  • 1 Tbsp grated orange rind
  • 1/4 cup dried currants
  • 1/4 cup dried blueberries

Instructions
 

  • Measure out the 2 cups of oats and pour just enough warm water over them to cover them
    Soak for about 5 minutes while you’re mixing up the wet ingredients
    In a mixing bowl, stir together the pumpkin, eggs, butter or ghee, honey, and banana
    You may want to mash the banana before adding to the bowl if it's not really soft
    Before adding the oats, drain them well
  • Add the oats, nuts, coconut, oat bran, cinnamon, salt, orange rind, currants, and blueberries, and stir until ingredients are well combined (this step is where you would also add the protein powder, if using)
    Spread mixture into a lightly greased (butter, ghee or coconut oil) pan so the batter is no more than an inch or two deep. An 8” x 10” baking dish works well
    Bake in a 350 degree F. oven for 40-50 minutes, or until golden brown
    For very crisp bars, remove from the pan and cool completely on a wire rack
    Cut the bars when cool 

Dinner In A Jar

dinner in a jar

I'm not a fan of plastic for food storage.  While there are times that it's unavoidable, my preference is for glass.  So I save jars.  Lots of them.  They're great for dry goods, things like beans, grains, and spices.  But they're also fabulous for efficient leftover storage.  Take the picture above for example.  It's ratatouille and polenta.  After the meal rather than packaging up the leftovers into one container of ratatouille and one container of polenta I've assembled them into meals in the jar.  Perfect for grab-and-go meals on the road or if I'm trying to save time and energy at home.

By assembling my leftovers into meal containers I avoid having to find a container for the ratatouille, find a container for the polenta, take them out when I want to serve them, put a container with less stuff back in the fridge (which takes up more space).  Repeat with consecutive meals until there's just a smidge left in all the containers, the fridge is jam packed, there's no room, but there's not much food either.  This is much more efficient and I love it.

The two jars in the picture demonstrate the different ways of filling your jar.  It's important to remember that you want to use wide mouth openings, otherwise it's more difficult to get stuff out.  Putting your base (in this case the polenta) on the bottom and your saucy stuff (the ratatouille) on top makes a perfect on the go meal.  I can heat and eat straight from the container.  Yes, I'm talking reheating in the microwave oven.  Not my preferred method of heating but when I'm out and about I don't usually have the option of reheating on a stove top.

The other method, with the sauce on the bottom and the base on top is fabulous when you can dump everything out onto a plate.  When you turn it over the base is on the bottom and the sauce is on top.

This meal was so delicious I know I'm going to be making it again soon in the near future.  And because I know you want to make it too, here's the recipes.

Ratatouille

1 large eggplant
2 teaspoons sea salt
1 onion, peeled and diced
2 cloves garlic, peeled and minced
1 zucchini
1 yellow squash
2 sweet bell peppers
5 medium to large tomatoes, cored and diced
1/4 cup olive oil plus more if needed
1 tablespoon fresh parsley, minced
2 teaspoons fresh basil, minced
sea salt and pepper to taste

Cut the eggplant into 1″ cubes
Sprinkle with salt and let sit 1 hour
Rinse and drain eggplant
Heat 2 tablespoons olive oil in pan
Add diced onion and saute until starting to soften
Add another 2 tablespoons olive oil and the eggplant
Stir to fully coat eggplant
Turn heat down to medium and add remaining ingredients
Stir frequently for another 10 minutes
Turn heat down to low and simmer 15-20 minutes

I love this ratatouille over polenta, but it's also great on a baked potato or just by itself.

This polenta recipe is the one from The Pantry Principle, if you'd like you can put fresh mozzarella on top of the polenta after it's been cooked and then put the hot ratatouille on top.  This will cause the mozzarella to melt into ooey deliciousness and makes the whole meal delightful.

Polenta

So easy to make at home that you'll wonder why you ever bought it. The homemade version is much more versatile and, by choosing organic cornmeal, can be GMO free polenta.

1 C. cornmeal
1 t. sea salt
3 C. water

Bring water and salt to a boil
Reduce water to a simmer
Very slowly add cornmeal (this is important to avoid lumps)
Cook approximately 20 minutes until mixture thickens
Remove from heat and pour into a pie plate (for triangles) or a cake pan (for squares)
Let polenta set for 10-15 minutes
Cut and serve

Enjoy!