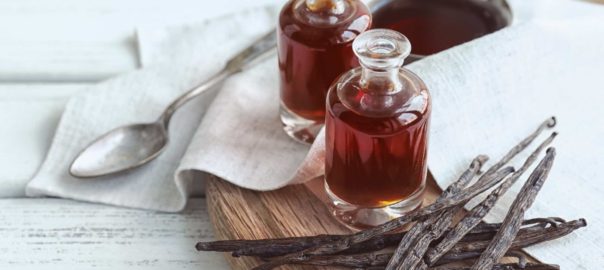
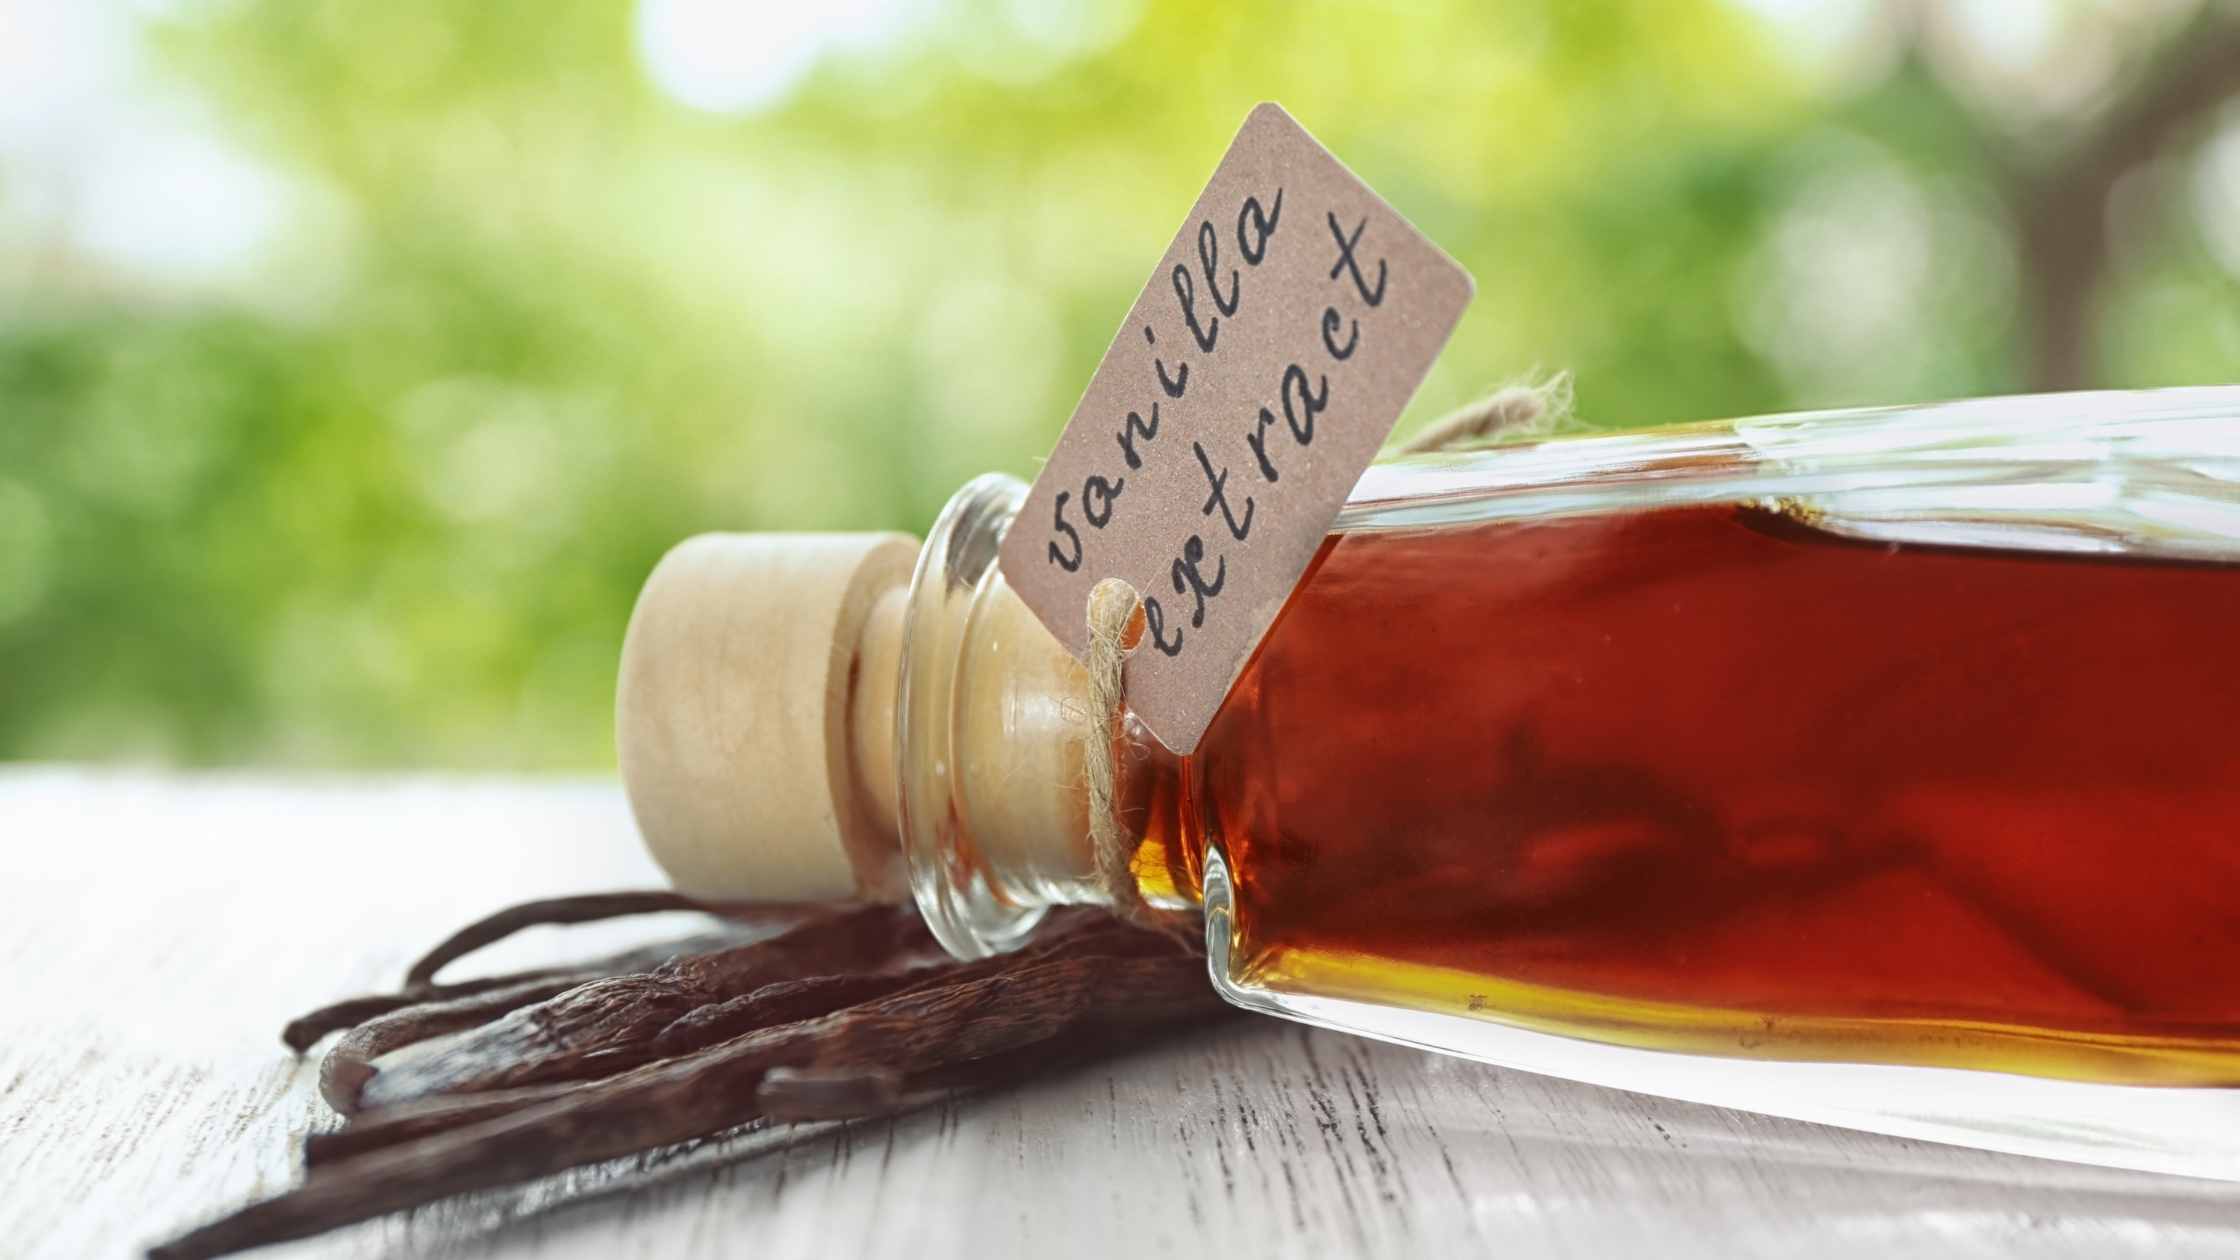
Used in a lot in baking, vanilla adds a subtle undertone to a number of dishes, especially sweet things. It's wonderful to help to intensify the flavors. The beans for real vanilla extract are harvested from orchid flowers. There are a number of different places where they can be grown, many people consider those from Madagascar to be the best.
Pure vanilla is very expensive. And given current weather-related difficulties, the costs are going up. For a 4 ounce bottle, I've seen it priced anywhere between $4-$9. That's quite a bit when you consider that there are only two ingredients in that bottle, alcohol and vanilla beans.
Vanilla Extract vs. Artificial Vanilla
For extract (not pure), sometimes labeled "Natural Vanilla Extract" you may find yourself looking at more than two ingredients:
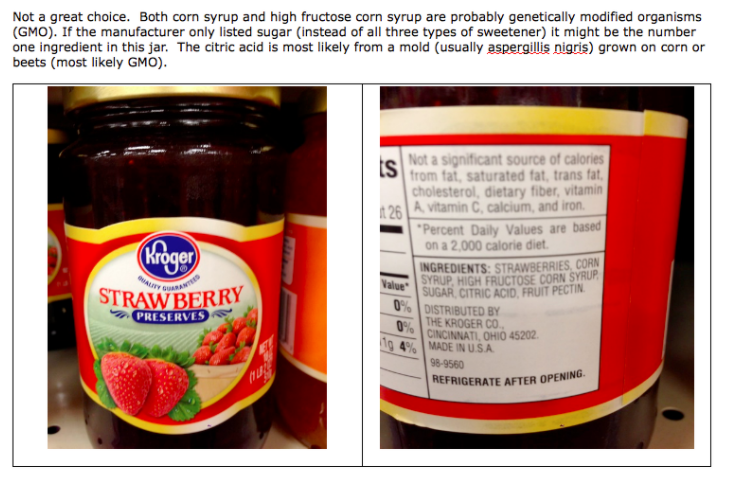
- Sugar. I'm not sure why this would be added since vanilla extract by itself is not expected to be sweet, it's used to flavor things to help bring out the sweetness. If the sugar source is not identified as cane sugar it is possibly beet sugar which has the potential to be from genetically modified (GM) sources.
- I've also seen labels that contain corn syrup. This is, again, a sweetener, however, since it's from corn it is most likely to be GM and therefore not something you want to purchase.
- Potassium sorbate can be added as a preservative. This is probably done when the alcohol content is low since alcohol by itself would be a preservative. For some people, this preservative can cause rashes, itching of the mouth or eyes, congestion, or digestive disturbance.
- Caramel color is another additive. True vanilla does turn brown but perhaps the manufacturers want a consistent-looking product and therefore they use caramel coloring. Unfortunately, recent studies have shown this additive to be carcinogenic and therefore something you want to avoid.
Artificial vanilla sometimes referred to as vanillin, has no extract from vanilla beans at all. Instead, it is chemically synthesized. One common substance used is lignin, a waste product from papermaking, which is treated to release vanilla flavor overtones. Vanillin can also be synthesized from the oils from cloves. The most common source is guaiacol, an oily yellow petrochemical-like substance made by distilling wood tar (wood tar is also referred to as creosote). In some people, vanillin can bring on migraine headaches or cause other allergic reactions.
Gluten-Free Vanilla Extract
For those who need to eat gluten-free, many dessert recipes call for gluten-free vanilla extract. The interesting thing is that most pure vanilla uses distilled alcohol as the base. The distillation process creates a gluten-free product as the gluten proteins cannot carry over through vaporization, cooling, and re-liquifying that happens. However, if you want to be absolutely sure there is no gluten in the bottle you'll need to choose a distillation base that is not grain-based.
Having said all that, it's easy, and not that expensive, to make your own pure vanilla extract.
Musings on Making Pure Extract
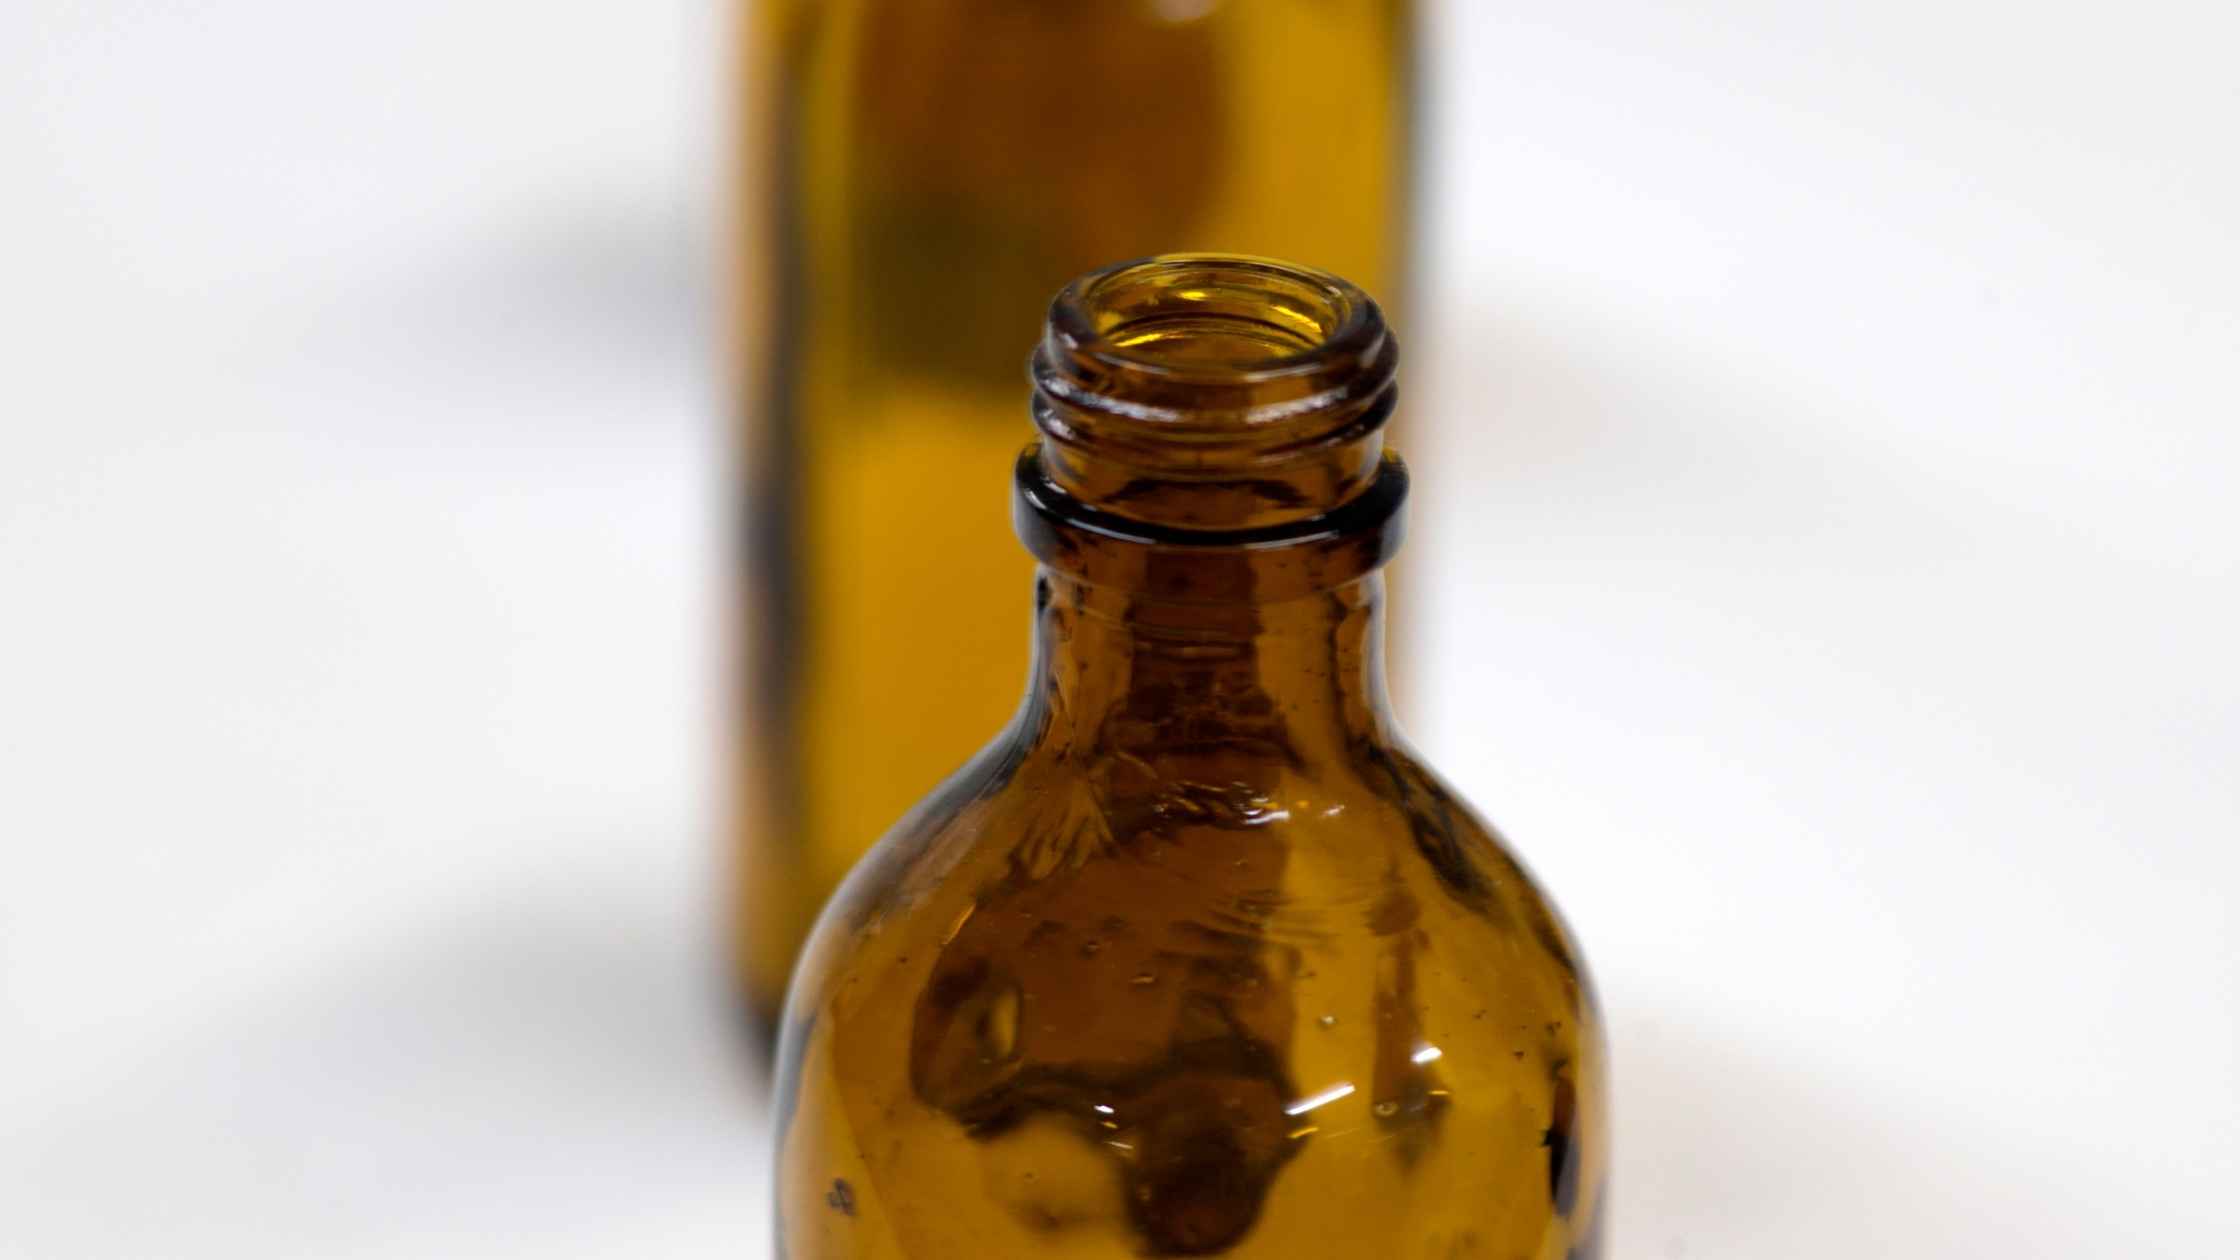
- Supposedly it does best if you make it in an amber-colored bottle. I didn't have one the size I wanted so I just used a recycled glass bottle. But I have a dark, fermentation cupboard so I figure it's good in there.
- The bean does not at all smell like vanilla when you cut it open and scrape out the stuff. I'm not sure what it smells like but, to my untrained nose, certainly not vanilla.
- The longer the extract sat the more it smelt like vanilla.
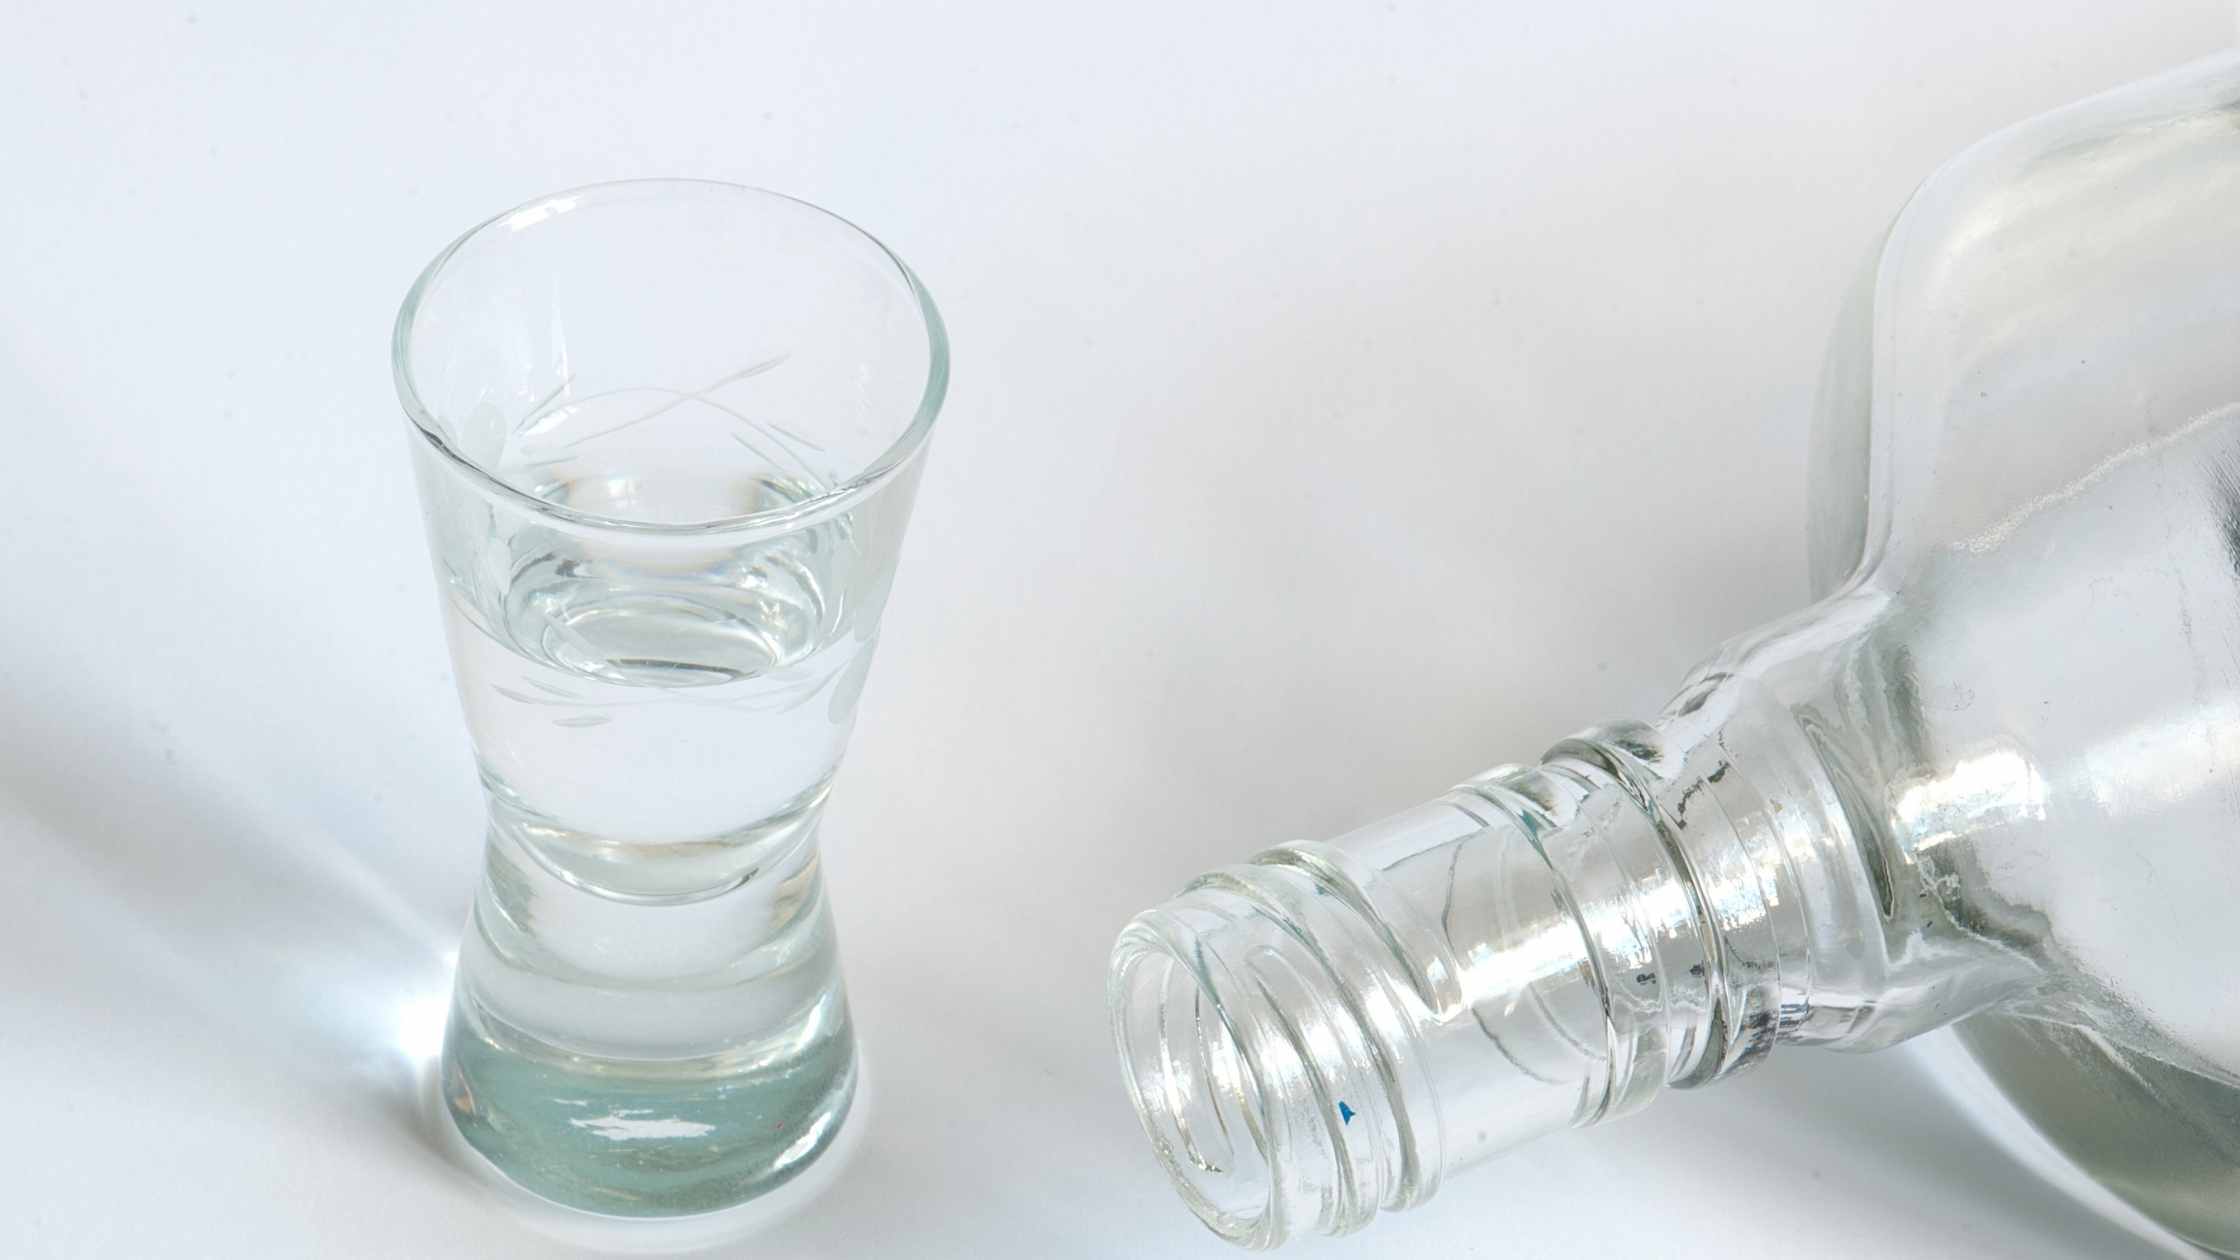
- Things to watch out for with the alcohol you are using. Vodka is sometimes made from wheat so if you have gluten sensitivity issues you need to use gluten-free vodka which is made from grapes (seek out organic in order to avoid pesticide residue from the grapes), potatoes or corn (potentially GM so look for organic if it's sourced from either of those). Bourbon is made from corn and therefore potentially GM, you'll need to look for organic bourbon (not easy to find I've been told). Rum is made from sugar cane and should be fine. Brandy is made from fruit pressings, grapes, apples, or pears usually. Since apples and pears are high on the dirty dozen list look for organic to avoid pesticide residue.
- As you use your vanilla extract you can continue to top off the jar and let it sit awhile to infuse.
How to Make It
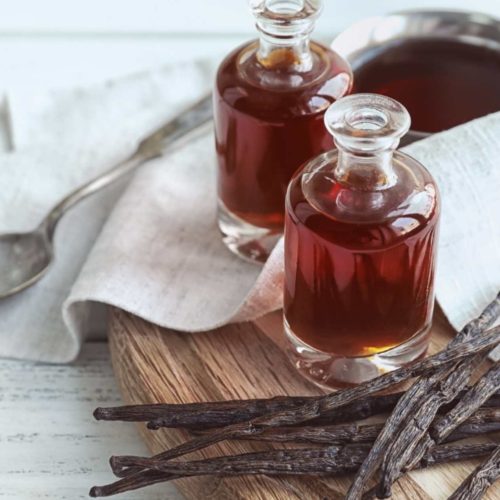
Vanilla Extract
Ingredients
- 3-4 vanilla beans
- 1 cup of alcohol (I chose Vodka)
Instructions
- Slice open the beans and scrape out the stuff in the middle. Scrape this stuff into your jar/bottle of alcohol.
- Cut the beans into pieces and add them to the jar with the scrapings. Cap the jar tightly.This is the part that requires patience. Wait.
- In two weeks shake the jar. Wait some more. Repeat. It takes approximately four months for your extract to be ready (some people say six is better)
Wait, There's More
It turns out that there's a little secret to vanilla beans. Once you've used them to make extract you can get just a little more flavor out of them.
After you've finished making your vanilla you can make vanilla powder. To do this simply take the beans out of the extract and dehydrate them. Using either a dehydrator or an oven set to 150°F dry them until they are crisp and snap when you bend them. How long this take will depend on how thick the bean is and, if you're using a dehydrator, the temperature of your dehydrator.
Once the beans are completely dry cut them into 1" pieces and grind them in a spice grinder. I use a coffee grinder that is clearly marked "Not For Coffee." Otherwise certain other people in the house are known to just grab a grinder and add beans. This is not pleasant because once a grinder has processed coffee beans it's difficult to get rid of the coffee flavor.
Culinary surveys show that vanilla powder, from vanilla beans, is very potent and far more flavorful. When using the powder instead of the extract you only need 1/2 teaspoon for every teaspoon required in the recipe.
Another option is to dry the beans thoroughly, not dehydrated, and put them into a quart jar filled with sugar to make vanilla sugar. Because the beans have already been used to make the extract and you're not adding the inner scrapings this can take a while, possibly up to a month for the beans to infuse the sugar. This can be a wonderful topping for special desserts or for those who add a smidge of sugar to a cup of tea.