The basics of canning and where to get canning supplies
From toilet paper to flour, to Dr. Pepper, the COVID-19 pandemic has set off a series of unfortunate events that resulted in product shortages worldwide.
The latest coronavirus shortage? Canning supplies.
According to an article in the Washington Post, the popularity of this “pandemic-fueled pastime” is leading to a shortage of jars, lids, and other canning supplies.
If you’re interested in the art of canning, here’s how to get started and where to get your materials.
Getting Started: The Three Canning Methods
There are three canning methods: water bath, pressure canning, and dry canning. Knowing the difference between the three processes will help you can the food you want to preserve correctly.
Water bath
Water bath is a low-temperature canning process ideal for high-acid food and recipes. It works by having the jar submerged into a stock pot filled with boiling water and “bathed” for a period of time.
The rationale behind water bathing addresses several factors--the temperature achieved (100 C or 212 F) can kill off yeasts, molds, and bacteria that cause spoilage; the seal prevents air or any bacteria from re-entering the jar; and will drive the acid into the food to permeate thoroughly and prevent the growth of the bacteria.
Although tomatoes, for instance, are considered an acid food, some are known to have pH above the required level. Remember that the lower the pH, the higher the acid. It can be lowered and safely processed in a boiling-water canner to incorporate the correct acid measure.
Here are other food and recipes ideal for this process:
- Jams, jellies
- Pickles, relishes
- Tomatoes, salsa
- Chutneys, sauces,
- Vinegar, condiments
Pressure canning
Pressure canning is a high-temperature canning process ideal for preserving low-acid food. Using a pressure canner (no it’s not the same thing as a pressure cooker) kills food-borne bacteria because it reaches 240 degrees F and forms a vacuum seal to prevent spoilage.
The basic rule is all low acid food must be processed in a pressure canner, not in a boiling water bath, to kill botulism bacteria that can be eliminated by temperature hotter than the boiling water.
This technique is required to preserve foods and recipes like:
- Vegetables
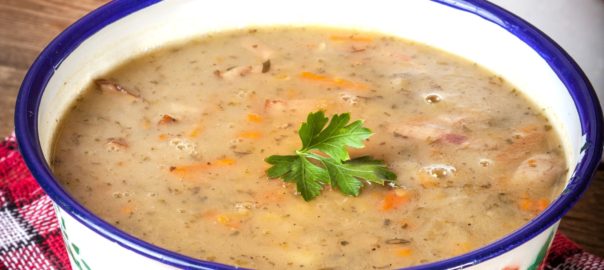
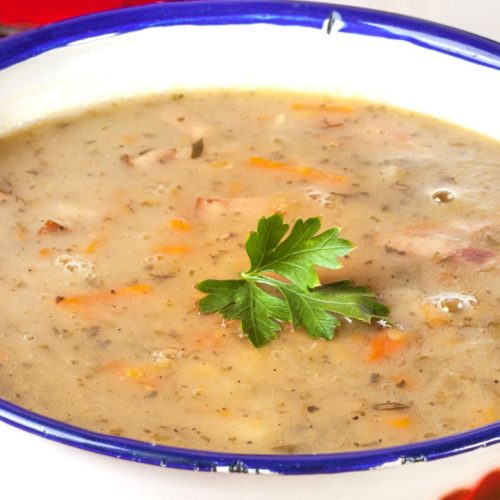
- Soup
- Meat, poultry, seafood
- Low acid salsa - like peach or pineapple
- Chili
Dry Canning
Dry canning is also a preservation method. Done by placing the jars in a heated oven, usually at 200 degree F. You’ll know the jars are sealed when they “pop”, like in traditional canning.
As the name implies, it is only for food with a moisture content of under 10 percent, as greater than the recommended moisture may cause bacteria to thrive.
The heat from the sealed jar kills any insects that might be present and secures the jars just like water bath and pressure canning do.
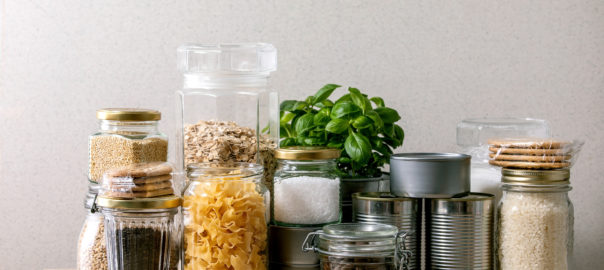
This method works well with the following dry goods:
- Dry beans
- Grains
- Pasta
- Rolled oats
- Dehydrated products
What you’ll need
While canning is a good way to preserve an overabundance, it does require an investment in supplies.Here are some of the materials I personally recommend:
This is a 5-piece canning tool set of great value. What I love about this is it comes with magnetic lid lifter and bubble remover that I find very useful.
Most canning kits come with a plastic funnel. Pouring hot liquids into plastic is not a good idea. Although glass funnels are available they’re a little more fragile than the metal ones.
You should use this if you’re going to make applesauce and grape jelly. This makes it super easy to make grape jelly without worrying about the skins.
Just throw everything in there and then run it through the strainer. A cone strainer is perfect for baby food, sauces, and purees. It also does a bang-up job on mashed potatoes.
I have come to prefer wide mouth jars. They’re easier to fill, empty, clean, and just seem more versatile. It’s a personal preference. Buy some of each, and see what you like best.
You can NOT can in a pressure cooker! Only in a pressure canner. That includes your Instant Pot. Unless it’s one of the newer ones that actually has a pressure canning feature.
And, PSA, old fashioned recipes that say you can water bath green beans if you do them long enough are not, according to online resources, correct. You run the risk of botulism and other toxins. Please be safe, and use the right tools for the job.
Where to get your supplies
There’s a bit of controversy in the home canning realm about reusing commercial jar lids. The official USDA position on that is that it is not safe, and you cannot guarantee a good seal. For the few pennies that it costs to buy lids, I believe it’s worth it to get a good seal by purchasing new lids.
Canning Recipes
In addition to my much-loved and tattered copy of the Ball Blue Book, these are my favorite cookbooks on preserving and canning:
Are you excited to start your “pandemic canning”? I would love to see it! Please use the hashtag #theingredientguru or tag me @theingredientguru on Instagram so I can follow your canning journey. You can also share this article with your family and friends to help them get started. Enjoy!