Category Archives: Instant Pot


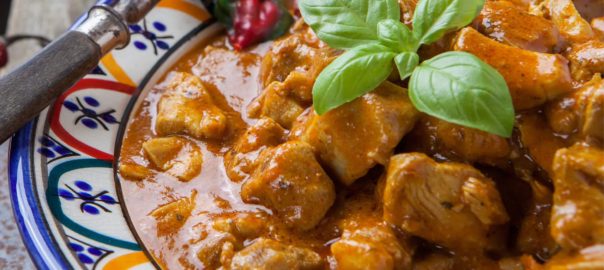
Quick Curry In A Hurry

I'm a fan of finding delicious and easy ways to use leftovers. This particular curry meal is a new favorite. I had too much leftover cooked chicken thighs and we weren't in the mood for the same meal on repeat. I'm sure you understand.
 
One of the best ways to avoid food fatigue is to take ingredients that have already been cooked and simply re-assemble them in a new, interesting, and delicious manner.
 
I served this over freshly steamed cauliflower although it could as easily be served over rice or quinoa.
 
This curry dish turned out to be a big hit and I'll definitely be making it again. I may even be tempted to cook extra chicken just so I have leftovers to go in this dish.
 

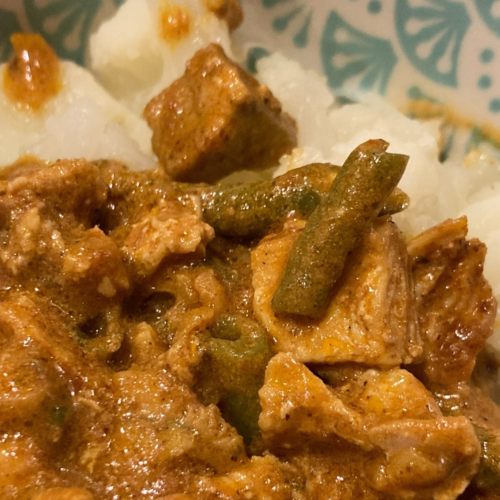
chicken curry with green beans

Quick Curry In A Hurry

Ingredients
  

  • 2 Tablespoons olive oil
  • 1/2 cup diced yellow onion
  • 2 large cloves garlic, diced (note: I had leftover roasted garlic which was a wonderful addition)
  • 1 1/2 Tablespoon tomato paste
  • 2 teaspoons curry powder
  • 1/3 cup coconut milk (preferably with cream)
  • 1 cup water
  • sea salt and fresh ground pepper to taste

Instructions
 

  • 2 cups cooked chicken, cut into bite size pieces
  • 1 cup cooked vegetables (I used green beans)
  • Heat the oil in a pan, and saute the onion until golden and slightly soft
  • Add garlic and saute 1 minute until fragrant
  • Add tomato paste, curry powder, and coconut milk, stirring to combine thoroughly
  • Add water, stirring to combine thoroughly
  • Season sauce to preference
  • Add chicken and vegetables, reduce heat to a simmer and cook 3-4 minutes until hot
  • Instant Pot Steamed Cauliflower
    Add 1 cup of water to the Instant Pot
    Add a steamer basket
    Wash and trim and entire head of cauliflower, then cut into florets
    Add florets to steamer basket
    Seal and bring to pressure for 1 minute
    Quick release
    Remove steamer basket from IP and serve immediately


winter soup

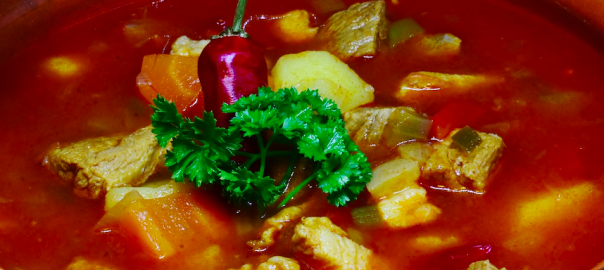
Winter Soup

It's still winter

We've made it past the winter solstice and the days are slowly getting longer. But the weather is definitely cold and damp. And it still gets dark pretty early. On days like that, I think there's nothing like a nourishing, warming winter soup. Combined with a simple salad and a delicious cheesy biscuit, it makes a perfect dinner at the end of the day. Plus it's an easy meal that comes together pretty quickly.


Winter Soup
Print
Ingredients
  1. 3 ribs celery, diced
  2. 1 white onion, minced
  3. 2 lbs boneless skinless chicken breasts, cut into bite-sized pieces
  4. 1- 15 oz can diced tomatoes, with juice
  5. 1 large sweet potato, peeled and diced
  6. 1/2 cup spinach
  7. 1 large zucchini, diced
  8. 3 cloves garlic, minced
  9. 4 cups bone broth
  10. 1 tbsp dried basil
  11. 2 tsp dried oregano
  12. 1 tbsp dried parsley
  13. Optional: add 1 small hot pepper for a bit of a warming kick - if this is too spicy, the pepper can be cooked separately and added to the bowl before serving
To make in the Instant Pot
  1. Add all ingredients into the pot and stir to combine
  2. Seal and cook on manual high for 20 minutes
  3. Natural release 10 minutes then quick release
To make in a slow cooker
  1. Add all ingredients and stir to combine
  2. Cover and cook high 3-4 hours/low 6-7 hours
  3. Add salt and pepper to taste
  4. Garnish with fresh parsley
  5. Enjoy!
The Ingredient Guru, Mira Dessy https://theingredientguru.com/
 
For quick and easy cheesy biscuits I use this recipe from Pamela's and add 1/4 cup of shredded cheese. I get perfect gluten-free biscuits every time.
 

Instant Pot Vs. Air Fryer

What do you do if you’re an Instant Pot fan, you really want to get an Air Fryer, but you have no kitchen counter space? Do you have to pick one or can you have both? This was me. Fortunately, I found a solution.

I love my Instant Pot

I’m a big Instant Pot fan. Ever since I got mine it has migrated to live permanently on the kitchen counter and I use it several days a week for a wide variety of things. When I got my Instant Pot I was able to get rid of my popcorn popper, my rice cooker, and my pressure cooker. My husband was pushing for me to get rid of the slow cooker as well but I defended it because (a) I’ve had it since I was 18 and I’m kind of attached to it, and (b) when you have a party sometimes you need an extra cooking device.

For me, having an Instant Pot has been a game-changer in my kitchen. I use it for a so many things, especially this delicious Instant Pot Summer Vegetable Soup.

But I want an Air Fryer Too

When I heard about Air Fryers I was tempted. I'm seeing them everywhere. They are very popular and everyone seems to be getting one. But after much careful consideration, I decided not to get one.

Sure an Air Fryer is a cool idea. It uses only a tiny bit of oil plus some heated air to ‘deep fry’ your food. Okay, it’s great that you can make “fried” foods that are healthier and cook them really quickly. I was seriously tempted.

But then I looked at my kitchen and realized that counter space was at an all-time premium. In fact, I joked that if Instant Pot came out with a new version that did air fryer plus the other 11 functions I would be all in, but until then I was sticking with my IP. 

How does an air fryer work?

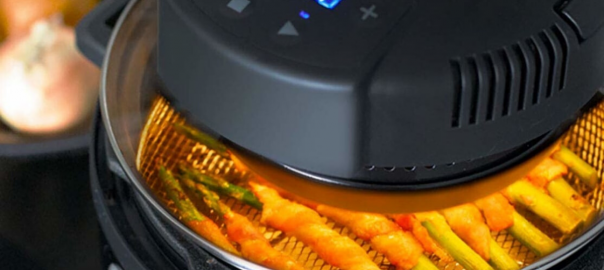
For all you Air-Fryer-Curious people, let’s look at how an air fryer works. Unlike the multi-function Instant Pot, it’s pretty much a single-use device. With just a little bit of oil, a high temperature (an average of 392°F / 200°C according to my research), and air circulating rapidly, you get convection cooked food with a “fried” texture. Due to the convection cooking, foods do cook in much less time than actual frying.

Although the process is somewhat similar to a deep fryer, the Air Fryer uses a lot less oil so the idea is that you are getting a healthier “fried” food. This cuts down quite a bit on the fat and calories. However, you still get to enjoy the crispiness of fried foods. 

The Solution

While I wasn’t prepared to give up my Instant Pot I was very tempted by the idea of an Air Fryer (have I mentioned that?). Then a friend shared something I had never heard of before. A Mealthy Crisplid.

What is a Mealthy Crisplid? It’s a lid that converts any 6 or 8 quart Instant Pot or electric pressure cooker into an Air Fryer. It’s kind of like the best of both worlds because you get to keep your Instant Pot but you don't have to have another big counter-space-required appliance for air frying.

I was blown away by this concept. And I bought one.  Of course, now I’m having to learn how to make air-fried things. And while I don’t plan to make a lot of them, it’s a nice way to be able to add that to our meal planning.

Basic Tips

I’m still learning how to use my crisplid, but I’ve learned a couple of tips that are important whether you have an air fryer or a crisplid.

Do the Prep Work

Prep work is key for this method of cooking. You have to take your time to make sure that things are properly coated, that they’re seasoned or oiled as required, and that you’ve followed instructions on how to prep the food. The recipes are not like traditional deep-fried recipes where you can just throw it in the oil and it mostly sticks together. 

Loading Your Air Fryer

You’ll need a basket to hold the food in so that it can get good circulation (the Mealthy comes with a trivet and a basket). I’ve learned the hard way that you need to (a) not overcrowd the basket, and (b) flip the food partway through to make sure the browning and crispiness is even. I’m still working on perfecting French fries (this is where I’ve really learned the importance of not putting too much into the basket).

Be aware of temperatures

Your Mealthy, and I’m assuming an Air Fryer too, gets HOT. You need to use caution when handling it, have a good surface to set the lid down when flipping items over, be careful when handling the parts, and remember the foods come out fried-food-hot. You also need to wait until the device is completely cool before you clean it. So caution and patience are the words of the day here.

Quick Recipes

If you're looking for a solution to the Instant Pot vs. Air Fryer dilemma, this may just be the answer you are looking for.

As I mentioned above, I'm still learning, but here are a few quick recipe ideas that I’ve found as I’ve been doing my research. I’m going to keep experimenting and learning as I continue to use my Mealthy Crisplid but I’m glad I got it.

Mozzarella Sticks

Instead of the melted cheese thing that tends to happen in a deep fryer, air frying is an easier way to make mozzarella sticks. Cut mozzarella sticks in half, dip them into beaten egg and roll in grated parmesan with 1 teaspoon of Italian seasoning. Then put them into the air fryer (spray the basket with olive oil) at 390°F for 4-6 minutes.

Fried Broccoli
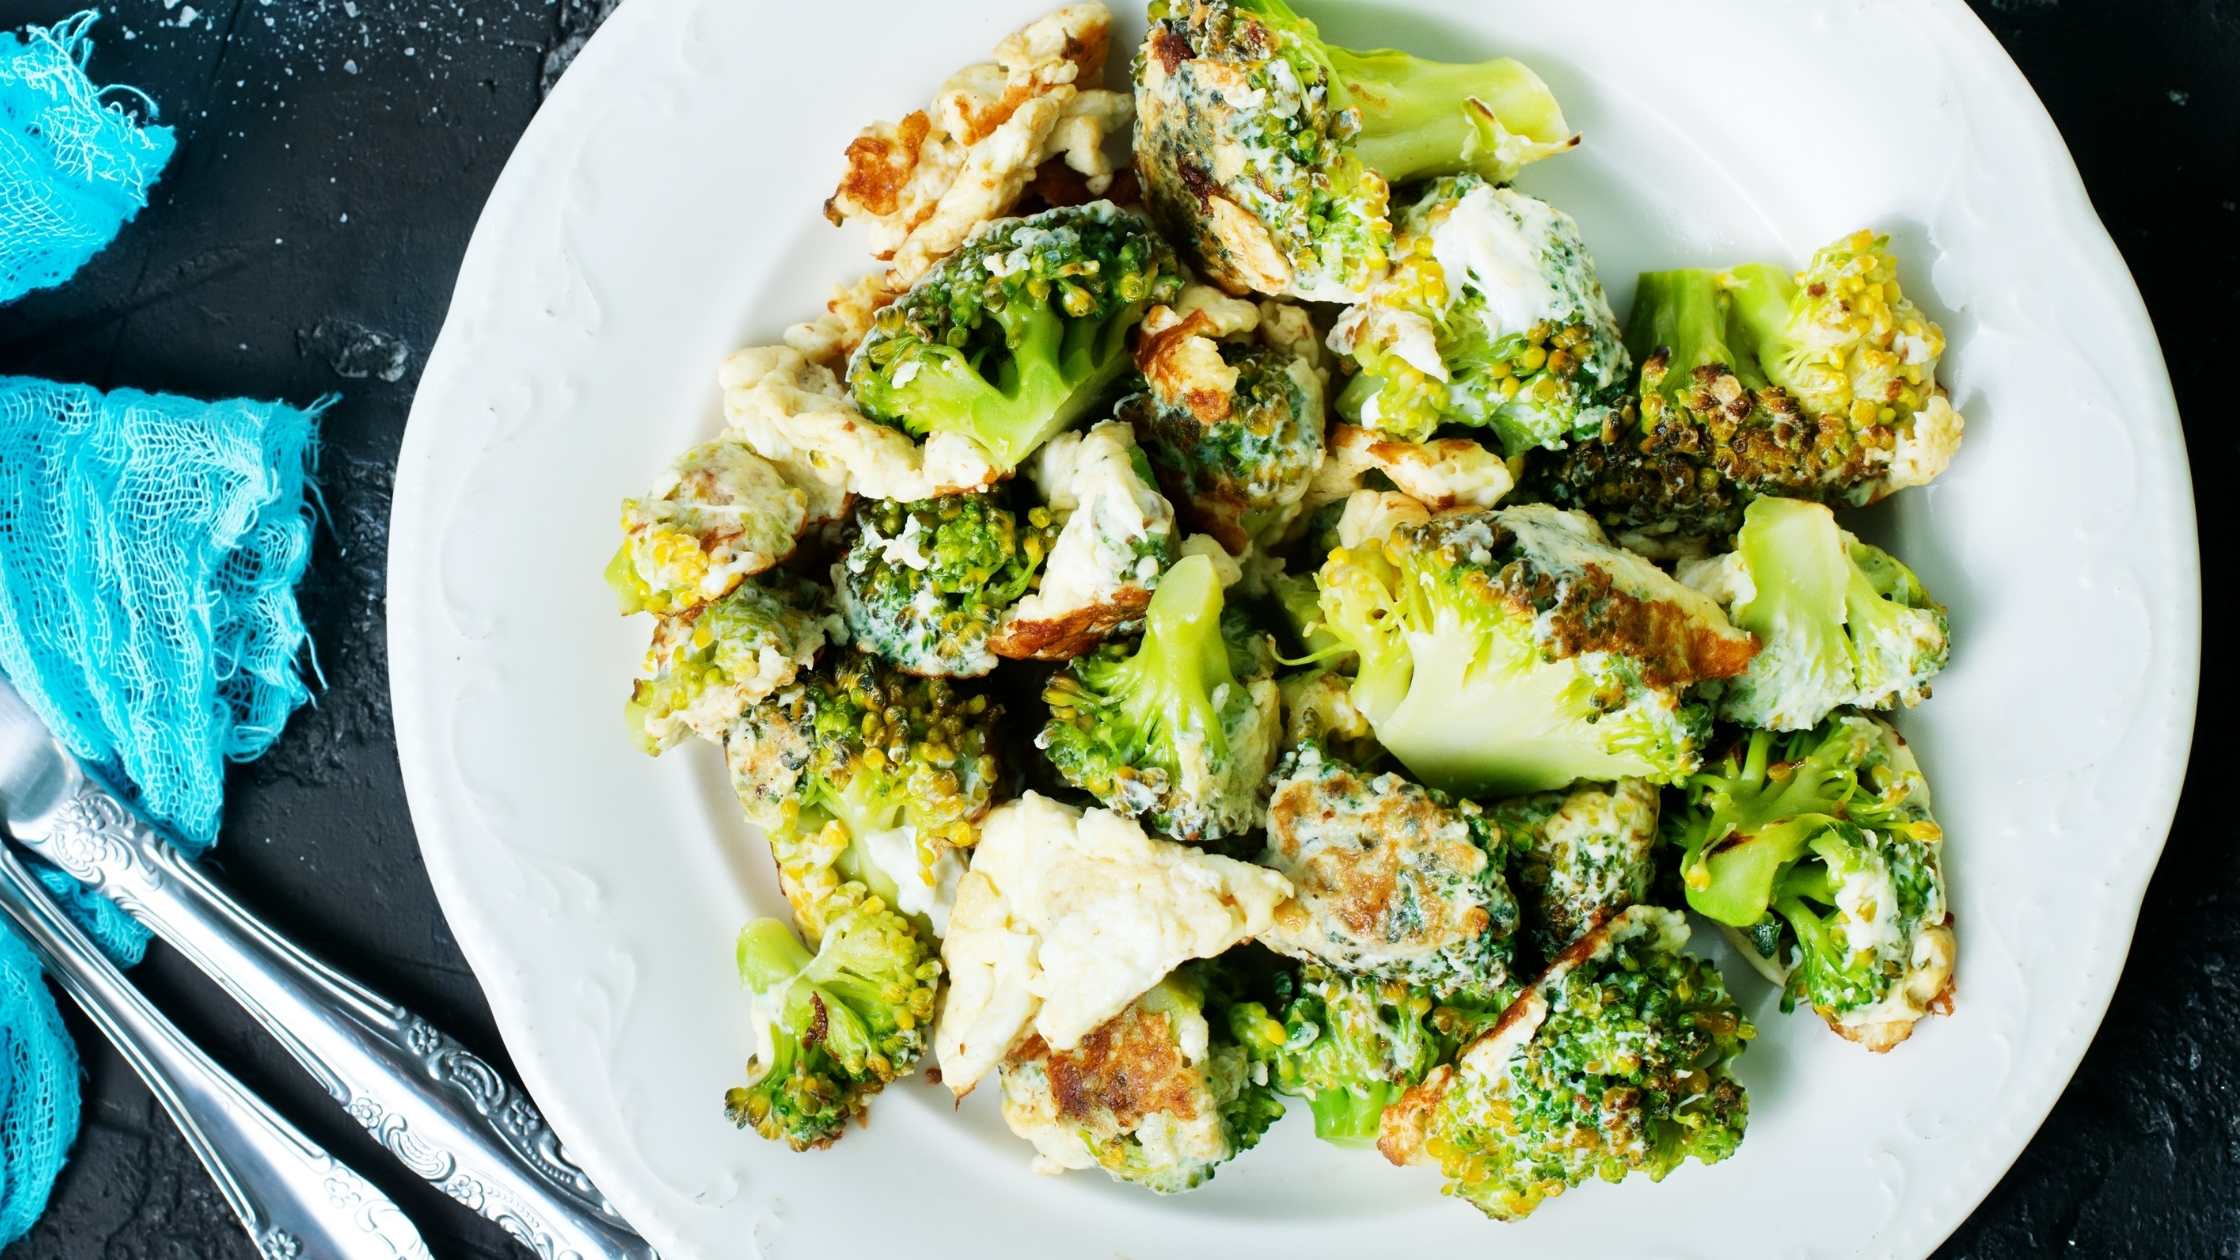
This can be a delicious way to eat broccoli. It comes out with a crispy edge. Soak small florets in water, and drain. Then roll in almond flour with a seasoning of your choice. Put into your sprayed air fryer basket and cook at 400°F for 10 minutes.

Banana Chips
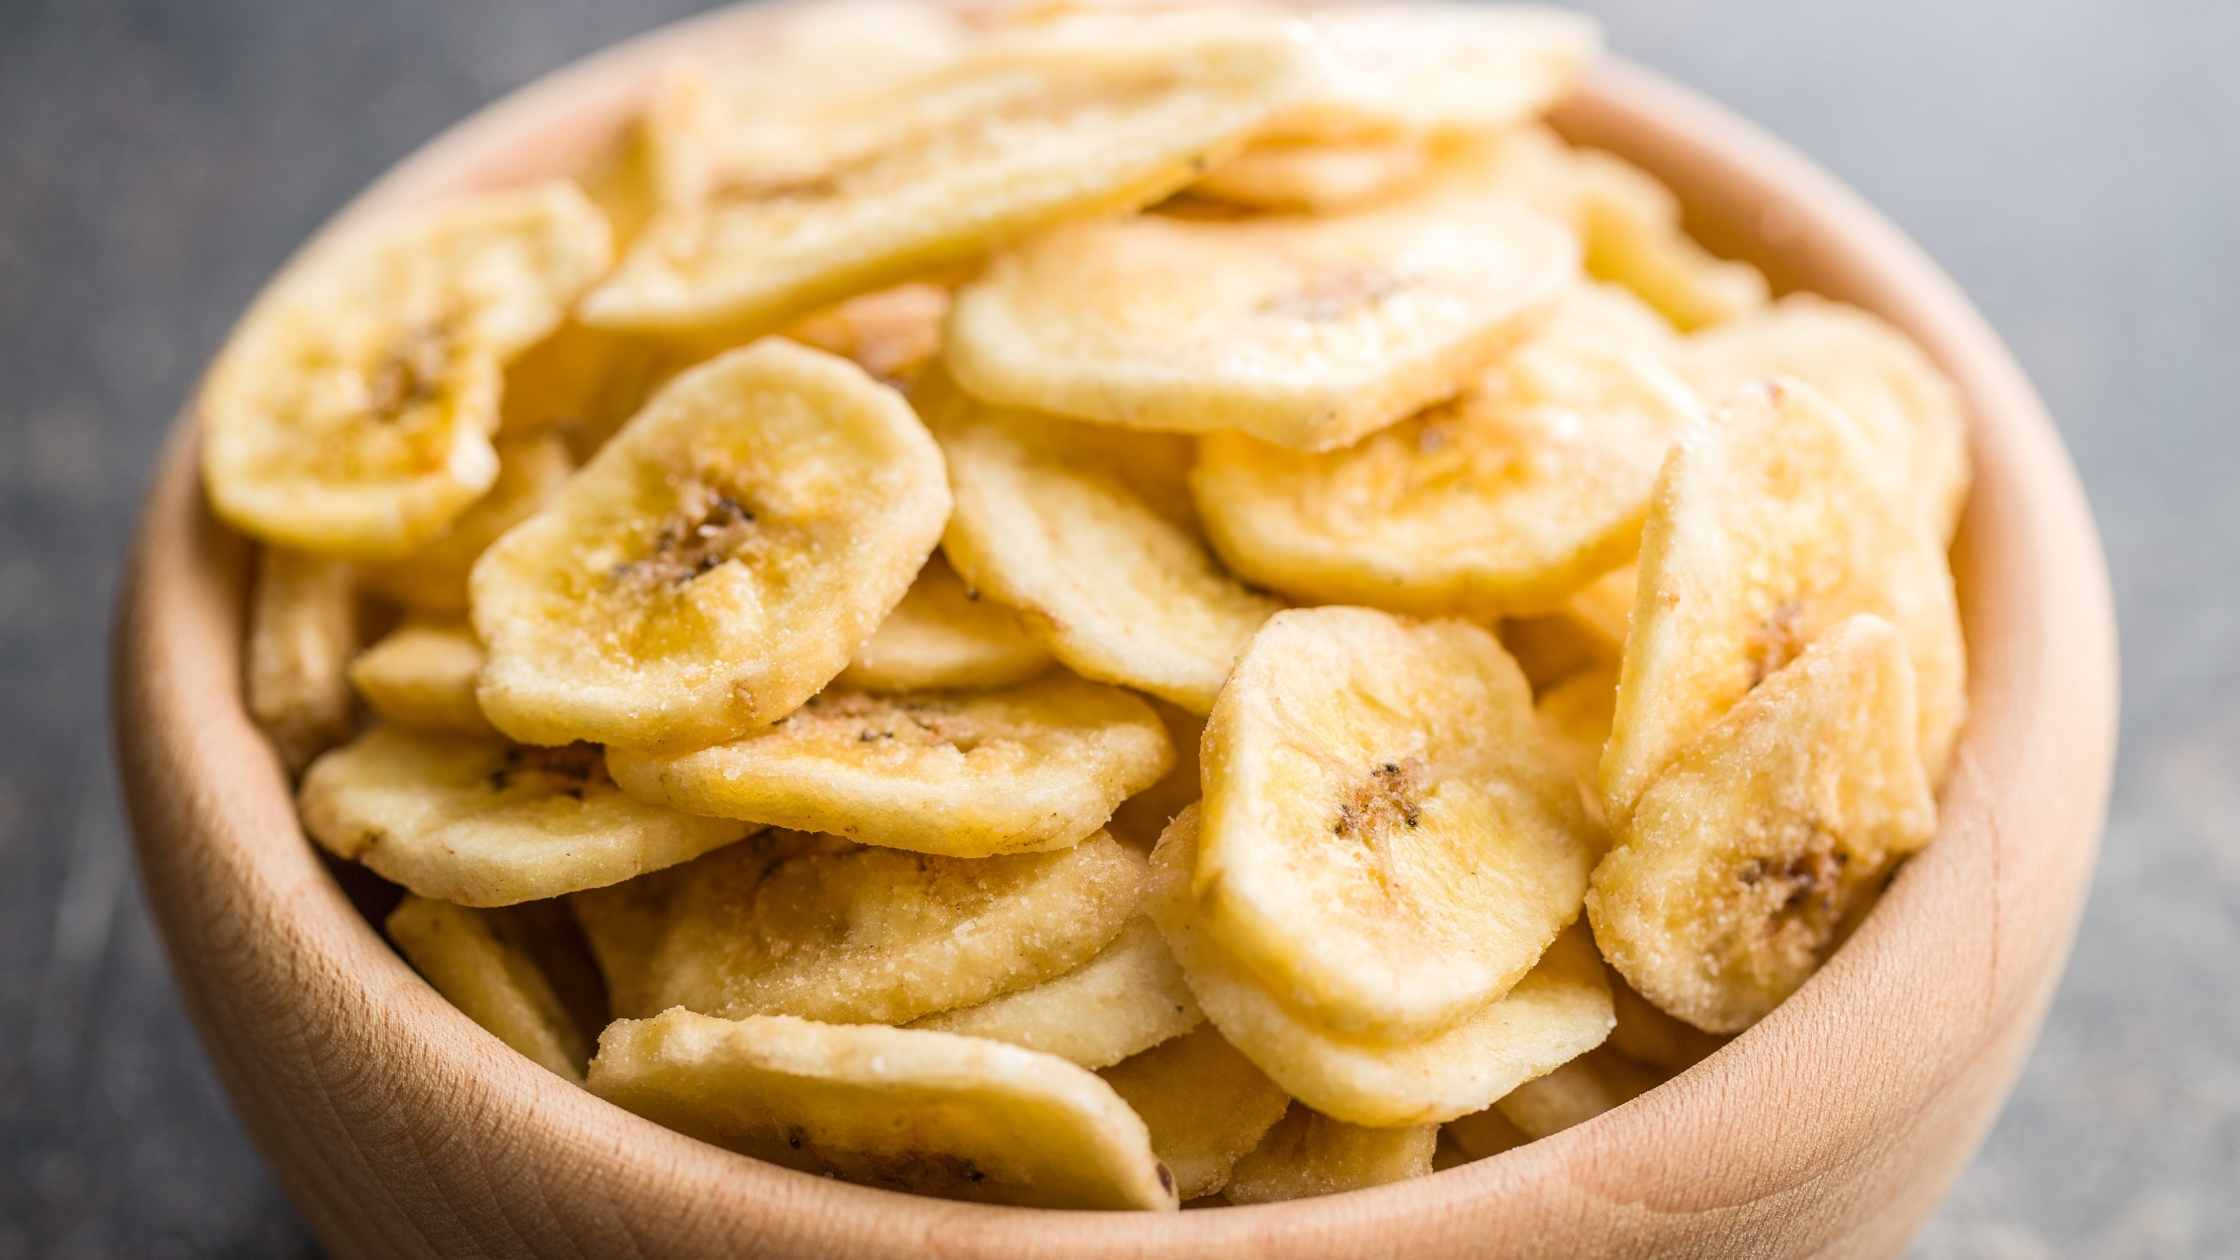
I love banana chips and this could be a great way to make them at home and skip the preservatives that they typically come with. It’s important to use bananas that are greener and not too soft or mushy. Slice thinly, mist with a little olive oil, add salt, cinnamon, or any other seasoning you’d like. Place into an oiled basket and cook at 395°F for 15 minutes.
 

Summer Vegetable Soup - The Ingredient Guru Recipe

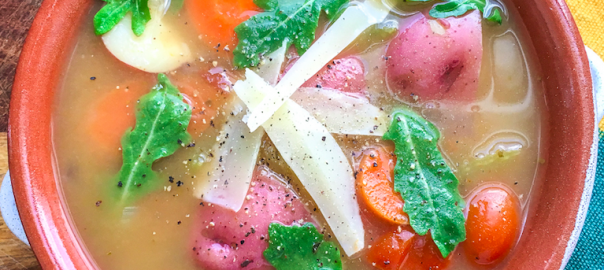
Instant Pot Summer Vegetable Soup

I love my Instant Pot

Ever since I got an Instant Pot® (IP) it has become my favorite appliance. I use it so much that I got tired of dragging it up from the cupboard under the counter and now it lives on my kitchen counter full-time.  It gets used regularly for a wide variety of dishes.  That includes for summer meals. 

Just because it's summertime doesn't mean that we should not eat soup. And while there are lots of delicious cold summer soups, like this amazing gazpacho, even hot soups can be a wonderful summertime dish because they take advantage of the season and what's fresh.  Of course just because we want to enjoy summer soups, doesn't mean we want the heat and humidity in our kitchen that comes along with cooking soup. That's where the instant pot is such an amazing kitchen tool. it takes so much less time and therefore adds less heat to the kitchen.

This recipe is so quick and easy to put together that it's sure to become one of your summertime (or anytime) favorites. And one of the best things about it is that it's actually a pretty flexible recipe. Don't have green beans? Use lima beans.  Or asparagus. Don't have zucchini, add mushrooms. You really can add a wide variety of vegetables to this.  (pssst…I've sometimes been known to clean out my crisper drawer by simply throwing a bunch of veggies into the instant pot, following the general proportions of this recipe, adding bone broth, herbs, and letting the IP do it's magic.)

Instant Pot Summer Vegetable Soup
Print
Ingredients
  1. 1 tablespoon extra virgin olive oil
  2. 3 cloves garlic, minced
  3. 4 large stalks celery, chopped
  4. 4 large carrots, sliced
  5. 1 medium red onion, chopped
  6. 1 cup green beans, cut into pieces
  7. 1 cup zucchini or summer squash, diced
  8. 8 cups bone broth
  9. 1 pound red potatoes, quartered
  10. 1 teaspoon fresh rosemary, minced
  11. 1/2 teaspoon fresh thyme, minced
  12. 1 teaspoon fresh parsley, minced
  13. 1 pint cherry tomatoes, chopped
  14. 2 cups fresh baby greens such as kale, spinach or arugula
  15. Sea salt and fresh ground black pepper to taste
  16. 2 tablespoons fresh lemon juice
  17. Parmesan cheese, freshly shaved or grated
Instructions
  1. Add olive oil to liner pot and set function to Sauté
  2. Add garlic, celery, carrots, and onion,
  3. Sauté until onion is wilting and golden in color, approximately 4-5 minutes
  4. Add green beans, zucchini, potatoes, tomatoes, herbs, salt and pepper
  5. Add bone broth and stir to combine
  6. Put on lid and lock into place, setting the vent to “Sealing”
  7. Set pot to “Manual” for 3 minutes
  8. When cooking time is finished, allow pressure to release naturally for 10 minutes, then manually release any remaining pressure
  9. Remove lid and add baby greens and lemon juice, stirring to combine well
  10. Serve immediately topped with freshly shaved or grated Parmesan cheese
  11. Enjoy!
The Ingredient Guru, Mira Dessy https://theingredientguru.com/

More delicious summer recipes

Here are a few more fabulous summertime recipes

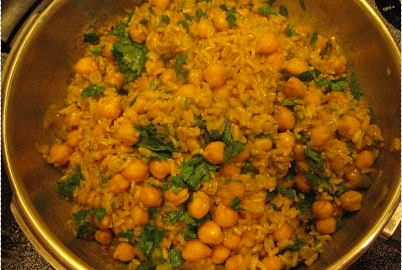
Pressure Cooker Curried Rice and Beans

Pressure Cooker Curried Chickpeas And Rice

Afraid of the pressure cooker

I have a confession to make.  I've always been a little afraid of pressure cookers.  When I was growing up my mother didn't use one.  By the time I was exposed to them as a young adult, the concept seemed a little scary.

When I talked to my mother about it she told me that her mother had used a pressure cooker when she was growing up.  So I asked my mother why she never used one.  She replied by sharing a story about my Nana, my father's mother, involving a pressure cooker.  

Apparently, in the middle of cooking dinner with the pressure cooker, something went horribly wrong. There was some kind of an explosion and the lid blew off.  There was so much force involved that the lid embedded itself in the ceiling of Nana's kitchen.  

One can only imagine the horror and disbelief … and what the kitchen must have looked like.  Mom wasn't exactly sure how Nana managed to get the lid out of the ceiling.  That was the end of pressure cooking as far as Nana was concerned. Needless to say that episode was enough to convince my mother that she did not want to use a pressure cooker.  Ever.

Learning to use a pressure cooker

 Not having grown up around one neither did I.  Until now. Fast forward many years….my friend Emily at The Kindred Kitchen invited me over for dinner.  She made an amazing dinner in her pressure cooker.  She was so confident, so calm, and it was all so delicious!  I was hooked and wound up buying one of my own.

I've been experimenting with it and have discovered that I absolutely love it; it is rapidly becoming one of my favorite kitchen appliances.  Meats and vegetables are delicious, colorful, flavorful, and oh so tender.  The real prize-winning use, however, is for rice and beans, of all different flavor profiles.  It is so quick, so easy, and it comes out just right.  I absolutely love my pressure cooker and owe Emily a debt of gratitude for helping me to change my mind.  This recipe for curried chickpeas and rice is based on one that she shared with me.

Pressure Cooker Curried Rice and Beans
Print
Ingredients
  1. 1 cup chickpeas, picked over and rinsed
  2. 1 cup brown rice
  3. 1 medium onion, diced
  4. 2 cloves garlic, minced
  5. 2 tablespoons curry powder
  6. 2 cups vegetable broth
  7. sea salt and fresh ground pepper to taste
  8. 1/2 cup chopped cilantro
Instructions
  1. In the morning set the chickpeas to soak in a pot of hot water
In the evening assemble your meal
  1. Drain and rinse the chickpeas
  2. Heat the olive oil in the pressure cooker
  3. Saute the onions and garlic for a few minutes until soft
  4. Add the curry powder and stir for a moment
  5. Add the rice and stir until the rice is coated
  6. Add the broth, chickpeas, salt and pepper
  7. Lock the lid in place and bring to high pressure
  8. Reduce the heat but still maintain high pressure
  9. Cook for 9 minutes and remove from heat
  10. Let pressure drop naturally for another 5 minutes
  11. Quick release and then remove the lid
  12. Stir in the chopped cilantro and serve
The Ingredient Guru, Mira Dessy https://theingredientguru.com/

New and improved pressure cooking

Fast forward again. After I became comfortable with using a pressure cooker a lovely new device came on the market.  The Instant Pot! I love my instant pot and it's pressure cooking capabilities. This dish works just as well in the instant pot and only needs a few modifications.

Instant Pot Curried Chickpeas and Rice
Print
Ingredients
  1. 1 cup chickpeas, picked over and rinsed
  2. 3 cups of water
  3. 1 cup brown rice
  4. 1 medium onion, diced
  5. 2 cloves garlic, minced
  6. 2 tablespoons curry powder
  7. 2 cups vegetable broth
  8. sea salt and fresh ground pepper to taste
  9. 1/2 cup chopped cilantro
Instructions
  1. Add chickpeas and 3 cups of water to IP
  2. Cook for 2 minutes
  3. Natural release for 10 minutes, then quick release
  4. Rinse well and set aside
  5. Heat the olive oil in the IP
  6. Saute the onions and garlic for a few minutes until soft
  7. Add the curry powder and stir for a moment
  8. Add the rice and stir until the rice is coated
  9. Add the broth, chickpeas, salt and pepper
  10. Lock the lid in place and bring to high pressure for 25 minutes
  11. Natural release for 15 minutes, then quick release
  12. Stir in the chopped cilantro and serve
The Ingredient Guru, Mira Dessy https://theingredientguru.com/

If you enjoyed this article, please join my community to receive more information and special offers with my free newsletter, Food News You Can Use  (I do the research so you don't have to). This concise, informative newsletter gives you updates you need to know about the ingredients for living a healthy life.