Category Archives: pickles


Umami No-Bean Chili

When I moved to Texas I learned that there’s a controversy when it comes to chili. Beans or no beans. Having grown up in New England I was definitely in the with beans camp.  But after living firmly in no bean territory for a number of years I began to appreciate the satisfyingly rich meatiness of a no bean chili.  

This recipe is so full of fresh veggies that you really don’t miss the beans.  Adding portobello mushrooms increases the umami factor.  Top it all off with flavorful herbs and spices and it’s satisfyingly delicious. You can add a wonderful quick onion pickle (recipe below) and a fabulous slaw for a nourishing comfort food meal.

Umami No-Bean Chili

Servings 6

Ingredients
  

  • 2 Tablespoons extra virgin olive oil
  • 1 medium yellow onion, diced
  • 2 large carrots, diced
  • 2 medium celery stalks, diced
  • 2 medium red bell peppers, diced
  • 1 pound portobello mushrooms, chopped
  • 1½ pounds organic or free range ground beef
  • 2-3 garlic cloves, minced
  • Sea salt and black pepper, to taste
  • 2 Tablespoons tomato paste
  • 1 Tablespoon ground cumin
  • 2 teaspoons dried oregano
  • 2 teaspoons chili powder
  • ½-1 teaspoon cayenne pepper (to taste)
  • 1 24-ounce can crushed tomatoes, undrained
  • 1 cup bone broth

    https://theingredientguru.com/healing-powers-bone-broth/ 

  • 1 medium jalapeno pepper, seeded and minced (optional)
  • Suggested Toppings:

    Quick Onion Pickle

    Avocado

    Fresh cilantro leaves, chopped

Instructions
 

  • Heat olive oil in a large soup pot over medium-high heat. Add in onion, carrots, celery, bell peppers, mushrooms, and jalapeno pepper (if using)
  • Stir occasionally, until vegetables are softened, approximately 5-7 minutes
  • Add in ground beef, garlic, sea salt and black pepper, to taste
  • Cook, breaking up meat, until the beef is browned, approximately 5-6 minutes
  • Add tomato paste and seasonings, stir to combine well and cook for another 1-2 minutes, or until the spices become fragrant
  • Add crushed tomatoes and broth and bring to a boil then reduce heat to medium and simmer for 15-20 minutes, stirring occasionally
  • Remove from heat and adjust seasonings, if necessary
  • Add desired toppings, serve immediately. Enjoy!

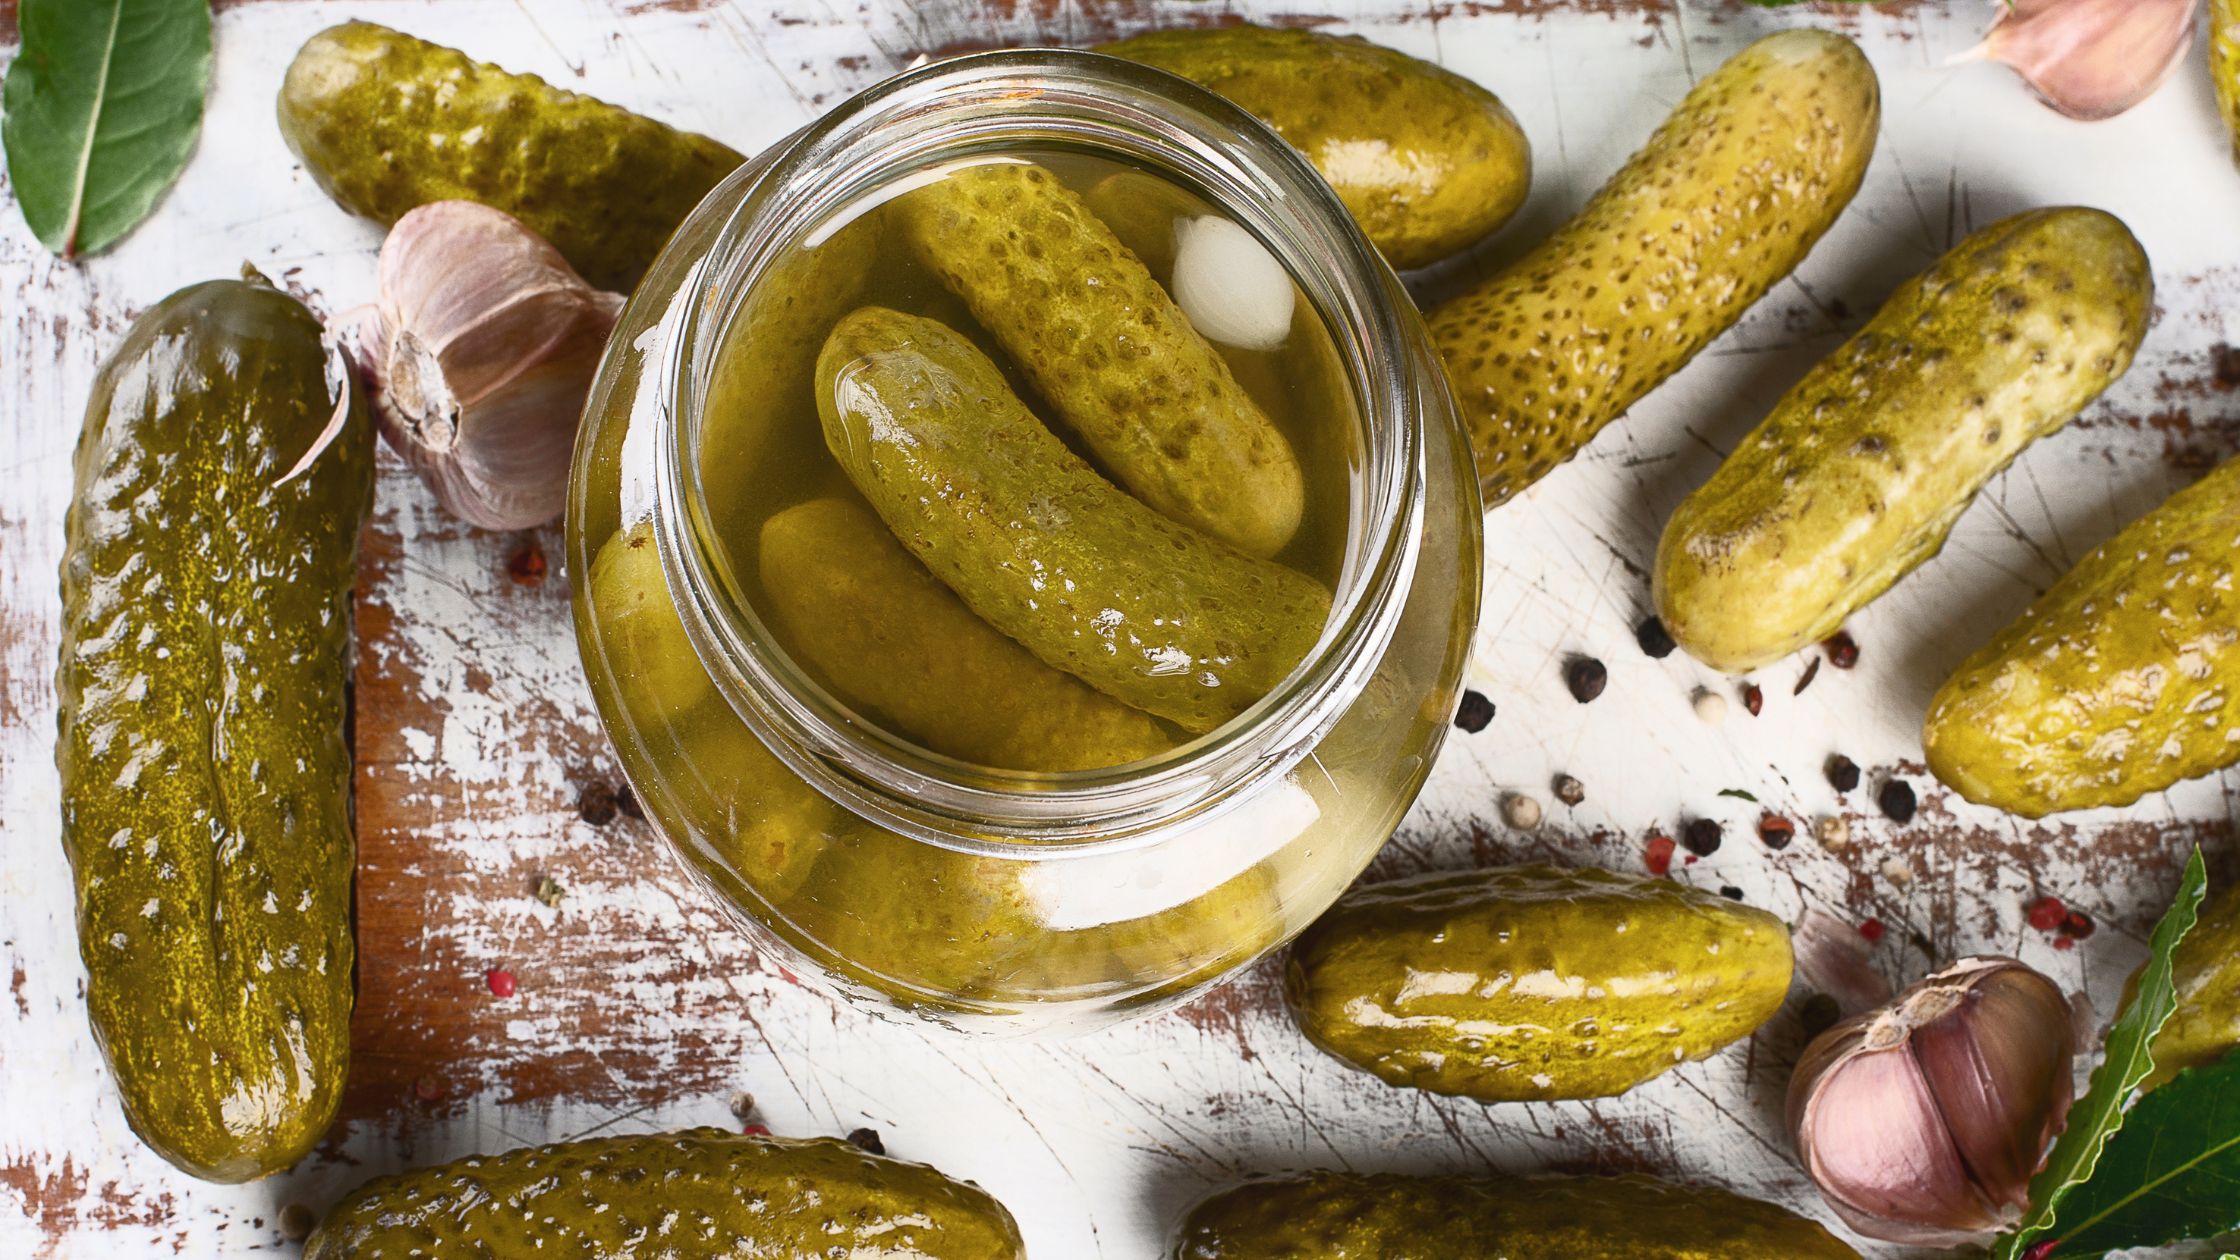
Delicious on top of your favorite Mexican or Tex Mex dishes, these quick onion pickles are super easy to make in the kitchen. They’re not just for Mexican food though.  You can also enjoy them as a condiment for just about anything including wraps, salads, or anywhere that you’d like a little extra flavor.  If you like a little heat you can add jalapeno.  The pickling liquid is really flavorful as well and can be substituted in place of plain vinegar in your marinades or homemade vinaigrettes. 

Quick Onion Pickle

Ingredients
  

  • ¾ cup apple cider vinegar vinegar
  • ¾ cup water
  • 2 Tablespoons kosher salt
  • 2 Tablespoons honey, preferably local
  • 3-4 cloves fresh garlic, minced
  • 1 medium red onion, sliced thin
  • 5-6 jalapeno peppers, sliced into rounds, seeds removed (optional)

Instructions
 

  • Combine vinegar, water, salt, honey, and garlic in a saucepan over medium heat
  • Whisk to combine well then heat until honey is fully dissolved
  • Remove from heat, set aside
  • Place sliced onion (and peppers if using) in a glass jar with a tight-fitting lid
  • Pour pickling liquid over the onions (and peppers) being sure to cover completely
  • Let sit one hour to marinate before using
  • Store in the refrigerator up to two weeks


Greens & Apple Slaw

Ingredients
  

  • ½ head of green cabbage, diced longwise
  • 1 cup Brussels sprouts, shaved
  • 1 small green apple, cored and diced
  • ⅓ pound bacon, cooked and crumbled
  • 1 Tablespoon apple cider vinegar
  • Sea salt and black pepper to taste

Instructions
 

  • In large bowl, mix cabbage, Brussels sprouts, and salt and let sit for 30 minutes
  • After salted vegetable mixture has released water, drain thoroughly
  • Add remaining ingredients to vegetables and toss well

Canning 101: A Guide To Preserving

The basics of canning and where to get canning supplies

From toilet paper to flour, to Dr. Pepper, the COVID-19 pandemic has set off a series of unfortunate events that resulted in product shortages worldwide. 

The latest coronavirus shortage? Canning supplies.

According to an article in the Washington Post, the popularity of this “pandemic-fueled pastime” is leading to a shortage of jars, lids, and other canning supplies. 

If you’re interested in the art of canning, here’s how to get started and where to get your materials. 

Getting Started: The Three Canning Methods

There are three canning methods: water bath, pressure canning, and dry canning. Knowing the difference between the three processes will help you can the food you want to preserve correctly.

Water bath

Water bath is a low-temperature canning process ideal for high-acid food and recipes. It works by having the jar submerged into a stock pot filled with boiling water and “bathed” for a period of time. 

The rationale behind water bathing addresses several factors--the temperature achieved  (100 C or 212 F) can kill off yeasts, molds, and bacteria that cause spoilage; the seal prevents air or any bacteria from re-entering the jar; and will drive the acid into the food to permeate thoroughly and prevent the growth of the bacteria.

Although tomatoes, for instance, are considered an acid food, some are known to have pH above the required level. Remember that the lower the pH, the higher the acid. It can be lowered and safely processed in a boiling-water canner to incorporate the correct acid measure. 

Here are other food and recipes ideal for this process: 

  • Jams, jellies
  • Pickles, relishes
  • Tomatoes, salsa
  • Chutneys, sauces,
  • Vinegar, condiments

Pressure canning

Pressure canning is a high-temperature canning process ideal for preserving low-acid food. Using a pressure canner (no it’s not the same thing as a pressure cooker) kills food-borne bacteria because it reaches 240 degrees F and forms a vacuum seal to prevent spoilage.

The basic rule is all low acid food must be processed in a pressure canner, not in a boiling water bath, to kill botulism bacteria that can be eliminated by temperature hotter than the boiling water. 

This technique is required to preserve foods and recipes like:

  • Vegetables
  • Soup
  • Meat, poultry, seafood
  • Low acid salsa - like peach or pineapple
  • Chili

Dry Canning

Dry canning is also a preservation method. Done by placing the jars in a heated oven, usually at 200 degree F. You’ll know the jars are sealed when they “pop”, like in traditional canning. 

As the name implies, it is only for food with a moisture content of under 10 percent, as greater than the recommended moisture may cause bacteria to thrive. 

The heat from the sealed jar kills any insects that might be present and secures the jars just like water bath and pressure canning do. 

This method works well with the following dry goods:

  • Dry beans
  • Grains
  • Pasta
  • Rolled oats
  • Dehydrated products 

What you’ll need

While canning is a good way to preserve an overabundance, it does require an investment in supplies.Here are some of the materials I personally recommend:

This is a 5-piece canning tool set of great value. What I love about this is it comes with magnetic lid lifter and bubble remover that I find very useful.

Most canning kits come with a plastic funnel. Pouring hot liquids into plastic is not a good idea. Although glass funnels are available they’re a little more fragile than the metal ones.

You should use this if you’re going to make applesauce and grape jelly. This makes it super easy to make grape jelly without worrying about the skins. 

Just throw everything in there and then run it through the strainer. A cone strainer is perfect for baby food, sauces, and purees. It also does a bang-up job on mashed potatoes.

  • Wide-mouth jars

I have come to prefer wide mouth jars. They’re easier to fill, empty, clean, and just seem more versatile. It’s a personal preference. Buy some of each, and see what you like best.

You can NOT can in a pressure cooker! Only in a pressure canner. That includes your Instant Pot. Unless it’s one of the newer ones that actually has a pressure canning feature. 

And, PSA, old fashioned recipes that say you can water bath green beans if you do them long enough are not, according to online resources, correct. You run the risk of botulism and other toxins. Please be safe, and use the right tools for the job.

Where to get your supplies

There’s a bit of controversy in the home canning realm about reusing commercial jar lids. The official USDA position on that is that it is not safe, and you cannot guarantee a good seal. For the few pennies that it costs to buy lids, I believe it’s worth it to get a good seal by purchasing new lids.

Canning Recipes

In addition to my much-loved and tattered copy of the Ball Blue Book, these are my favorite cookbooks on preserving and canning:

Are you excited to start your “pandemic canning”? I would love to see it! Please use the hashtag #theingredientguru or tag me @theingredientguru on Instagram so I can follow your canning journey. You can also share this article with your family and friends to help them get started. Enjoy!

Want more preserving books? Check out these..

Sources

Andress, Elizabeth. “History, Science and Current Practice in Home Food Preservation.” Webinar. 27 February 2013. At 1:20:30. Accessed September 2020.

National Center for Home Food Preservation http://www.uga.edu/nchfp/how/can_home.html

How to Can Anything http://www.pickyourown.org/allaboutcanning.htm

Canning & Freezing http://lancaster.unl.edu/food/foodpres.shtml

PickleThis.Com http://picklethis.com/

Canning Info Warehouse (pressure canning) - http://canninginfowarehouse.com/Pressure.html

Cucumbers

I've picked what I believe is the last cucumber of year from my garden.  The heat and the lessening rain have done a number on the plant which is shriveling and not likely to produce any more fruit.  Of course, there are also no more blossoms, another pretty good indicator.

Although we treat them like a vegetable, cucumbers are actually a fruit, related to melons like cantaloupe.  High in antioxidants and anti-inflammatory, cucumbers are a good source of vitamin K which is important to help the body properly utilize vitamin D.

Refreshing, hydrating, and delicious, cucumbers can be prepared a number of different ways, used raw in salads, creamy salads (such as raita or tzatziki), or pickled.

One of my absolute favorite ways to eat them is as a refrigerator pickle because in season I just keep throwing more cucumbers into the jar.  They only need to sit for a few days to be ready to eat.  It's important to remember that because these are not hot water bathed, they will not last outside the refrigerator and even stored in the refrigerator are probably not good to keep for more than two weeks,  I confess I eat them so quickly when I make them that I'm not really sure how long they would last.

cucumber pickles

Refrigerator Cucumber Pickles

Ingredients
  

  • 1/2 gallon jar - sterilized
  • 2 cups raw, unfiltered apple cider vinegar
  • 6 cups of water
  • 1/2 cup pickling salt
  • 1 bunch fresh dill
  • 3-4 cloves garlic cut in half
  • 1 small vidalia onion, peeled and sliced - optional
  • Don't forget the cucumbers

Instructions
 

  • In a medium pan combine vinegar, water and salt
  • Bring to a slow boil, stirring until salt is completely dissolved
  • Remove from heat and let cool completely
  • Add remaining ingredients including onion slices if desired
  • Wash and prepare cucumbers by cutting into slices or spears
  • Put as many as will fit into jar and still be submerged
  • Let sit 2-3 days before eating

refrigerator pickle

Quick Refrigerator Pickle Recipe

Summer is a wonderful time for fresh and in season foods like salads or grilled meats. I’ve been known to serve it on the side of egg dishes, it’s fabulous on tacos, and I will even confess to occasionally eating it straight out of the jar. If you’re making any of these dishes it can be delicious to add a gentle pickle as a condiment on the side. 

This recipe is not only super easy to make, it’s delicious and adds a nice fresh snap to whatever you’re serving. It’s also a bit of a DIY pickle project because you can change the recipe depending on what’s available or what you’re in the mood for. Although you can buy some of your vegetables already julienned into matchsticks I prefer to do it myself using a julienne peeler.  My preferred peeler is this wide handled, soft grip version by Oxo. If you’re making a lot of these pickles (something I’ve been known to do once summer arrives) a mandoline slicer is going to be faster and easier. 

One nice thing about this recipe is that the pickles continue to get more flavorful the longer they’re in the brine.  Once you’re done with the pickles the leftover brine is so wonderful that it’s nice for making a vinaigrette.

refrigerator pickle

Quick Refrigerator Shredded Pickle Recipe

Ingredients
  

  • ½ cup apple cider vinegar
  • ½ cup white wine vinegar
  • ½ cup water
  • 1 clove garlic, minced
  • ½ teaspoon kosher salt
  • Seasonings: see note below
  • 2 cups julienned veggies - carrots, red onion, vidalia onion, golden beets, zucchini, English cucumber, radish, kohlrabi, jicama

Instructions
 

  • Wash and dry a wide mouth quart canning jar (or other large jar)
  • Bring vinegars and water to a gentle boil
  • Add garlic, salt, and seasonings, continue to boil until salt has dissolved
  • Remove from heat and let cool 10 minutes
  • Add the veggies to your jar
  • Pour the still hot brine over the veggies
  • Let the jar cool to room temperature before adding a lid and placing in the fridge
  • Lasts 2-3 weeks in the fridge

Notes

Seasoning note:
Depending on what flavor you want you can use different herbs or spices.  For this amount of liquid I like to use 1-2 of the following:
  • 1 bay leaf
  • 1 teaspoon mustard seeds
  • 2-3 sprigs of fresh herbs - thyme, tarragon, oregano, or dill
  • If you don’t have fresh herbs you can use ⅓  teaspoon of dried 

Vinaigrette

Quick Pickle Vinaigrette

Ingredients
  

  • Drain/strain your quick pickle jar to remove any floaty bits
  • ¼ cup quick pickle brine
  • Generous pinch of sea salt (taste it first to see if it needs it)
  • 1 ½ teaspoons Dijon mustard
  • ½ cup good quality *olive oil
  • 1 tablespoon dried onions (I like to use my dehydrated vidalias here)
  • ½ teaspoon minced fresh parsley

Instructions
 

  • Whisk together brine, salt (if using) and mustard
  • Slowly whisk in olive oil until mixture is emulsified
  • Whisk in onion and parsley
    This recipe can be used immediately or stored in the fridge up to 2 weeks!

Notes

*olive oil
This recipe can be used immediately or stored in the fridge up to 2 weeks

Okra And Remembering To Read The Labels

I have a confession to make. I don't much like okra. Maybe it's from growing up in the northeast where I was not really exposed to it much as a child. Whatever the reason I mostly find it unappealing. I have discovered that I can tolerate it steamed, I despise it cooked, boiled, or fried. However, it's not half bad when it's pickled. It's a pity that I don't like it more because it's low in calories, high in fiber, has a modest amount of protein, and provides vitamins A and C as well as iron and calcium.

Okra also has a mucilaginous quality that helps to escort cholesterol and bile acids out of the body. As an alkaline food it is also believed to help heal intestinal ulcers and be useful in the treatment of IBS.

When I was at the grocery store today I happened to spy a jar of pickled okra on the shelves. Since this is my least objectionable way to eat it I decided to try it again, scooped up a jar and finished my grocery shopping.


Unfortunately I ignored my own advice and I did not stop to read the label. After getting home I did read the label and it turns out these pickles contain polysorbate-80. I refuse to eat any ingredient that has a number (nature doesn't number food). According to my Consumer Dictionary of Food Additives polysorbate-80 is an emulsifier “associated with the contaminant 1,4 dioxane, known to cause cancer in animals.” It is also “widely used in baby lotions, cold creams, cream deodorants, antiperspirants, suntan lotions and path oils.”

I'm not sure why these pickles need to be emulsified but I certainly don't care to eat an ingredient also used in lotions and potions like cold cream. This serves as a personal reminder to ALWAYS read the label.

Needless to say I will be returning this to the store. I wonder what the counter clerk will say/think when I explain why I'm bringing it back.

photo courtesy of: Gerard Cohen | Wikimedia Commons