Category Archives: preparedness


Why You Need A Preparedness Pantry

As I've been sharing about preparedness, I confess I get some people who are very dismissive and try to make prepper jokes. Last week, I had two people who were very skeptical and wanted to know ALL the reasons why they should consider starting to be more prepared.

No matter where you are on your preparedness journey, I believe it's never too late to start. But I guarantee you that starting after the fact is much more difficult. Here's what I've come up with for good reasons to be more prepared:

  1. Peace of Mind: Knowing you have essential supplies stocked up can reduce stress and anxiety during an emergency or shortfall situation. This makes you more self-reliant.

  2. Supply Chain Disruptions: We all remember the toilet paper situation of 2020. But once it was over, people stopped thinking about it. I encourage you to remember that if it happened once, it can happen again. Stockpiling helps make sure you have access to what you need, especially if transportation is disrupted in some way and the grocery store or general goods store cannot easily restock.

  3. Financial Savings: Buying in bulk and during non-emergency times often saves money in the long run. And it's a hedge against the possibility of price gouging that can happen during shortages or crises.

  4. Food Security: I'm firmly against the bucket of garbage being sold as "emergency food." You want to make sure you have what you need on hand.

  5. Health Emergencies: Having medical supplies on hand can be critical during emergencies, especially if access to healthcare facilities is limited. Plus, basic first aid supplies mean you can take the first steps for needed care if emergency responders are elsewhere or cannot get to you.

  6. Power Outages: Having essentials like batteries, a generator, candles, and alternative light sources helps manage power outages effectively so you have light and possibly power.

  7. Job Loss or Pay Cut: Having supplies on hand can help reduce the impact of job loss or income reduction. You'll have a stockpile that you can use while reducing expenditures.

  8. Shortages Due to Panic Buying: Stockpiling prevents the need to participate in panic buying during emergencies, ensuring equitable distribution of resources.

  9. Barter or Trade: It may seem a bit extreme, but if needed, a stockpile can serve as a resource for barter or trade.

  10. Personalized Needs: Anyone with special dietary requirements, medical conditions, or special needs can ensure their needs are met by stockpiling accordingly.

  11. Seasonal Preparedness: Stockpiling seasonal items makes sure you are ready in the event of weather-related emergencies like storms or extreme temperatures.

  12. Natural Disasters: Being prepared is essential for anyone living in an area that is prone to a natural disaster such as earthquakes, hurricanes, floods, or wildfires.

Whatever your reason for being prepared, it's important to remember that the best time to prepare for an emergency is before there is one. For anyone who wants to learn more, remember that you are always welcome to join The Kitchen Table.


Preparedness Pantry Meal in a Jar

Preparedness Pantry Meal In A Jar

Have you ever had one of those nights where it's dinner time and you haven't started anything? If you have a preparedness pantry, that's not going to be a problem because one of the things that you can do is create meals in jar.
 
I call it camp stew and its main ingredients are chicken, butternut squash, peas, onions and delicious spices.
Check out the recipe below and the video on how to put it together.

Benefits of Meal in a Jar

  • Nutritious: You're eating real, single ingredients with no added preservatives or unnecessary fillers.
  • Convenient: Perfect for those nights when you're too tired to cook from scratch or realize you haven't planned dinner.
  • Economical: Using dehydrated and freeze-dried ingredients can be cost-effective, especially if you dehydrate some of the ingredients yourself.
  • Flavorful: Despite being rehydrated, these meals pack a punch in the flavor department, especially with the addition of carefully selected spices.
 
You can enjoy Camp Stew on its own or over a bed of rice, cauliflower rice, quinoa, or even a baked potato, making it versatile for any dietary preference.

Preparedness Pantry Meal in a Jar

Camp Stew Recipe

Ingredients
  

  • Layer in a wide mouth quart jar:

    1 cup freeze-dried chicken

    1 cup freeze-dried butternut squash

    1/2 cup freeze-dried peas

    1/4 cup dehydrated onions

  • Place in a baggie and layer on top of the dry ingredients:

    1 teaspoon thyme

    1 teaspoon rosemary

    1 teaspoon garlic salt

    1 heaping teaspoon parsley

    1 tablespoon bouillon

Instructions
 

  • Remove baggie with seasonings and set aside
  • Bring 4 cups of water to a boil
  • Pour over dry ingredients
  • Stir and let sit 15 minutes to rehydrate
  • Drain
  • Add seasonings and mix well
  • Add 2 tablespoons olive oil to a pan
  • Add rehydrated ingredients and saute for 5 minutes.
    Enjoy!

Notes

If desired can be served over rice, cauliflower rice, quinoa, or baked potato.
Links:
Freeze-dried ingredients - https://www.thrivelife.com/miradessy
Wide mouth funnel (stainless) - https://amzn.to/49whjjB
Spice + Leaf Vegan Broth Base - https://amzn.to/4bcJky1
Square zip lock baggies - https://amzn.to/47Vj7RT
Kraft paper baggies - https://amzn.to/3u9a7e7 - I like these better and plan to get them next time

Dollar tree preparedness pantry

How To Shop Smart At Dollar Tree 

Groceries are a moving target in the retail world, and stores like Dollar Tree are evolving to capture the shifting focus of consumers' food dollars.

In response to the increasing cost of groceries, Dollar Tree is expanding its reach into the market. They plan to install more cooler cases for cold and freezer items, aiming to add approximately 16,000 new cooler doors nationwide.

Shopping Smart

As Dollar Tree ventures into a wider array of grocery offerings, customers are tasked with shopping smarter. It's essential to not only consider the price but also the nutritional value of your purchases. 

Here's what to remember:

  1. Size and Value: Budget stores might offer different product sizes, making a Grocery Price Tracking Worksheet a vital tool for smart shopping. Often the budget grocery stores look like a deal until you really compare the prices per ounce rather than per package.
  2. Quality Over Cost: Inexpensive doesn't always equate to healthy. It's important to read labels and choose items that offer nutritional value. Due to their focus on low cost, many budget stores choose to carry cheap products which are usually low in nutrient density. Your body and your health are worth paying more for real food.
  3. Strategic Purchases: Dollar Tree's multiple price points can lead to larger basket sizes. Know your prices and don't be lured into false deals.
  4. Efficient Shopping: Avoid the trap of convenience. Just because you're already at Dollar Tree doesn't mean you should compromise on value or nutrition.
  5. Instant Gratification: While you know snacks and candies aren’t great, if you’re walking aisle after aisle looking for the good deals you may get decision fatigue and succumb to a treat. Or two. And once it comes into the house someone is going to eat it.  Don’t do that. Use the same strategy I encourage when shopping at any grocery store.  Don’t shop hungry and always grocery shop with a list. 

The journey through budget grocery shopping is filled with both opportunities and pitfalls. The key is to shop with intention, keeping both your budget and health in mind. By being mindful and informed, we can navigate the aisles of Dollar Tree and other budget stores without compromising on our standards for nutrition and well-being.

Be prepared

Groceries aren’t the only thing you can get at Dollar Tree.  It’s also possible to buy emergency preparedness supplies there.  Every Dollar Tree is different, so you’ll need to think about what you might need and then check the aisles to see if your store has those supplies.  If needed you may want to check out more than one Dollar Tree in your area.  

Here’s what I found at mine:

  • Safety goggles
  • Lighter
  • Mini flashlight
  • Headlamp flashlight
  • A pair of gloves (with a suggestion to also have a pair of heavy-duty gloves in your car)
  • Bungee cords
  • Paracord
  • Glow bracelets
  • Push light
  • Essentials for a first aid kit
  • Paper tape
  • Regular tape (with a recommendation to include duct tape)
  • Lanyard-style glow sticks

When shopping at the Dollar Tree, or any low cost store, be strategic, be healthy, and most importantly, be savvy with your dollars.

Scrap Cooking Carrots And Brussels Sprouts

As we wind down toward the end of summer the Farmer's Markets are filled with a bounty of produce.  All the delicious colors and flavors of the season are on display. Every time I go to the market I seem to come home with an overflowing market basket that is more than the two of us can eat in a reasonable period of time.

This post is my tip-to-tail use-everything-you-can vegetable experiment.


Food Preservation 

Having more fresh produce than you can eat is actually a blessing in disguise. This allows you to preserve it for out-of-season enjoyment.  You're buying it when it's at peak season and therefore usually fresher and less expensive, but you can enjoy it anytime.  

There are a lot of different ways to preserve food:

  • Canning – Whether you're doing water bath or pressure canning this does require jars, lids, and a few pieces of equipment plus recipes to make sure your percentages are correct.
  • Dehydrating – You can do this in the oven or purchase a dehydrator.  You'll need extra water stored in order to rehydrate foods.
  • Fermentation – No special equipment is needed but you will need to know what you're doing to make sure things are properly preserved
  • Freezing – You'll need freezer safe containers for this method and it can be limited by freezer space
  • Freeze Drying – This requires special equipment and creates good long term storage.  You'll need to have extra water available to rehydrate items.
  • Smoking/Curing/Salting – You'll need a space where foods can sit while you prepare them this way. Again, knowing what you are doing is important.

My two favorite ways to preserve food at the moment are canning and dehydrating.  Nothing against any of the other methods, these are simply the two that I am most familiar and comfortable with.


Start With Canning


The vegetables I had on hand that I wanted to use in some way were carrots and Brussels sprouts. Both of which I bought at the farmer's market. I actually purchased more than we needed so I would have some available to preserve for winter.  

Lately, however, I've been learning more about food preservation methods and about scrap cooking where you use just about everything.  I've been enjoying the book Scrappy Cooking by Joel Gamoran and decided that I was going to use both vegetables to their absolute fullest and see how it worked out. 

For the carrots, I went simple and a family favorite.

Dilly Carrots

Ingredients
  

  • Carrots cut into julienne slices for 6 jars (about 5 pounds)
  • 3 ½ cups apple cider vinegar
  • 3 ½ cups water
  • 1/3 cup pickling salt
  • 6 cloves of garlic 
  • 6 sprigs of dill
  • 3 teaspoons of mustard seed

Instructions
 

  • Sterilize jars, rings and lids
  • Bring vinegar, water and pickling salt to a boil
  • In each jar place 1 clove of garlic, 1 sprig of dill, and ½ teaspoon of mustard seed
  • Add julienned carrots (really squeeze them in there)
  • Ladle brine into the jar leaving 1/4” head room
  • Clean top of jar and add lid and ring
  • Hot water bath 10 minutes
  • Remove from heat and let sit until jars “plink” and lids seal
  • Store in a cool, dark place


For the Brussels Sprouts I followed a suggestion from a friend and made something called Frogs Balls.  These are simply parboiled Brussels sprouts preserved in a bread-and-butter-pickle type brine.  I used this recipe.  

Getting Scrappy


Because I needed to wash and peel the vegetables I decided to make use of the trimmings.  Normally I put these into a bag in the freezer. Eventually, when I have enough plus a chicken carcass, I use them to make bone broth.  This time I decided to branch out and try something else.  I set aside the carrot peels and Brussels sprouts leaves in one pile.  In the other pile I put the tips and tails of the carrots plus the trimmed ends of the Brussels sprouts.

For the peels and leaves I simply put them into the dehydrator.  I currently have a Nesco brand dehydrator which has no timer and no heat setting.  I simply let it run overnight. In the morning they were nice and crispy.

At this point they go into a jar where they get conditioned.  Conditioning, as I've learned, is where you take dehydrated items, put them into a jar, and shake them well every day for about a week.  You do this in case there is any moisture. By shaking the jar you are rotating the contents to try and evenly distribute any residual moisture throughout the jar.

Because I didn't have a particular use for dehydrated carrot peels and Brussels sprouts outer leaves. I decided the best use for them is to make a vegetable powder which can be added to soups, casseroles, and other dishes.  A quick buzz in the not-for-coffee-coffee-maker and I had my powders.  I set them aside in their jars to condition for another week. Apparently for optimal dehydration procedure you should condition anything you dry for a week and then also condition for another week any powders you've made from it.


Cooking Scrappy


While things were being dehydrated and powdered I still had the tops and tails to contend with.  Joel's book assures me that roasted Brussels sprouts ends are fabulous.  After reading the recipe I decided I wanted to do something a little different and came up with this dish.  This is not a real recipe because I pretty much invented it as I went along.  It came out very tasty, however, and is something I plan to make again. Next time I'll keep better track of the ingredients and quantities as I make it.

Scrap Ends and Onion Something

Ingredients
  

  • ½ red onion, about 1 cup, sauteed in olive oil
  • 2 cloves garlic, minced and sauteed
  • Add ends of carrots and Brussels sprouts (these had been blanched as part of the process before canning/dehydrating)
  • Add ½ cup-ish of water 
  • Add – tomato paste, curry powder, cilantro, salt and pepper
  • Add more water  to keep it moist but not overly wet
  • Cook until everything is thoroughly heated and the carrots and Brussels sprouts ends are soft

    Yum!

All in all this experiment was, in my opinion, very successful. I not only had no scraps from the carrots or the Brussels sprouts, I made a new dish that was really tasty. I'm also grateful for the ability to have the powdered vegetables. These are a great addition to any preparedness pantry.

Realistic Food Budget Tips


With the rising cost of groceries many people are beginning to look more closely at their grocery budget. Unfortunately costs are probably going to continue for a while due to supply chain shortages and reduced resources. 

Although you want to save money on groceries this is not the time to revert to buying poor quality food solely to reduce your costs.  You still want to make sure you are nourishing your body and eating as well as possible.  

The idea of reducing your food budget needs to start with knowing where you are and what you’re actually spending.  You can calculate your family’s current grocery amount using the USDA Official Food Plans: Cost of Food at Home chart.  Once you know what your amount is you can begin to make changes from there.

While you’re working on a food budget, whether this is the first time or something you’ve done regularly, you need to keep it realistic. Be mindful of how many people you are feeding as you work to create a sustainable real food budget.


Food Budget Tips

Eating Out Costs

Figuring out how much you are spending on groceries doesn’t just mean what you buy for your pantry.  More than 30% of each food dollar in the United States is spent on eating out. You need to remember that when planning your food budget.  

If you eat out, either getting take-away or sitting in a restaurant, those costs should be part of your food budget.  Some eating out expenses, such as a vacation or trip to visit friend or family, may be more difficult to anticipate, but they should be included in the total.  

Track Your Spending

In the beginning of your planning it’s helpful to know what you’re typically spending your food dollars on.  Was it snacks, highly processed foods, or convenience foods.  It seems counterintuitive but real food can be a good buy.  That’s because it has higher nutrient density and you’re likely to be satisfied faster when you eat real food versus processed foods.  

As an example, a bagel or muffin and a cup of coffee seems like it’s not that expensive.  It’s also not nourishing.  When you eat a high carb, over processed breakfast this can spike blood sugar and you’ll find yourself feeling hungry mid-morning for a snack of some time.  When you have a real food breakfast you’re getting protein, healthy fats, and more nutrition.  You’re more likely to be able to make it through your morning until it’s time for lunch. This is not only better for your nutrition, it’s better for your budget as you’re not spending money on snacks. 

Meal Planning

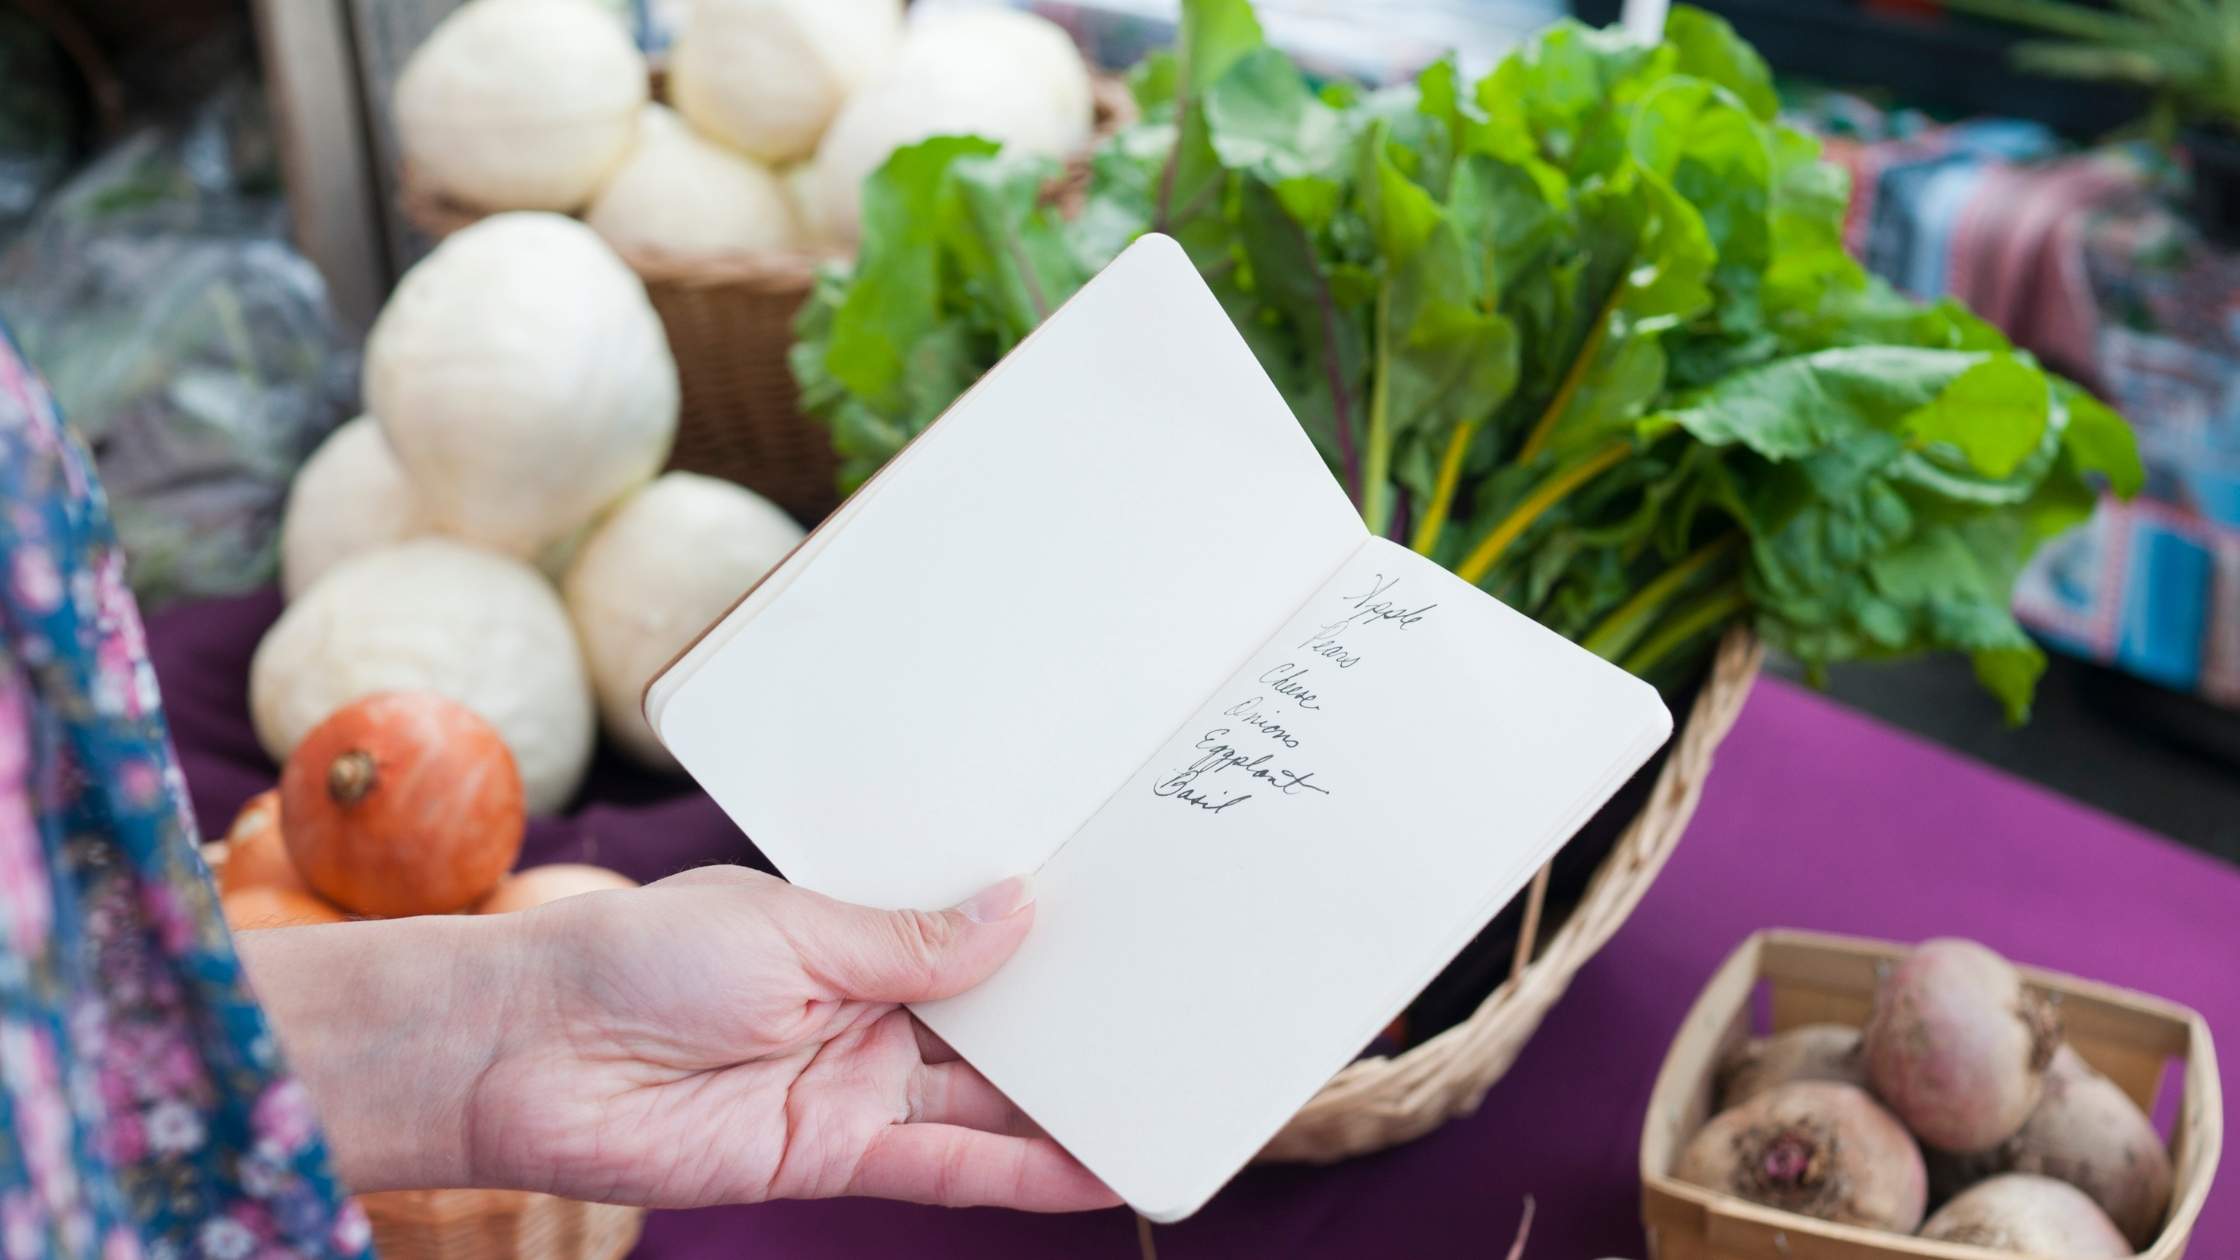
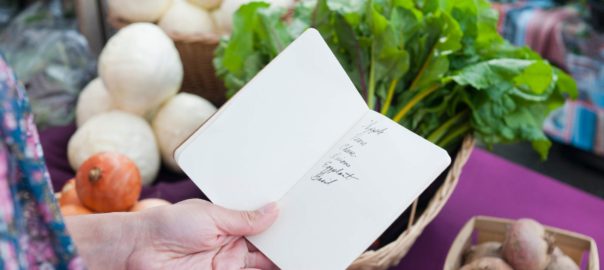
One of the biggest ways to save money on groceries is to know what you’re going to eat.  Meal planning is really useful when it comes to making seasonal, inexpensive, real food meals.  Having a plan for shopping and cooking, and sticking to it, will help you get a handle on your food budget. 

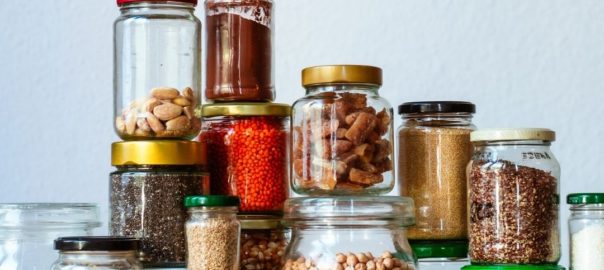
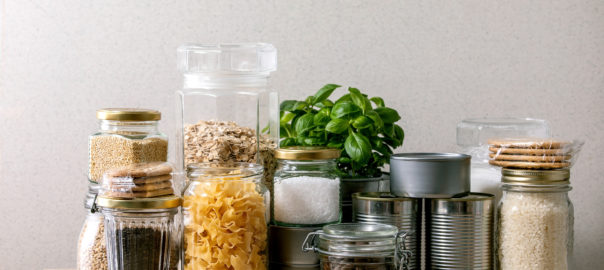
As part of your meal planning look at doing some kitchen DIY.  There’s a great book, Make The Bread, Buy The Butter, that breaks down what’s worth it and what’s not when it comes to making things from scratch.  

One thing that can be a great way to save money is making your own bone broth, condiments, and salad dressings.  When you stop to consider the cost of the prepared items at the grocery store and the pennies it costs to make it at home, all of a sudden it makes sense to take the time to do it yourself. 

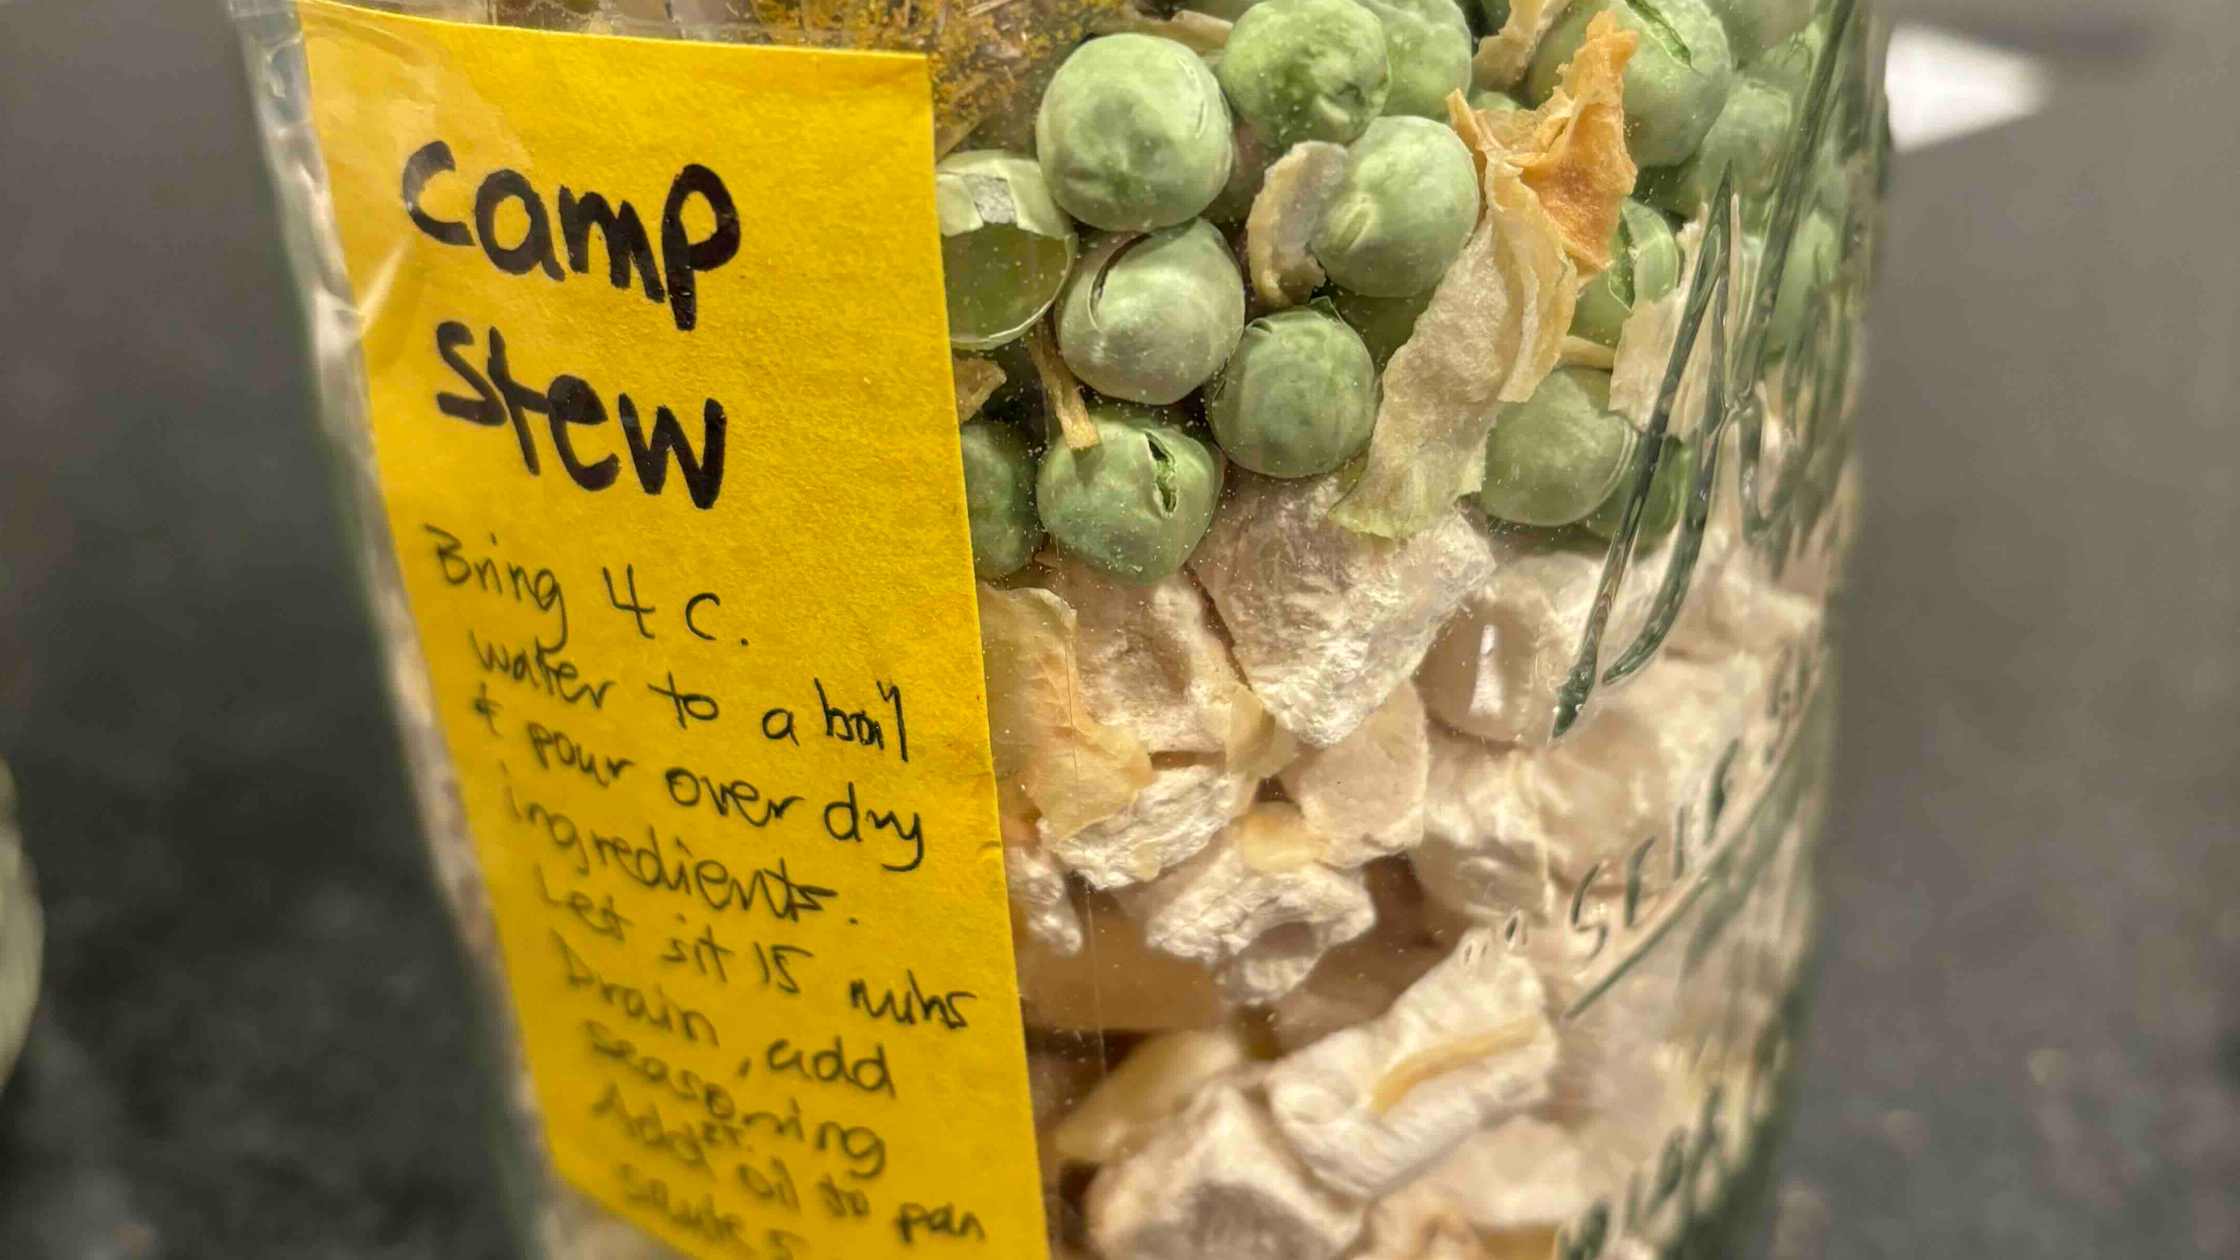
Consider making meals that you can cook once and eat again is a great way to save money. Simple yet nourishing and delicious foods are a great way to feed your family and manage your grocery budget.  Chili, soup, and stew are great choices for this strategy.  I’m also a big fan of what I call sequential eating — creatively using leftovers to make another meal.  When you meal plan it becomes easy to know what you’re going to make next with your leftovers. 


Shopping Tips


Farmer’s Markets

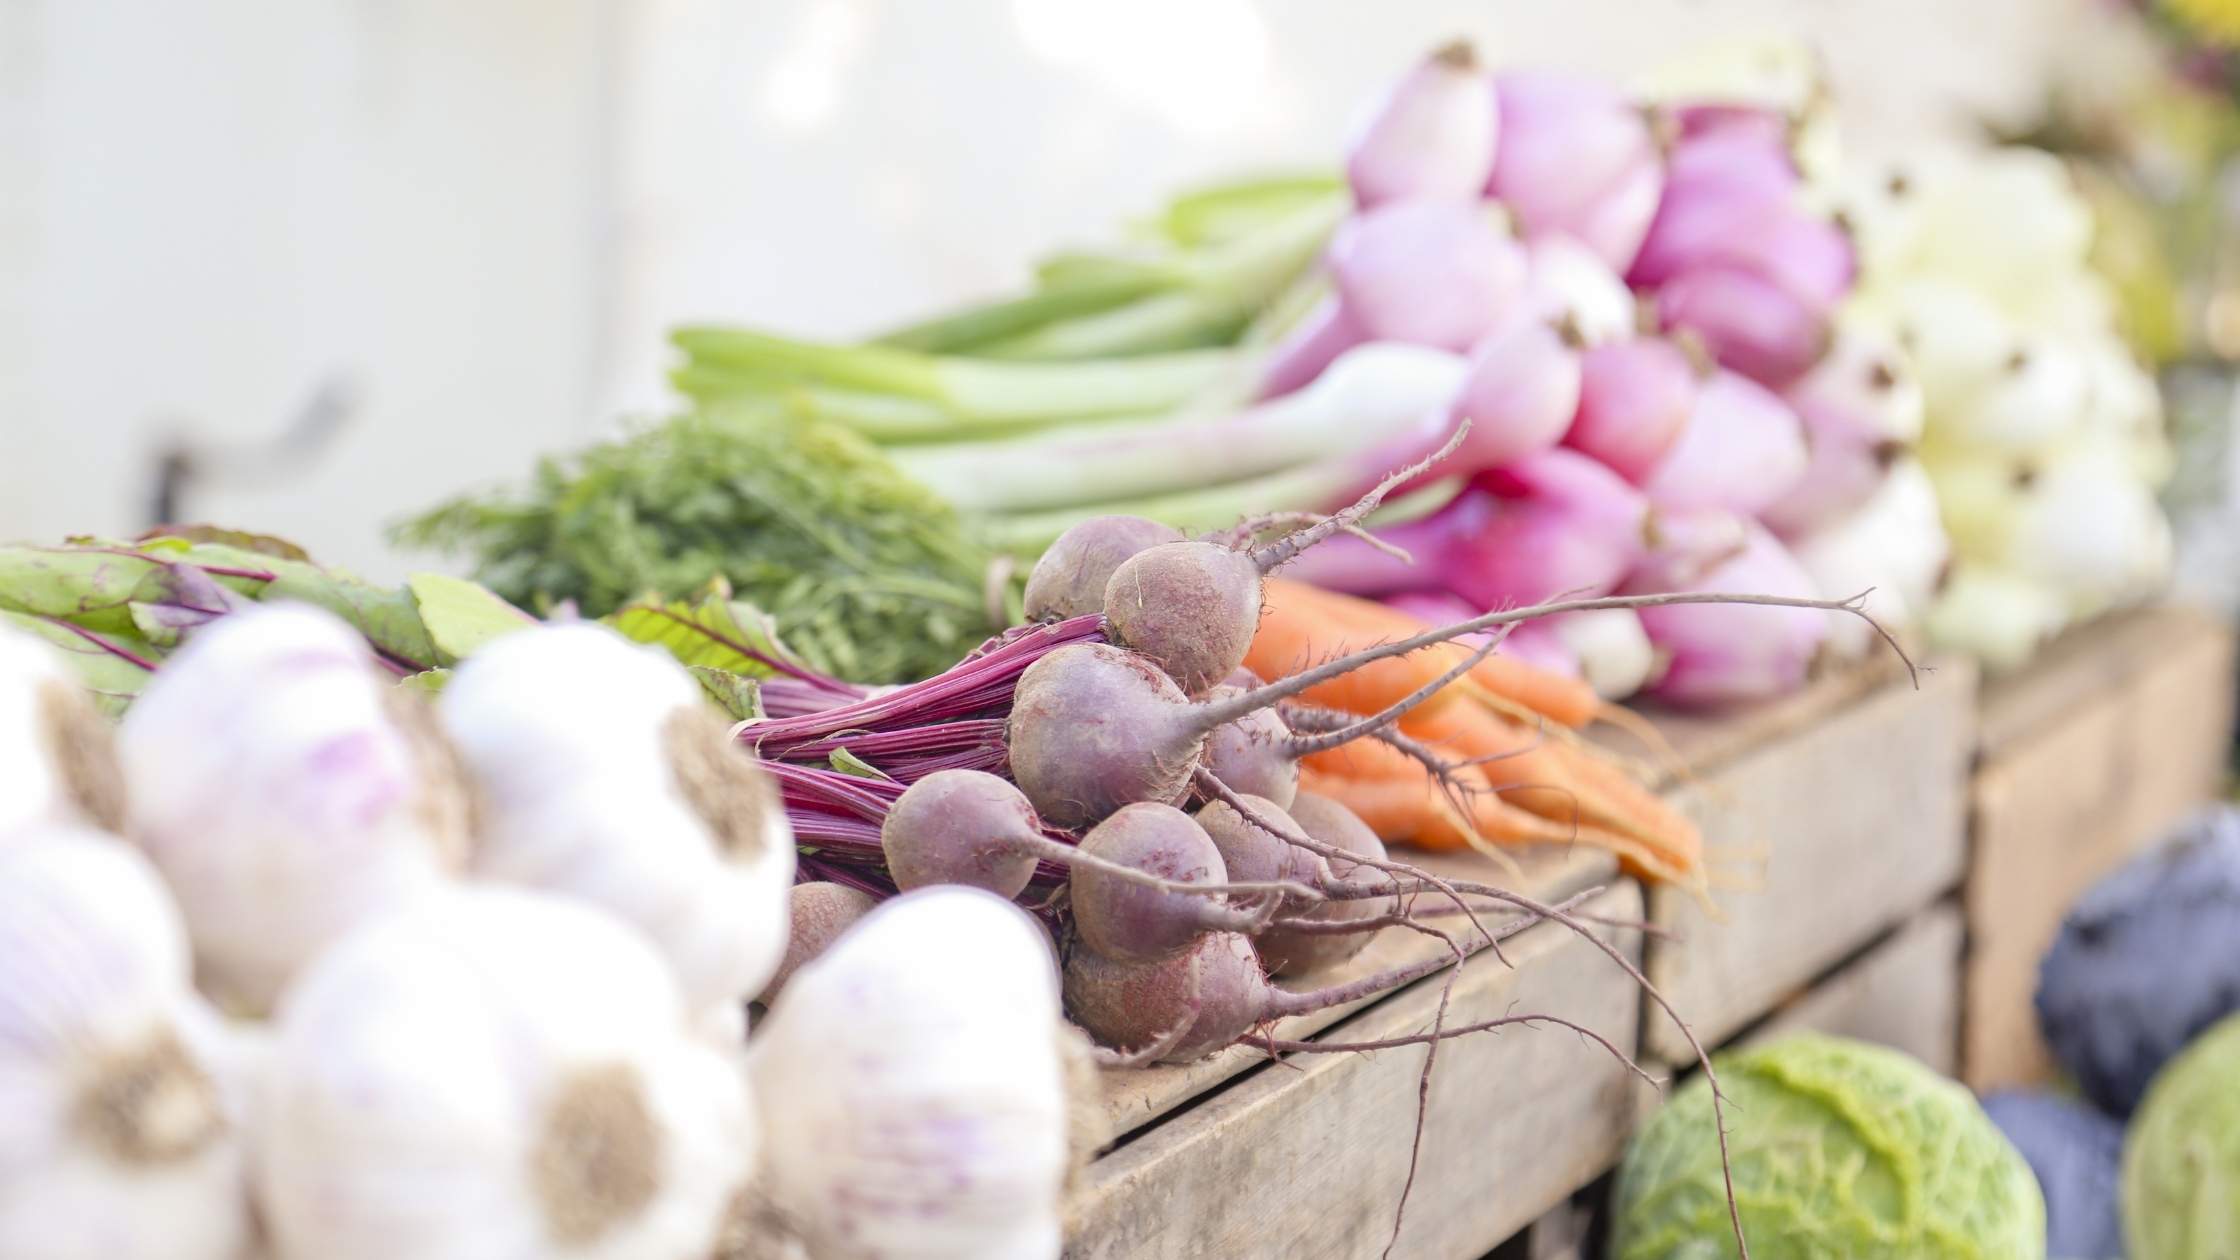
Buying fresh foods, produce, eggs, dairy, and sometimes meat, from a farmer’s market can be another way to get better quality food.  This tip may or may not be less expensive than the grocery store however you’re getting truly fresh food and you’re supporting your local farmers.  If you buy a large amount of fresh produce from the farmer’s market you can freeze it and have seasonally fresh food out of season.  

The Convenience Factor

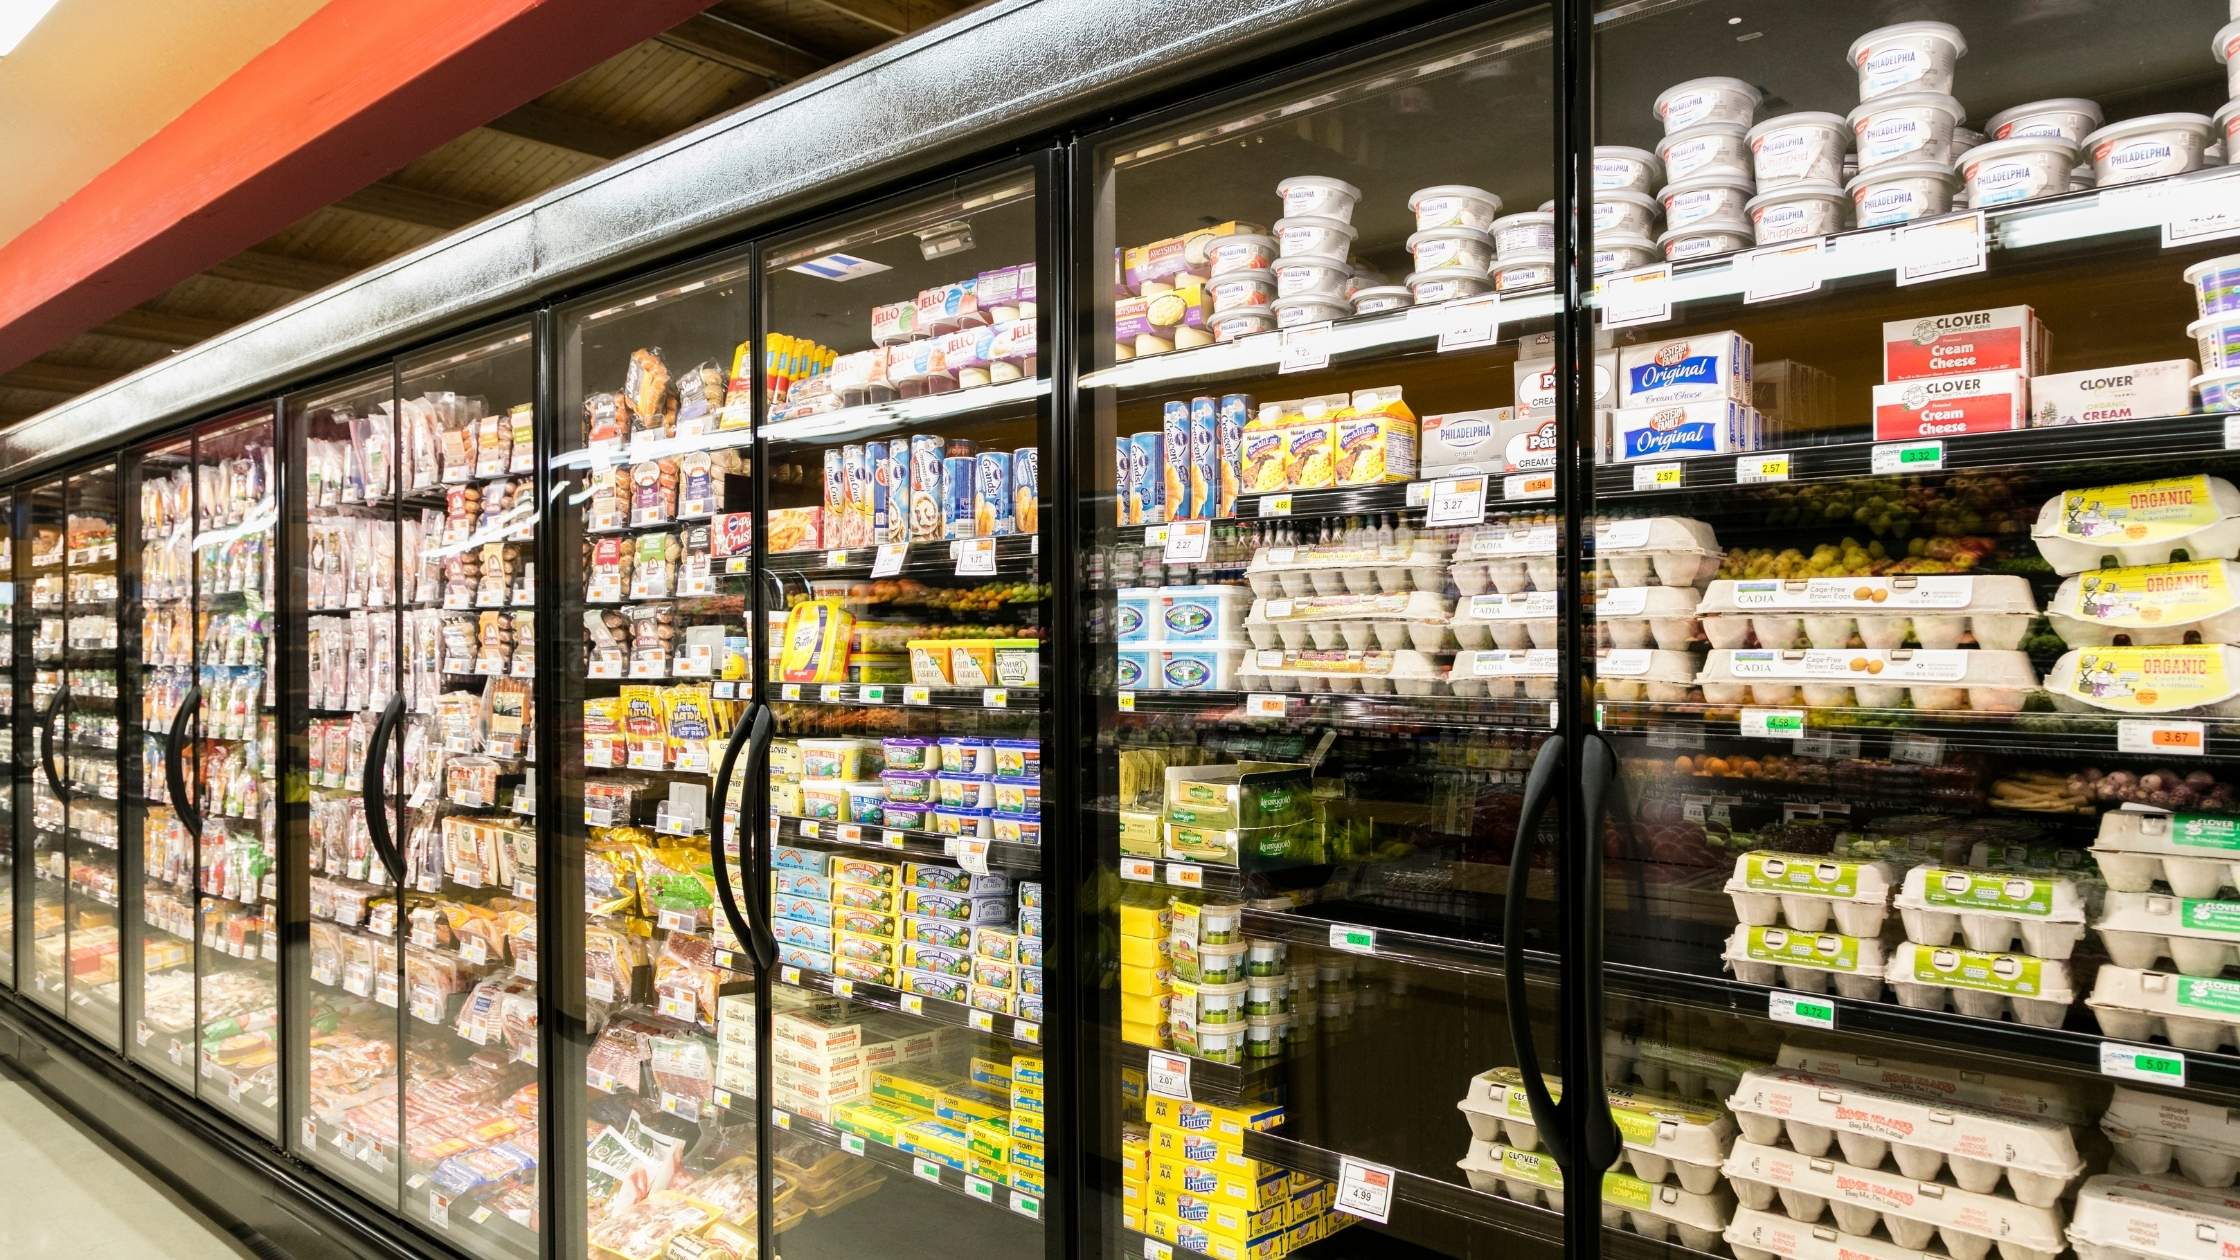
The grocery store and food producers thrive off charging a hefty price to do things for you.  Think about if you really need it and/or the convenience it offers.  Or can you make it yourself.  Pre-shredded cheese for example or pre-cut vegetables are a premium price at the grocery store.  You can easily buy a block of cheese or a bunch of vegetables shred/cut it yourself for a big grocery savings. 

Get the Biggest Bang For Your Grocery Buck

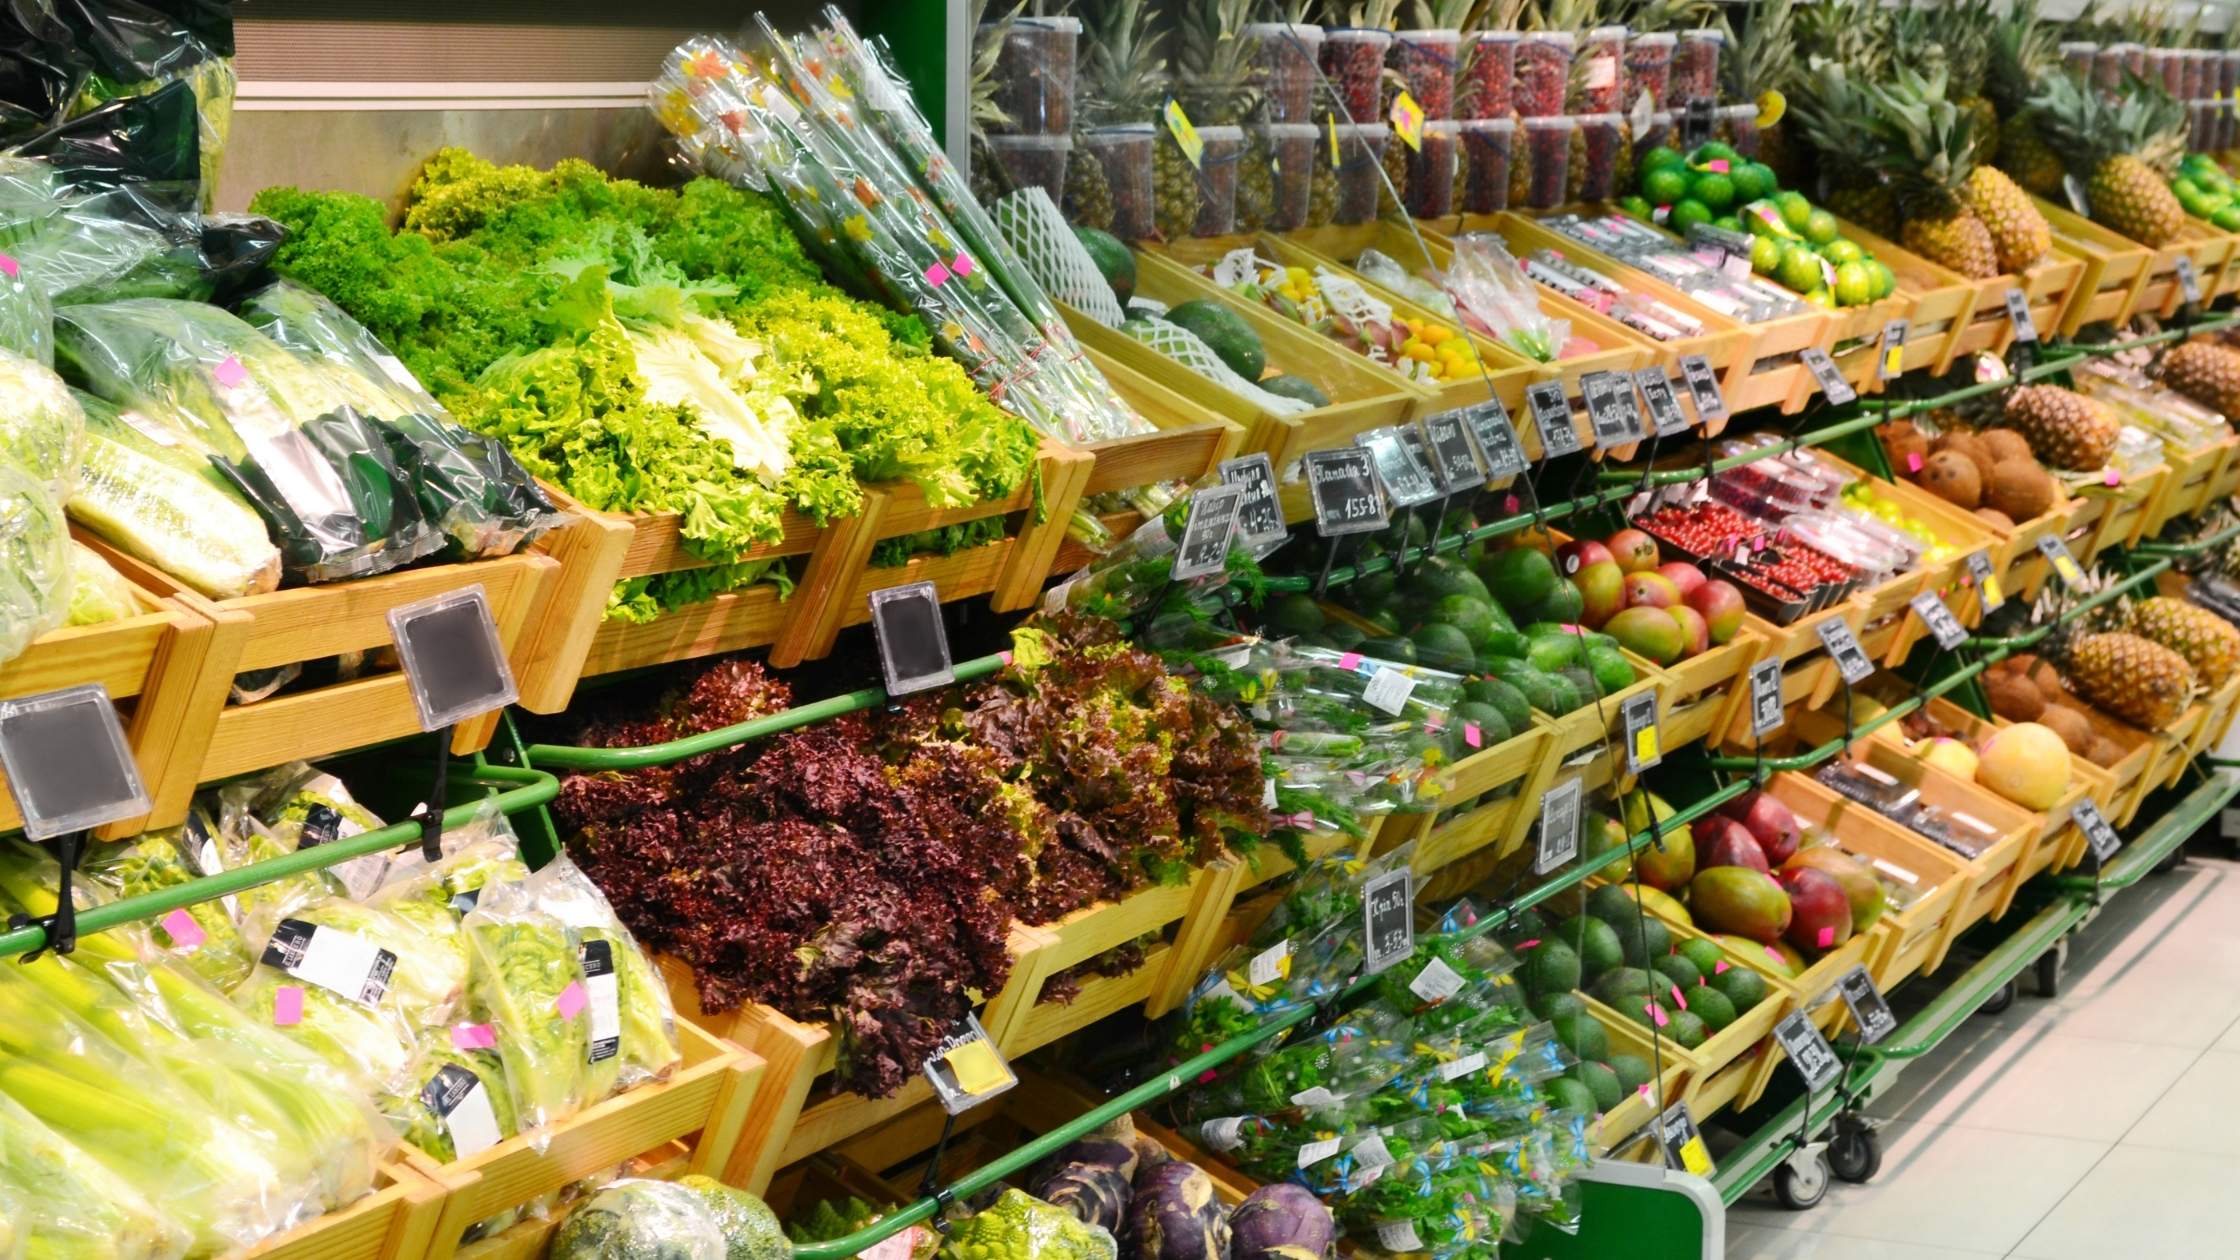
If you're going to buy organic fruits and vegetables get the ones that really matter, the dirty dozen. Those are the twelve fruits and vegetables that are most likely to be contaminated by pesticides.  The grocery store would love to convince you that you need to buy everything organic but that’s not necessarily true.  If budget is a factor save your money by not purchasing those organic bananas and buy organic strawberries instead.

Buy Organic Dairy

From a health perspective I truly deeply believe that organic dairy is the way to go.  It has no added hormones, no antibiotics, and the cows are not fed pesticide-laden grain.  What goes into that cow goes into its milk, so it makes sense to not drink or eat those products by choosing organic dairy.  Having said that, it's not always easy to find or afford 100% organic dairy products, I truly understand that.  If you cannot add organic dairy to your budget it is important that you at least purchase products that are free of rBGH.  This hormone was created to make cows give more milk.  But it doesn't go away just because the cow has been milked.  So we consume it right along with the cheese or yogurt or whatever dairy product we are eating.  Check out the RGBH Free Dairy list and see how your brand stacks up.

Buy More Whole Foods

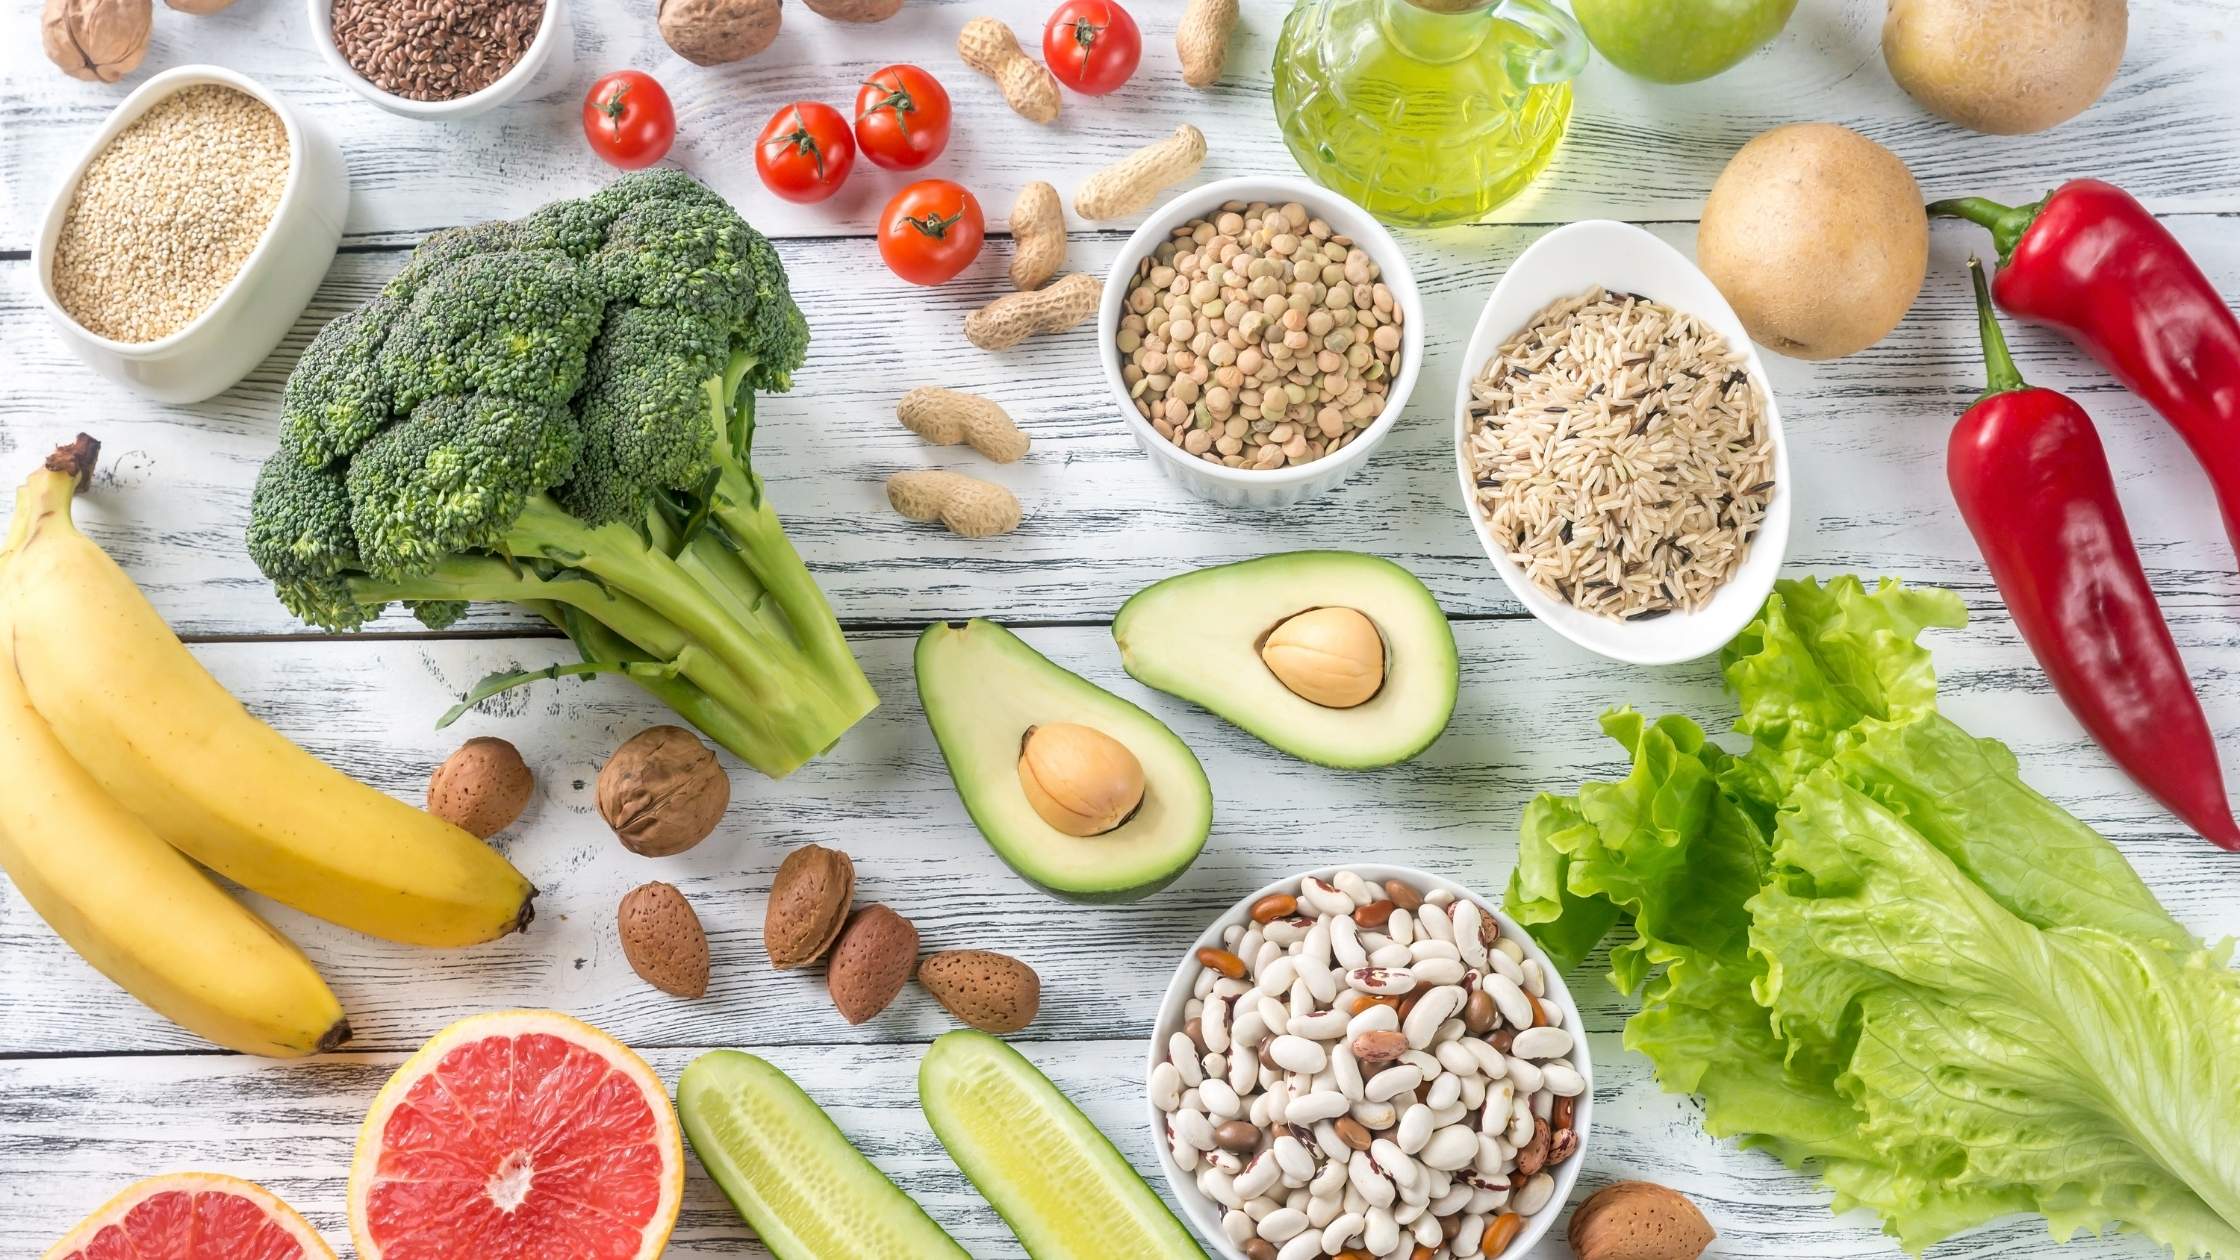
Yes those organic apples may seem more expensive.  But how much is that applesauce?  And how much more applesauce can you eat than whole apples?  Orange juice?  Did you know that there is an average of four oranges in one eight ounce glass of juice?  That glass goes down pretty easy but I think most people won't sit there and eat four oranges in one sitting.  On average the more whole foods you buy the more nutrient dense your dietary intake.  Overall this should equate to less money spent at the grocery store.

Eat Less Meat

Somehow we have become convinced that we NEED meat and we have to serve it at almost every meal.  Nothing could be further from the truth.  Most Americans eat far too much meat.  We could stand to eat more beans and other legumes which are a great source of protein with less environmental impact and far less expensive.  A package of lentils costs less than a dollar at my local grocery store and makes five cups cooked.  That's a LOT of lentils and a lot of protein.

Waste Less

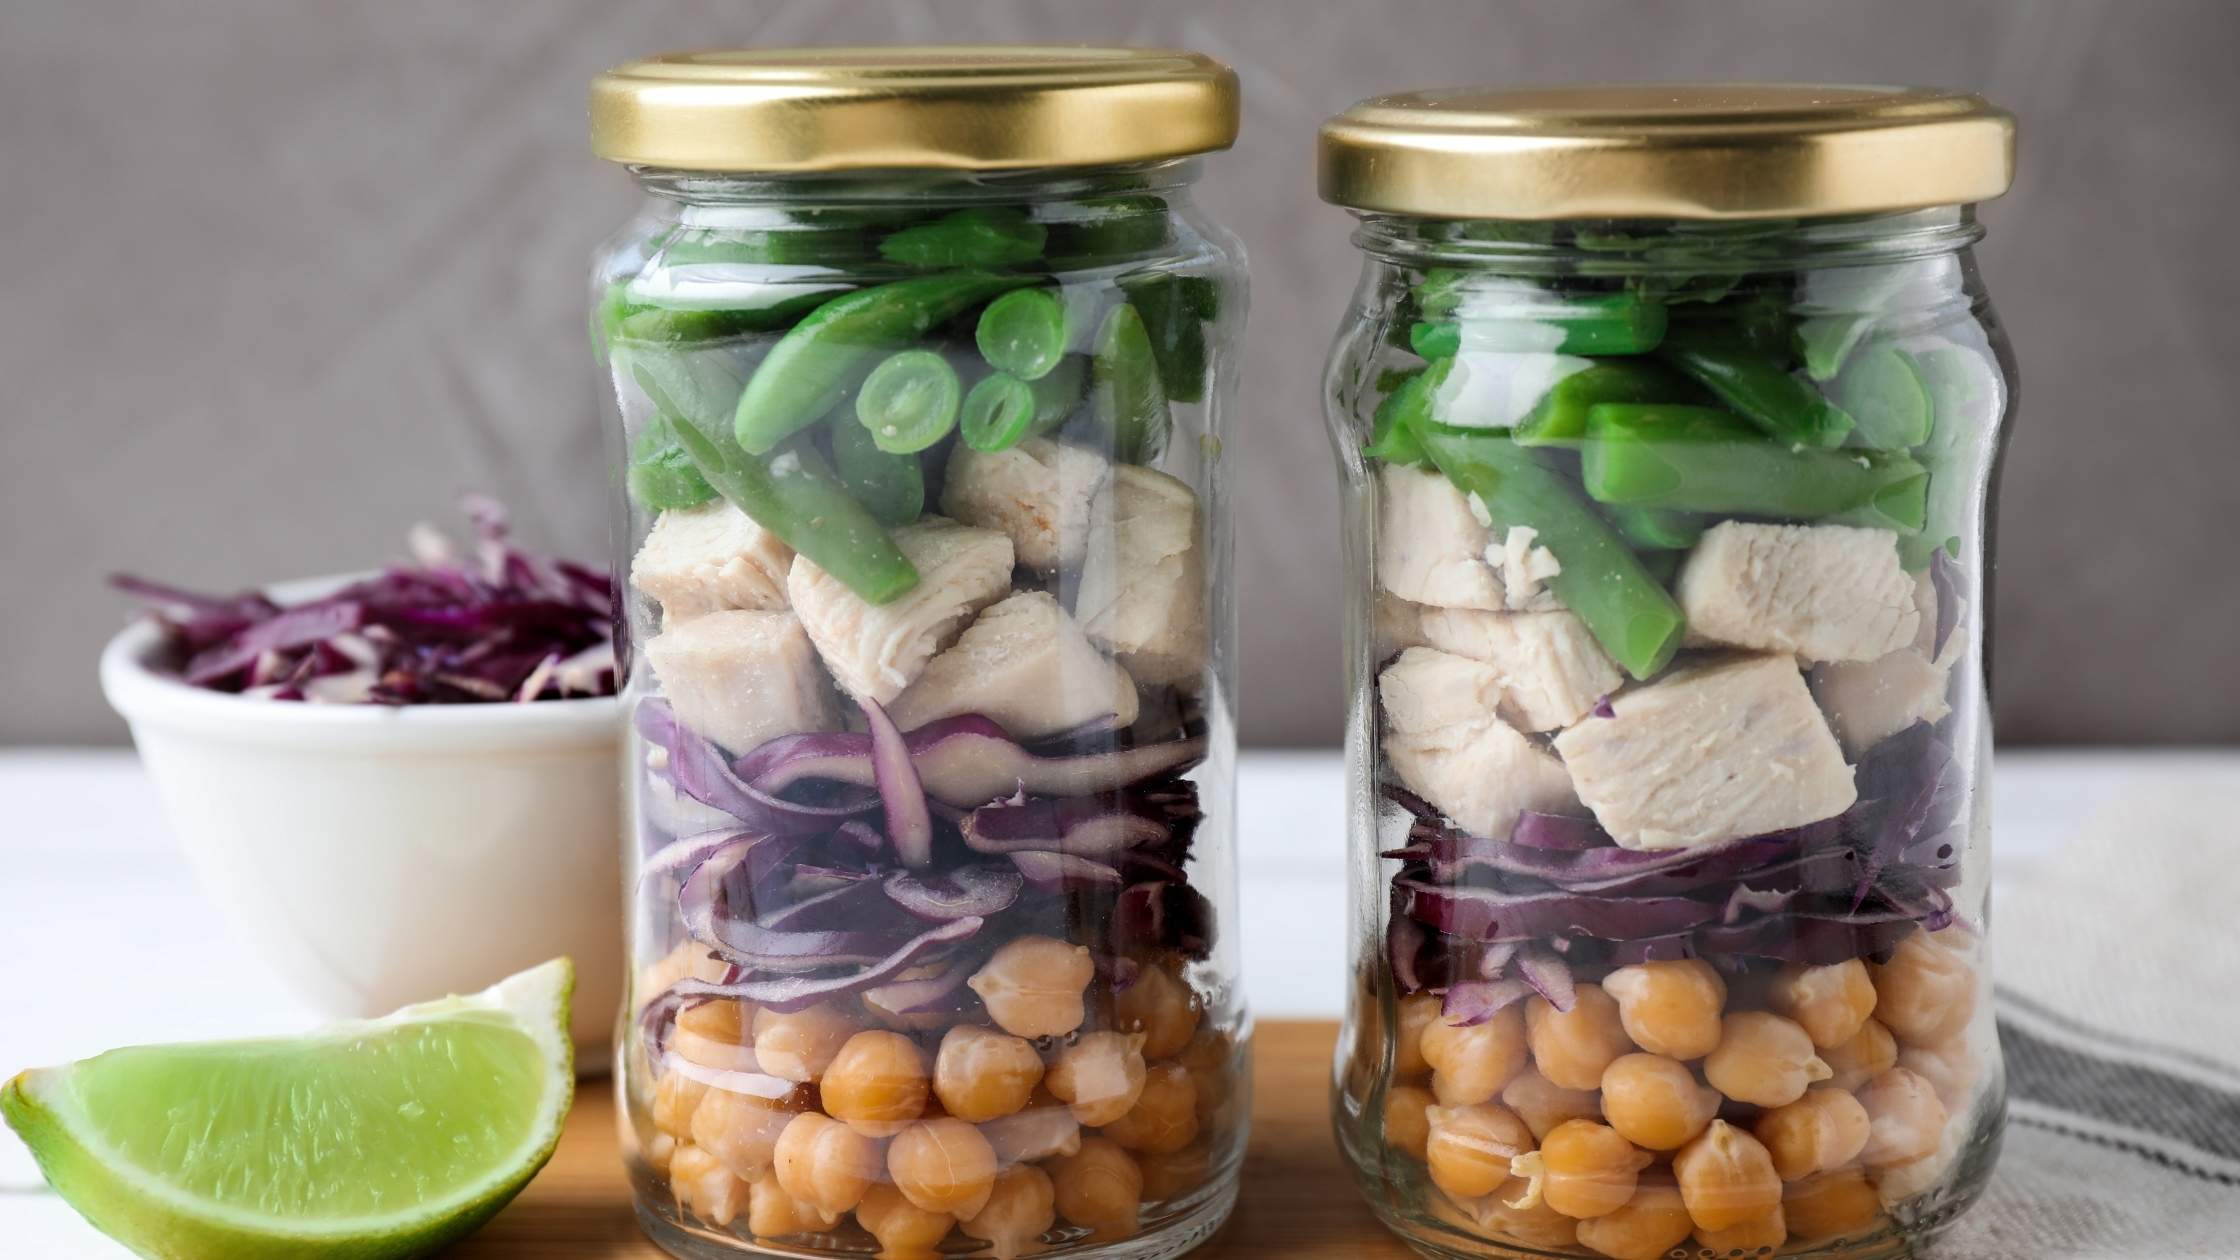
Reducing your food waste is probably the biggest money saver out there.  According to the USDA more than one third of the food that is grown is wasted.  Some resources put that at more than $1,800 per family per year.  That’s a lot of money and lot of food.  Stop for a moment and think about how much food you may have thrown out in the last week, two weeks, a month?  That's all food that you paid for.  You probably even cooked it, increasing its value more as you spent time and energy to create the dish which rotted in the back of the fridge before being sent to the landfill.   Planning and being more mindful can help you avoid food waste.  

Be Mindful

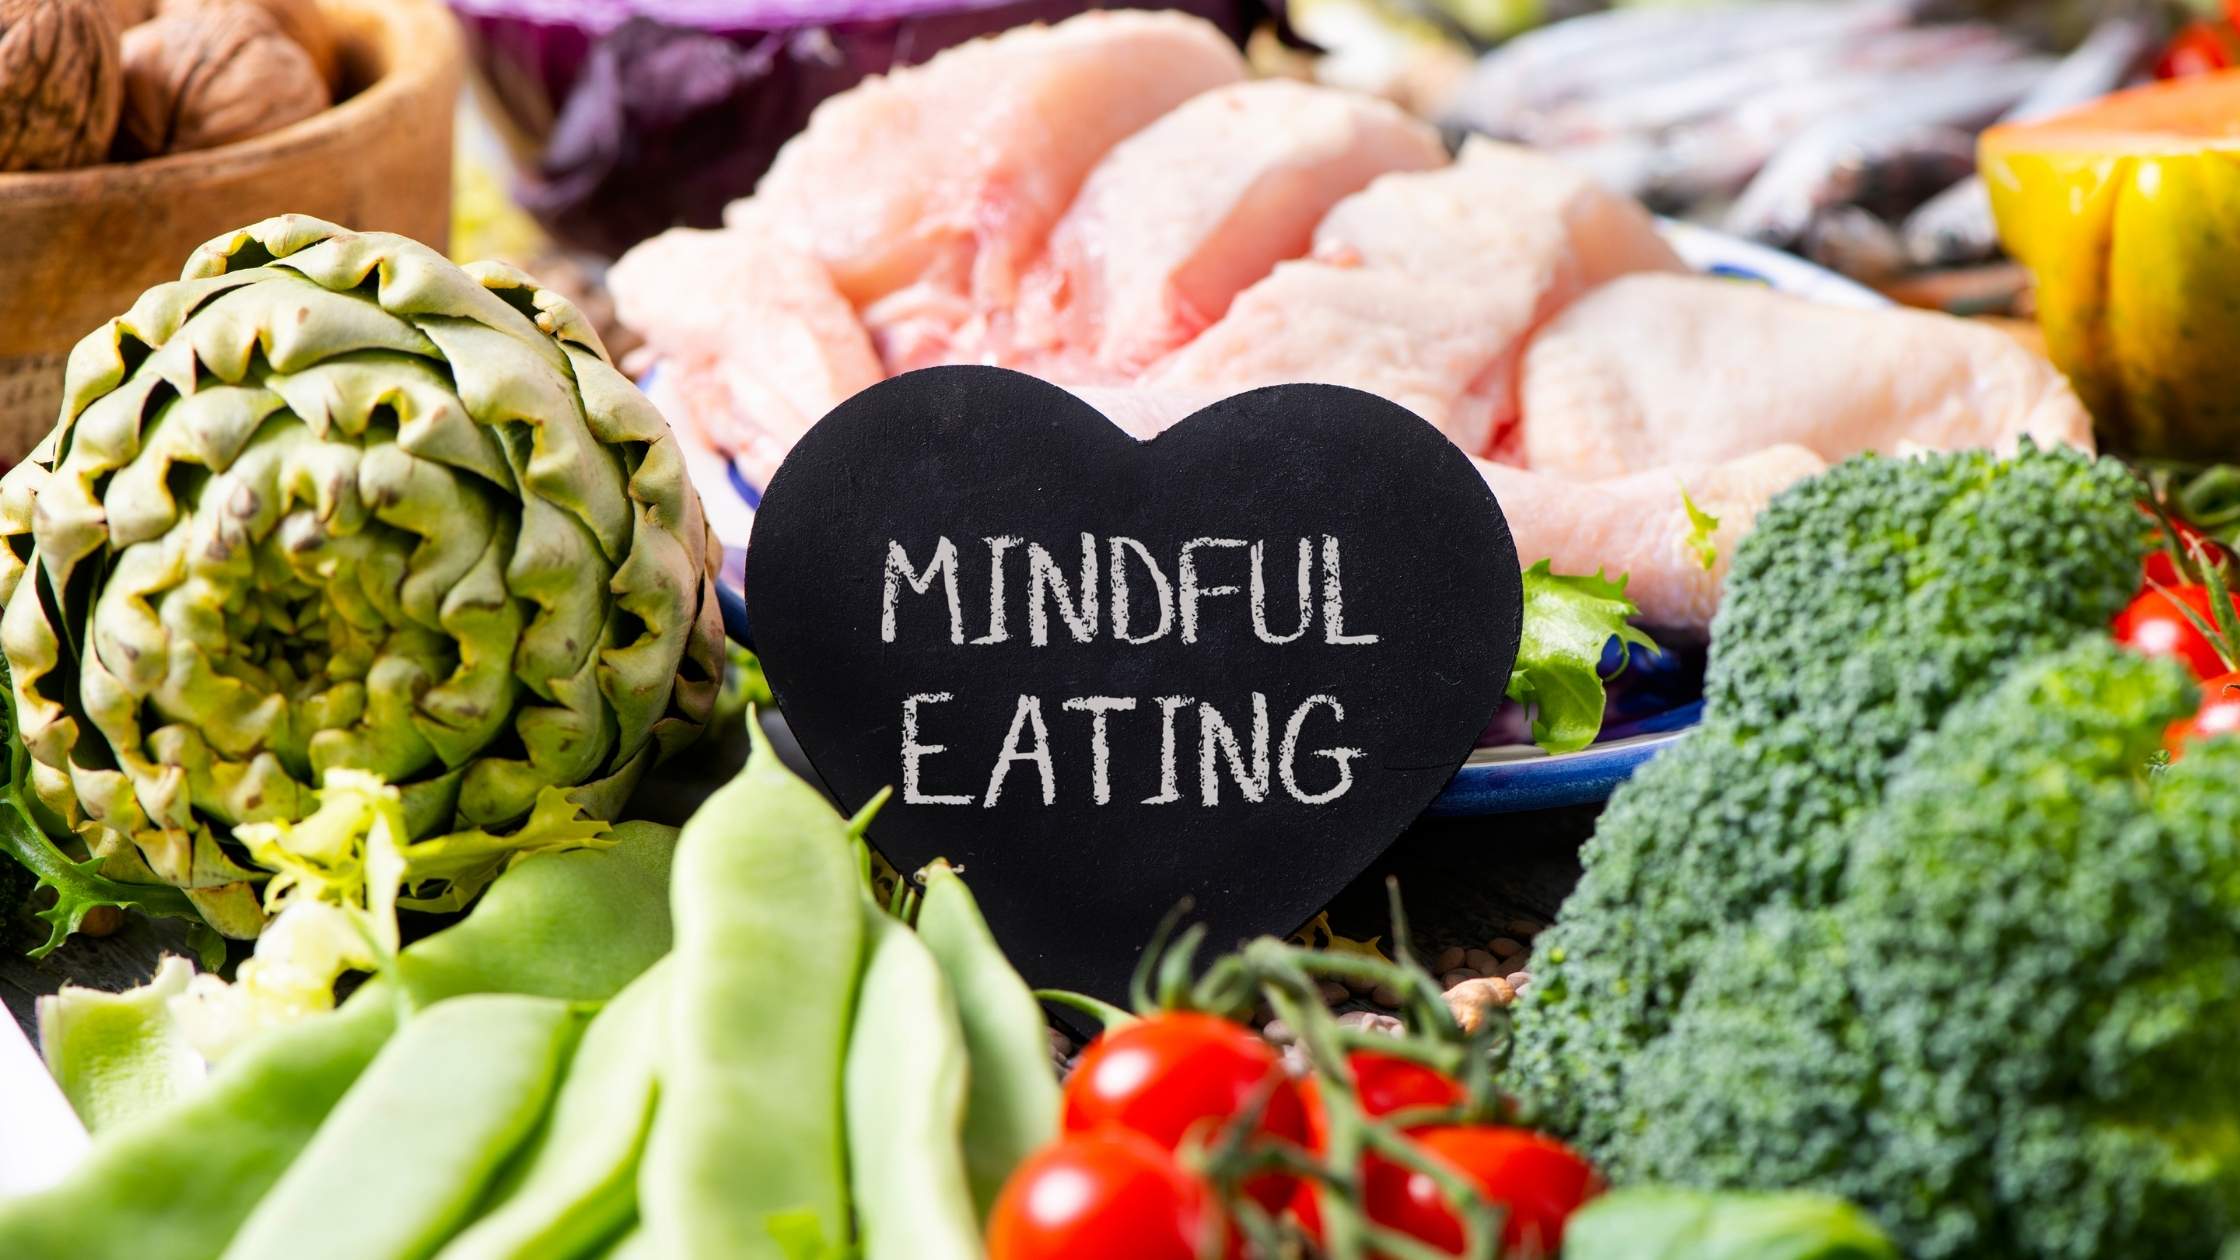
Remember that not every budget will be the same.  Food costs vary widely across the country.  They also tend to fluctuate with the seasons and availability of certain foods.  Then there’s the issue of how many people you are feeding and what their dietary needs are (if there’s a special dietary requirement). Before you begin to look at your food budget, you need to consider all of these things. 

Remember also that creating a budget is just one step.  Budgets can and do change depending on changes in your family system, income changes, if you are traveling, etc.  Once you’ve learned to create a food budget that works for you I encourage you to revisit it at least a couple of times a year to see how you’re doing and if you need to make any additional changes. 

Finally, it’s important to remember that if you are making changes to your eating habits and to your grocery budget, you need to make shift gradually and sustainably.  Change does not happen overnight.  In order to be successful with the changes you are making you want to shift one thing at a time.  Once you’ve mastered on change you can make another.  Over time you will find that you’re continuing to improve your grocery shopping habits.

Sources

"Over A Third Of The U.S. Food Dollar Is Spent On Eating-Out Services". Ers.Usda.Gov, 2021, https://www.ers.usda.gov/data-products/chart-gallery/gallery/chart-detail/?chartId=58354. 

"Food Loss And Waste". Usda.Gov, 2021, https://www.usda.gov/foodlossandwaste.  

"Food Waste In America In 2021: Statistics & Facts | RTS". Recycle Track Systems, 2021, https://www.rts.com/resources/guides/food-waste-america/.

State, Chuck. "The Average American Household Wastes $1,866 Of Food Per Year - Futurity". Futurity, 2020, https://www.futurity.org/food-waste-united-states-sustainability-consumers/. 


Related articles:
Healthy Budget-Friendly Ideas For When You Hate To Cook
Clean Eating On A Budget 

Preparing For The Next Storm

After a horrific week of winter, finally, some relief from the cold.

If you’ve been following me for a while, you know that I live in Texas. Our state has only just begun recovering from the unprecedented devastation that the winter storms unleashed on February 14. 

The deadly temperature caused the pipes to burst, leading to water disruptions for half of our state’s population. My family, and millions of other people, also lost power, forcing everyone to spend days and nights trying to stay warm. 

Due to the impassibility of roads for a few days, grocery stores were also unable to resupply. The shelves were emptied, and the weather conditions led to food supply chain issues. 

Supply chain shortages; potential price hike

Now that things are warming up and the roads are clear, they should be able to restock the shelves. But there’s another major food challenge due to the storm; grocery prices are probably going up.  

There was damage to both crops and livestock. Many tender young plants (such as baby greens) froze, baby chickens froze to death, and dairy farmers have been dumping milk because they’re unable to get it to the dairies.  

According to one source, “The drop in production could have short- and medium-term consequences on availability and prices.

The whole shortage and potential price increase issue makes it important to have food storage on hand. As I’ve mentioned before, I’m not talking about The End Of The World As We Know It enormous food storage. But I do believe in having at least 30 days worth on hand plus a water plan. This allows you to have more flexibility when it comes to your food so you’re not limited by what is or isn’t available at the store. It also means learning to modify your diet as needed based on what’s available.

Tips to start your “preparedness plan”


Here are some tips that I believe are useful in an emergency situation (this is mostly geared toward winter). I encourage you to print this list out and keep it somewhere for reference.  

This information is also good to share with friends, neighbors, and family so they can be prepared as well.

1.Prepare your home and car


  • Make sure your car tank is full. If you have gas cans (and you should), make sure those are full also.  In the middle of an emergency, gas stations may not be able to resupply. Plus you want to be able to leave if you need to. A full tank also prevents the tank from freezing in very low temperatures (yes, your gas tank can freeze).


  • Weatherproof your home. Turn off your outside water, wrap your exterior pipes, and winterize your faucets. There are covers you can buy at the hardware store (get them now for next time).  In an emergency, a pool noodle can be sliced up and used for pipe insulation.  In case of a burst pipe (hopefully not), know where your shutoff valve is.  


If you have a frozen pipe, you can shut off the water so that it will hopefully won’t burst when the water comes back on. Heating a frozen pipe with a hairdryer may help melt the frozen part. Keep faucets dripping to help prevent pipes from freezing.  If pipes are on an outside wall, you want to keep the cabinet doors open so that any residual heat from the house can help keep the pipes warm.

2. Have a water & food plan 


  • Store water in pots, pans, the bathtub, or an Aquatainer. It can be used to flush toilets, wash, and cook with. The recommendation is one gallon per person (or pet) per day for drinking, one gallon for cleaning, and one gallon for personal care.


  • Have some sort of filtration device like a Big Berkey in case you need to pull water from a non-sanitized source (nearby running water, a pool, etc.).


  • Have food on hand which does not need to be cooked to be eaten. This is in case you don’t have a way to cook it.  You’re still going to want to be able to eat something. Be aware that your body burns more calories when you’re cold trying to stay warm. Just shivering can burn as much as 400 calories per hour.


  • You can heat water and cook on your grill.  This makes it important to have an extra propane tank.  DO NOT bring your grill into your home; this is not safe.  If the weather is inclement, you can try to find an overhang or, worst case, use it in the garage with the door open

3. Create an emergency kit 


  • Create a family-sized emergency supply kit and smaller “go kits” for the whole family. Include disinfectant wipes and spray, soap, hand sanitizer with at least 60% alcohol, and at least two masks per person age two or older in your household. 


  • Know where your flashlights and batteries are. Do not rely on your cell phone for a flashlight, as this will run it down too much.


  • Have long-burning candles for light.  I use the prayer candles, the tall ones in a glass jar.  I get them at the dollar store. They’re supposed to be good for as much as 40 hours.


  • Get some of the glow-in-the-dark bracelets (I get mine at the dollar store). If you have pets in the home, once it gets dark, this is a good way to be able to see where your pet is so you don’t trip over them.


  • If you have a wood-burning fireplace, you need to have the wood in advance of the storm to use it for heat. It kind of goes without saying, but it can be hard to find wood during the storm.


  • The nickel in the freezer trick. this lets you know how much your freezer defrosted during a power outage. Place a nickel on top of frozen water in a cup. After a power outage look and see if where the nickel is.  If it’s at the bottom that tell you the water thawed and then refroze.  The food in your freezer is no longer safe to eat.


4. Keep yourself (and your pets) warm during the storm


  • Wear a hat. Many people put on socks, sweaters, and sweatpants but forget that you can lose a lot of heat through your head. 


  • Layer, layer, layer. Wearing a big sweater isn’t going to be as helpful as wearing several layers. Those layers help to trap air to keep you warmer.


  • Keep yourself warm using hot water containers. Wrap bottles or a jar filled with hot water with a towel around it to cuddle with under the blankets


  • Keep your core temperature up. While you have power, put pots of water on the stove to boil. Not only does this help to keep heat in the house, but it’s also a source of hot water for drinking. Once the power goes out, you can put that hot water into insulated thermoses to stay hot for beverages.


  • Prevent drafts by rolling up towels and pillowcases. Place them at the bottoms of doors and windows.  You can also close your blinds or curtains to create a bit of a barrier to keep the cold air from chilling the space quite so much.


  • Bring your pets indoors. Bring your fur babies inside or provide a shelter to keep them safe and warm. Make sure that they also have access to unfrozen water


If you’re interested in knowing more, you can schedule a personalized Preparedness Pantry Consultation with me to create a plan for your family.


Preparing An Emergency Food Supply, Long-term Food Storage 

Pandemic, natural disasters, and terrorist attacks often come with little to no warning. To weather the storm, stocking up NOW would be a wise idea.

Some food, if properly sealed and stored correctly, can last for years. According to ready.gov, it is important to stock canned foods, dry mixes, and other staples that do not require refrigeration, cooking, water, or special preparation.

I’ve listed below necessary items for your emergency supply plan -- food, water, and other essentials -- to help you build your survival kit. 

Preparing an emergency food supply

As we all know, global crises like COVID-19 can easily disrupt the food supply. Planning to have at least a 14 day supply of food can help you build an emergency stockpile in your home.

Keep food that:

  • Has a long storage life
  • Requires little or no cooking, water, or refrigeration
  • Meets the needs of family members who are on special diets
  • Meets pets’ needs
  • Are not very salty or spicy, as these foods increase the need for drinking water, which may be in short supply
  • Have no artificial ingredients, MSG, unpronounceable chemical names, etc.

Note: Read the labels. Just because this is emergency planning doesn’t mean that you want to buy those kits with all the cruddy ingredients in it!

Recommended emergency food items

It should be understood that you only want to store what your family will eat. For example, don’t buy canned lima beans if no one eats them. Here’s what you should store in your pantry:

  • Ready-to-eat canned meats, fruits, vegetables
  • Protein or fruit bars
  • Dry cereal or granola
  • Nut or seed butter
  • Dried fruit
  • Canned juices
  • Non-perishable milk
  • High-energy foods
  • Food for infants (if you have one in your home)
  • Comfort/stress foods

How to store emergency food

Certain storage conditions may enhance the shelf life of foods. The ideal location is a cool, dry, and dark place. The most suitable temperature is 40° to 70°F.

  • Store foods away from ranges or refrigerator exhausts. 
  • Store food away from petroleum products. Some food products absorb their smell.
  • Items stored in boxes or in paper cartons will keep longer if they are heavily wrapped or stored in waterproof, airtight containers.
  • If you have extra space in your freezer, fill it with bags of water. This can help keep food cold if the power goes out. If you need to leave, it will provide ice for the trip. 

Also read Guide To Freezing Food: What You Can And Can’t Put In The Freezer to learn more on how long you can keep food in the freezer and food safety during power outages.

Essential tools and items for food preparation

Having the following items available will help you to prepare meals safely:

  • Cooking utensils
  • Knives, forks, and spoons
  • Paper plates, cups, and towels
  • A manual can- and bottle-opener
  • Heavy-duty aluminum foil
  • Wax paper and/or parchment paper
  • Propane gas or charcoal grill; camp stove
  • Extra water to be able to rehydrate dehydrated food
  • Fuel for cooking, such as charcoal 

Preparing an emergency water supply

Water can be a critical item, especially for those on a well without power. Do not store water in the plastic containers they come in (those leaks — ask me how I know that — one soggy closet floor later). Use an aquatainer, they’re made for longer-term water storage. 

  • Requirements are 1 gallon of water per day for each person and each pet for cooking and drinking. Also, store an additional gallon per person for sanitary needs.
  • Store at least a 3-day supply of water for each person and each pet. Try to store a 2-week supply if possible.
  • Observe the expiration date for store-bought water
  • Store a bottle of unscented liquid household chlorine bleach to disinfect your water and to use it for general cleaning and sanitizing.

Note: As much as possible, do not drink liquid that can dehydrate the body; i.e.,  caffeine, soda, and alcohol.

Recommended items for emergency supply kit

Aside from the food, water, and other items for food preparation, here are other recommended items to include in your family’s emergency supply kit:

  • Battery-powered or hand-crank radio and a NOAA Weather Radio with tone alert
  • Flashlight
  • First aid kit
  • Extra batteries
  • Whistle (to signal for help)
  • Dust mask (to help filter contaminated air)
  • Plastic sheeting and duct tape (to shelter in place)
  • Moist towelettes, garbage bags and plastic ties (for personal sanitation)
  • Wrench or pliers (to turn off utilities)
  • Local maps
  • Cell phone with chargers and a backup battery
  • Glow stick for pets’ collar (so you don’t trip over them at night)
  • List of important addresses and phone numbers
  • Gas refill (always refill your tank if you are at ½)

Join my Exclusive Community: The Kitchen Table!

Join me and an empowering community dedicated to your health journey!
 
  • Access to masterclasses on gut health, migraine management, and preparedness pantry.
  • Library with all my ebooks covering holistic health topics.
  • Engaging monthly book club discussions.
  • Specialized modules to enhance your wellness journey.
  • Interactive calls for personalized guidance.
  • Comprehensive community support
Don't miss our limited-time 70% off sale this 2024! Join us today!

Sources: 


lacto-fermented condiments

Be Prepared To Make Condiments

Preparedness is a big topic these days and many people are looking at purchasing packages of food that are good for long term storage. The biggest challenge with pre-made prepared foods is all of the chemicals and additives that are in them. Of course, making a list of foods to have on hand for those times when you need it is important. But when you're putting that list together consider skipping the condiments.

Making condiments

I'm not saying don't have condiments on hand. However, I do believe it's better to know how to make your own condiments. This way you'll have them on hand fresh and tasty, plus you'll avoid all the negative ingredients found in many condiments. And truthfully even those without too many harmful additives don't last that long. By knowing how to make your own condiments and having a few simple, easy to store ingredients on hand you'll always have delicious, nourishing condiments available.

You'll need to remember that when fermented the condiments may have a slight bubble to them or may seem to separate slightly. They may also have a slightly tangy smell. Do not eat them if they are fuzzy, discolored, or smell really bad/moldy.  If you've done it right, this should not happen.

Needed ingredients

When making lacto-fermented condiments you start with a basic condiment recipe. Then you add some sort of liquid that helps with the fermentation process.  The two best options are whey, the liquid that's left over from making yogurt, or the liquid you have when you make homemade sauerkraut.  You often have quite a bit of either of these left over after making the item. You can store it in a jar in the fridge until you need to use it to make recipes like these condiments below.

Lacto-fermented Ketchup
Print
Ingredients
  1. 6-ounces organic tomato paste (one small can)
  2. ½ c. whey (strained from yogurt or made from starter)
  3. 1-2 tablespoons whey
  4. 1/4 cup apple cider vinegar (raw & unfiltered)
  5. 1 tablespoon honey
  6. 2 teaspoons molasses
  7. ½ teaspoon of sea salt
  8. ½  teaspoon onion powder
  9. ½ teaspoon garlic powder
  10. generous pinch each allspice, cloves, and nutmeg
Instructions
  1. Blend all ingredients (except 1-2 T. whey) together in a food processor until well combined
  2. Place in a jar and top with 1-2 tablespoons of whey to cover completely
  3. Cover jar and let sit at room temperature for 2-3 days
  4. After fermenting store in the refrigerator
The Ingredient Guru, Mira Dessy https://theingredientguru.com/


Quick and Easy BBQ Sauce
Print
Ingredients
  1. 1 cup ketchup (see above)
  2. 2 tablespoons mustard (see below)
  3. ½ cup honey
  4. 1 ½ tablespoons molasses
  5. ½ teaspoon sea salt
Instructions
  1. Mix all ingredients together in a sauce pan and heat gently until just under a boil
  2. Remove from heat, cool and jar
  3. Store in the refrigerator
The Ingredient Guru, Mira Dessy https://theingredientguru.com/
Lacto-fermented Mustard
Print
Ingredients
  1. ½ cup mustard seeds
  2. ½ cup sauerkraut brine (leftover/filtered from live kraut)
  3. 2 tablespoons apple cider vinegar (raw & unfiltered)
  4. 1 clove garlic, minced
  5. 1 tablespoon honey
  6. ½ teaspoon sea salt
Instructions
  1. Blend all ingredients in a food processor
  2. Place in a jar, cover, and let sit at room temperature 1-2 days
  3. Store in the refrigerator
The Ingredient Guru, Mira Dessy https://theingredientguru.com/


Lacto-fermented Mayonnaise
Print
Ingredients
  1. 1 egg
  2. 1 cup olive oil, divided
  3. 11⁄2 teaspoons mustard powder
  4. 1 teaspoon sea salt
  5. 3 tablespoons tarragon vinegar (can substitute white wine vinegar and a few fresh tarragon leaves)
  6. 1 tablespoon whey
Instructions
  1. Place the egg, 1⁄4 cup oil, mustard, and salt into a container
  2. Blend well. (A stick blender is the best tool for this.)
  3. When well blended, drizzle in another 1⁄4 cup olive oil and blend well again.
  4. Add the tarragon vinegar; blend well
  5. Slowly add the remaining olive oil and blend well
  6. Gentle blend in whey until completely incorporated
  7. Place in a jar, cover and let sit at room temperature for 8 hours
  8. Store in refrigerator
The Ingredient Guru, Mira Dessy https://theingredientguru.com/
Olive Oil Dressing/Marinade
Print
Ingredients
  1. 3 cups organic extra virgin olive oil
  2. 1/4 Cup  apple cider vinegar  (raw & unfiltered)
  3. 3 tablespoons dry oregano
  4. 2 tablespoon dry basil
  5. 2 tablespoons dry parsley
  6. 2 teaspoons sea salt
  7. 1 teaspoon garlic salt
Instructions
  1. Blend well in a blender
  2. Store in the refrigerator
Variations
  1. Add ½ cup mayonnaise to make a creamy dressing
  2. Add ¼ cup mustard and substitute 1 clove fresh garlic for the dried
  3. Add ½ cup ketchup, 1 teaspoon paprika and substitute red wine vinegar for the apple cider vinegar to make a Catalina dressing
The Ingredient Guru, Mira Dessy https://theingredientguru.com/