Category Archives: recipes


mash brussels sprouts

Autumnal Mash With Crispy Brussels Sprouts

This is a great side dish to add to any seasonal menu. Delicious and nourishing, it takes advantage of wonderful foods that are in season right now. Eating foods that are in season means they have more nutrition. Typically they’re also less expensive which is definitely a good thing.

Autumnal Mash with Crispy Brussels Sprouts

Prep Time 10 minutes
Servings 4

Equipment

  • Note: for ease of cleanup you can line a rimmed baking sheet with either parchment paper or a silicone Silpat® baking mat

Ingredients
  

  • 1 medium cauliflower head, roughly chopped (save the leaves to use as a green vegetable in another dish)
  • 2 Gala apples, peeled, cored and roughly chopped
  • 2 large shallots, cleaned and roughly chopped
  • 1 tablespoons fresh rosemary leaves, minced
  • 2 tablespoons extra virgin olive oil , divided
  • Sea salt and black pepper, to taste
  • 1 pound Brussels sprouts, washed, trimmed, and halved
  • 2 garlic cloves, finely minced
  • 2 tablespoons organic whole cream
  • 2 tablespoons organic unsalted butter
  • ½ cup pistachios, shelled and roughly chopped

Instructions
 

  • Preheat oven to 375°F, prepare rimmed baking sheet
  • Add cauliflower, apple, shallots, rosemary, sea salt, pepper, and one tablespoon olive oil to a large bowl. Toss to combine.
  • Spread this mixture onto baking sheet, place in over and roast until the cauliflower is fork tender, 25-30 minutes
  • To prepare Brussels sprouts:
    Heat the remaining olive oil in a large pan over medium heat.
    Add the garlic. Cook, stirring frequently, until garlic is fragrant, less than 1 minute
    Add Brussels sprouts. Cook, stirring occasionally, until they are crispy and starting to brown, about 15 minutes.
  • To assemble:
    When cauliflower mixture is finished, place in a large mixing bowl.
    Add cream and unsalted butter and mash (with a potato masher or an immersion blender) until smooth.
    Spread the mash in a large serving dish, top with the Brussels sprouts, and garnish with pistachios.
    Enjoy!

Apple Cinnamon Cheesecake In An Instant Pot

Make sure you have a specific sealing ring for your Instant Pot lid for sweet and savory dishes.  Do not use the savory lid to make sweet things as the flavors might infused into the dish. 

Preparation for this dish is 5 minutes on sauté and 30 minutes to cook (plus time to come to pressure).  Use natural release (NR) of 10 minutes.  Chill for at least 4 hours or overnight so the cake can set.  Serves: 4-6

Tip: It is important that all ingredients be at room temperature.  Otherwise the batter may not work out properly.  It can take 2-3 hours for the ingredients to come to room temperature.

Tip #2:  Read this recipe through in it’s entirety before making, in order to make sure you understand timing elements, i.e., the crust needs to be put in the freezer for one hour to set.

Tip #3: Scrape mixing bowl sides with a spatula before each ingredient addition. This makes sure that all ingredients are well blended into the batter.

Apple Cinnamon Cheesecake in an Instant Pot

Ingredients
  

  • Crust:

    1 cup almond flour

    1 teaspoon vanilla extract

    3 tablespoons Lakanto (mont fruit sweetener) or Swerve (erythritol)

    3 tablespoons unsalted grass-fed butter, melted

  • Batter:

    2 8-oz. blocks organic cream cheese

    1 teaspoon real *vanilla extract (see recipe link below)

    ¼ cup Lakanto or Swerve

    1 teaspoon ground cinnamon

    2 large eggs, free range, preferred

    ¼ cup heavy cream

    1¼ cup water

  • Topping:

    2 tablespoons unsalted grass-fed butter

    1 large apple, cored and cut into wedges

    1 teaspoon ground *cinnamon (see link below)

    ½ teaspoon allspice

    3 tablespoons maple syrup

    ½ cup water

    Pinch sea salt

    ¼ cup pecans, chopped

Instructions
 

  • Lightly grease the inside of the springform pan and set aside.
  • Combine crust ingredients together in a medium sized bowl. Stir until well combined. Press crust mixture into the bottom of the greased springform pan and spread to uniformly cover the bottom of the pan. Place in the freezer for at least one hour.
  • Beat ingredients one at a time in a large mixing bowl. Beat each ingredient for 10-12 seconds before adding next ingredient. Add ingredients in this order: Cream cheese, vanilla extract, sweetener, heavy cream, and the eggs, one at a time. (To avoid adding too much air into the batter do not overwork it).
  • Remove crust from the freezer and pour the batter on top. Gently tap the springform pan several times on the counter. This will release air bubbles from the batter.
  • Place trivet stand in the Instant Pot and add water. Place springform pan onto trivet. For easy removal make sure handles are pointed upwards.
  • Place and lock lid. Select “Manual” and set to “High.” Adjust cook time to 30 minutes.
  • After cooking time is complete do a natural release for 10 minutes and then quick release to get rid of the remaining steam. Carefully remove the lid and lift the cheesecake out of the instant pot by the handles. Use a potholder as this will be hot.
  • Set cheesecake on a wire rack on the counter and cool for 10-15 minutes. Then move to the refrigerator and chill 4 hours or overnight.
  • Topping is made slightly ahead of when you are ready to serve the cheesecake.
  • Set Instant Pot to “Sauté” on a medium setting. Add the butter stirring to cover the bottom of the pot while it melts.
  • Add apple wedges, ground cinnamon, allspice, maple syrup, water, and salt to the Instant Pot. Stir until apples are thoroughly coated, sautéing until they are tender but not soggy. The sauce should also be slightly thickened. This will take about 4-5 minutes. Turn off the Instant pot and move the apple mixture to a bowl to cool slightly.
  • When ready to serve, take the cheesecake out of the refrigerator and carefully remove it from the springform pan. Arrange apple wedges on top and drizzle the sauce over the apples. Sprinkle with the pecans and serve. Enjoy!

Antifreeze In Your Ice Cream?

Ah, those lazy, hazy, crazy days of summer.  Hot, humid, sweltering temperatures just beg for you to stop and enjoy a cold frozen confection.  Ice cream, just the thing to cool you off.  Or not.

Why is antifreeze in ice cream?


If you are looking for a cool summer treat you may want to consider making your own frozen confections.  It turns out that there is a little-known ingredient called propylene glycol hiding out in your ice cream. 

Considered a "non-toxic" antifreeze (as opposed to ethylene glycol which is highly toxic) many manufacturers use it in a wide variety of foods, especially ice cream. While it prevents your car from freezing it also keeps your ice cream smooth and prevents ice crystals from forming.  Homemade ice cream turns fairly hard once frozen completely but this doesn't seem to happen with a lot of commercial ice creams.  Now you know why.

Looking for it on the label provides an even bigger shock.  Propylene glycol is not listed.  Why?  It turns out there is a little-known USDA regulation that covers incidental food additive labeling.  This labeling allows the manufacturers to not include this ingredient on the label.  My research so far seems to indicate that propylene glycol is covered under this regulation.

Health risks of propylene glycol


Unfortunately, it does not take into effect the "ick" factor (after all who really wants to eat anti-freeze, even if it is the "non-toxic" variety?).  Nor does it take into effect the fact that there are people who are highly sensitive to the substance.  While I don't know how much propylene glycol is in ice cream I'm assuming it's not a huge amount.  However, if you eat a lot of ice cream, or frosting, or other foods that contain it you could be getting a significant exposure.

Apparently, people who suffer from vulvodynia and interstitial cystitis can be particularly sensitive.  It's known to cause skin problems when it appears in lotions, asthma or other allergies in children exposed through airborne sources, and large doses administered orally have been been shown to have a depressive effect on the central nervous system in animals.  The challenge with the large dose testing is that because it's not labeled we do not know how much we may potentially be exposed to through ingestion or through osmotic skin absorption.

Avoiding propylene glycol


What can you do to avoid it?  That's not so easy since it's not labeled.*  Still want those creamy, cool summer treats?  Consider making your own.  Here are a few recipes that really hit the spot when the temperatures are climbing outside.

Vanilla Ice Cream

Recipe from Nourishing Traditions by Sally Fallon

Ingredients
  

  • 3 egg yolks
  • 1/2 cup maple syrup
  • 1 tablespoon vanilla extract
  • 1 tablespoon arrowroot
  • 3 cups heavy cream, (NT prefers raw, not ultra-pasteurized)

Instructions
 

  • Beat egg yolks and blend in remaining ingredients.
  • Pour into an ice cream maker and process according to instructions.
  • For ease of serving, transfer ice cream to a shallow container, cover and store in the freezer.

Notes

I've found that adding 1-2 cups of fresh fruit to this is delicious

Strawberry or Raspberry Water Ice

Recipe from Good Things by Jane Grigson

Ingredients
  

  • 1 lb. strawberries or raspberries
  • 1 cup sugar
  • 1-2 cups water
  • juice of 1 lemon
  • juice of 1 orange
  • 5 tablespoons orange liqueur, or kirsch
  • 2 egg whites (optional)

Instructions
 

  • Put the fruit through a blender
  • Make a syrup of the sugar and 1/2 cup water
  • When it is cool add the puree and strain
  • Flavor to taste with lemon juice
  • Dilute with the extra water if required
  • Pour into a container, stirring the frozen sides of the mixture into the more liquid middle part every so often. With shallow trays this needs to be done every half hour; deep boxes can be left longer
  • In 2-3 hours, the time depends on the depth of the mixture, you will have a thick mush of iced granules, called a granita
  • In 3-4 hours you will have a firm but not impenetrable block of water ice ready to be turned into sorbet
  • Beat the egg whites in a large bowl until they're stiff
  • Add spoonfuls of ice gradually, if properly done the mixture blow up to a mass of white foam
  • Refreeze in a larger container until the sorbet has the consistency of firm snow
  • Add the liqueur gradually at the end during the last stirring; with the sorbet add when ice and beaten egg white are mixed together

2-Ingredient Ice Cream

A fabulous easy-to-prepare recipe made in a vitamix or other high power blender

Ingredients
  

  • 1 can Native Forest organic coconut milk
  • 1 pound frozen fruit
  • 1/2 tsp. vanilla (optional)

Instructions
 

  • Add all ingredients in order into the blender
  • Blend until completely mixed (using tamper if necessary) -- approximately 1 minute

Side note: as an outcome of my research I did manage to find an online source for propylene glycol free flavoring.

*Some manufacturers, in an effort to meet consumers desire for more transparency are including propylene glycol on their label. This is, in my opinion, a good thing as it makes it easier to see that they're using it. However just because some manufacturers are disclosing it doesn't mean that many others use it but fail to disclose. In this case it's still best to make your own ice cream.

texas sweet onion relish

Texas Sweet Onion Relish

Texas 1015 Sweet Onions are amazingly delicious. Available for a relatively short period of time this sweet onion does not keep as long or as well as traditional onions. That means when you get them you need to eat them or do something with them fairly quickly. Similar to a Vidalia or a Sweet Peru Onion they give a wonderful mild flavor to a number of different dishes. And the best part? No tears. This type of onion is not as pungent as a traditional onion so it shouldn’t make you cry.

History of 1015’s

Originally developed by Dr. Leonard Pike at Texas A&M University in College Station, Texas 1015 Sweet Onions became available in 1983. The name 1015 comes from the date that it’s supposed to be planted, October 15.

Nutritionally it provides vitamin B6, C, folate, manganese, and potassium. Due to its mild flavor and low pungency, Texas Sweet 1015 onions can actually be eaten raw. They’re also good for grilling, sautéing, and can even be used in baking.

Cooking with sweet onions

Recently I came across the first of the season Texas 1015s at the grocery store. One of my favorite things to do with this onion is to make either chutney or relish. It’s a tasty condiment that is fabulous to have on hand.

Aside from the work involved in chopping 5 pounds of onions, this recipe is super easy to make. I use a food processor. Although you can only chop 2 onions at a time that way it is still faster than trying to chop it all by hand.

Onion relish is a wonderful and versatile condiment. You can certainly use it on hot dogs and hamburgers but it’s a delicious addition to other foods as well. Consider using this relish in different ways:

  • Mixed with chicken salad
  • As a side for roast chicken or turkey
  • With sausages
  • As a side for fish
  •  
  • On top of or mixed into meatloaf
  • On top of roasted sweet potatoes or winter squash
  • On top of a baked Brie

texas sweet onion relish

Texas Sweet Onion Relish

Ingredients
  

  • 5 pounds of sweet onions, diced small (can use a food processor for this)
  • 2 cups apple cider vinegar
  • 1 cup evaporated cane juice crystals
  • 2 tablespoons sea salt
  • 2 tablespoons celery seed
  • 1 tablespoon mustard seed
  • 1 teaspoon turmeric

Instructions
 

  • Bring all ingredients to a boil
  • Immediately reduce to a simmer for 10 minutes
  • Ladle into sterilized jars leaving 1/4” headroom
  • Clean, seal, and hot water bath for 10 minutes

How To Control Common Tomato Pests

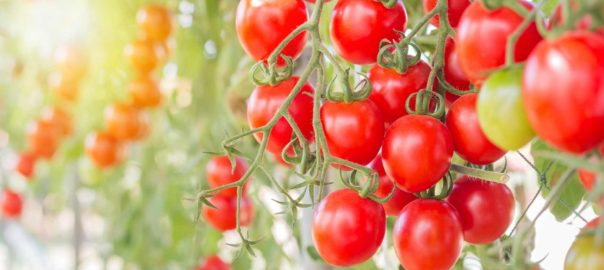
There is surely nothing better than a fresh, sun-ripened tomato. The aroma and the flavor are indescribably and mouthwateringly delicious. That’s probably why so many people give in to the lure of tomato plants on display at the hardware or grocery store in early spring. The promise of eating your own home-grown tomatoes is a temptation that's hard to resist.

If you do give in and proudly cart home your tomato plants chances are you’ll soon discover you’re not the only one who loves tomatoes. There are a number of common pests that are only too happy to feast on your delicious tomatoes and ruin them in the process.

Top Tomato Plant Pests


Unfortunately, garden pests are inevitable. The good news is if you know what you are doing you can get rid of them before they’ve done a number on your tomatoes. Although there are dozens of pests which can be harmful to your tomatoes, these are a few of the most common ones you’ll find in the garden.

Aphids - These are small insects which can be green or black and may or may not have wings. Typically they like to cluster on the bottom of the tomato leaves. They damage the plant by sucking moisture, and nutrients, which causes curled and yellowed leaves. The damage may also stunt the plants.

Cutworms -These are actually a species of moth caterpillars and they live in the soil. They pose a threat especially for young tomato plants as they like to chew the stems.  If you see your tomato plants there one day and “cut” off lying on the ground the next, chances are you have cutworms.  They have been known to decimate an entire crop of newly planted tomatoes overnight.

 They aren’t just a problem for the immature seedlings. Cutworms can also damage older tomato plants by chewing on the stems and leaves creating holes in them. 

Colorado Potato Beetles - Although it’s called a potato beetle, this pest also affects tomatoes, peppers, and eggplants.  Both the larvae and the adults eat the leaves of the tomato plant leaving only the stalks and veins.

Hornworms - Another caterpillar, this one is the immature form of a five-spotted hawkmoth.  They are known for having a voracious appetite and can plow through tomatoes, both the plants and the fruit. Due to their tomato leaf coloration and habit of hanging out on the underside of the leaf these can be hard to spot. If you notice dark droppings on the leaves you can turn them over to see if there is a hornworm on the bottom of the leaves.

Stink Bugs - The immature nymphs and the adult stink bugs suck the sap from the plant and can harm the fruit.  As the name indicates, they have a rather unpleasant odor, especially if squashed or threatened. One way to tell if you have stink bugs on your tomato plants is if you see yellow-white spots underneath the skin of the ripe fruit.

Luckily there are ways to deal with these pests without the use of harmful ingredients. As much as possible you want to use organic method. This is because many of the chemicals used in commercial insecticides and pesticides are known to be toxic to humans. In some cases studies indicate a link between the use of pesticides and neurodegenerative diseases like Parkinson’s. 

Your Organic Garden Pest Solution

As soon as you notice any of these common garden pests on your tomato plants you need to address the issue.  Spraying the plant with water can dislodge the pests.  This can be repeated for several days in a row in order to remove as many as possible.  You’ll also want to incorporate one or more of the following organic, non-toxic, solutions: 

Beneficial insects – add beneficial insects (ladybugs, praying mantis, and lacewings) to the garden and let them forage on the bug population.  These beneficial insects can usually be ordered online. 

Collars - make a rectangular strip of cardboard and place one around each tomato stem. This can protect the plant from cutworms as they typically will not climb over the collar.

Companion planting - adding plants like basil, dill, or marigolds to your garden may help ward against the pests.

Hand-picking – not a very pleasant task, this is, nonetheless necessary.  Put on a pair of gardening gloves, prepare a container with warm, soapy water, and pick them off, dropping them into the water. 

Organic insecticidal soap – follow the directions to mix up a 2 to 3% solution. This can then be applied directly to the plants/pests to remove them.  

Neem oil – an organic, plant-based oil, neem can be very effective against many garden pests, especially aphids, stink bugs and tomato fruit worms.

Weeding – garden debris and weeds around your plants potentially creates a habitat/hiding place for many pests. Keeping the area around your plants clear can cut down on this. 

What To Do With Tomatoes

Of course, if you’re going to grow tomatoes you are certainly going to want to eat them.  I confess my favorite is a deliciously ripe tomato sliced, sprinkled with sea salt, and a smear of homemade mayonnaise

If you’re fortunate enough to have overly abundant tomato plants there are a few other tasty things to do with tomatoes including:

Green tomato chutney 

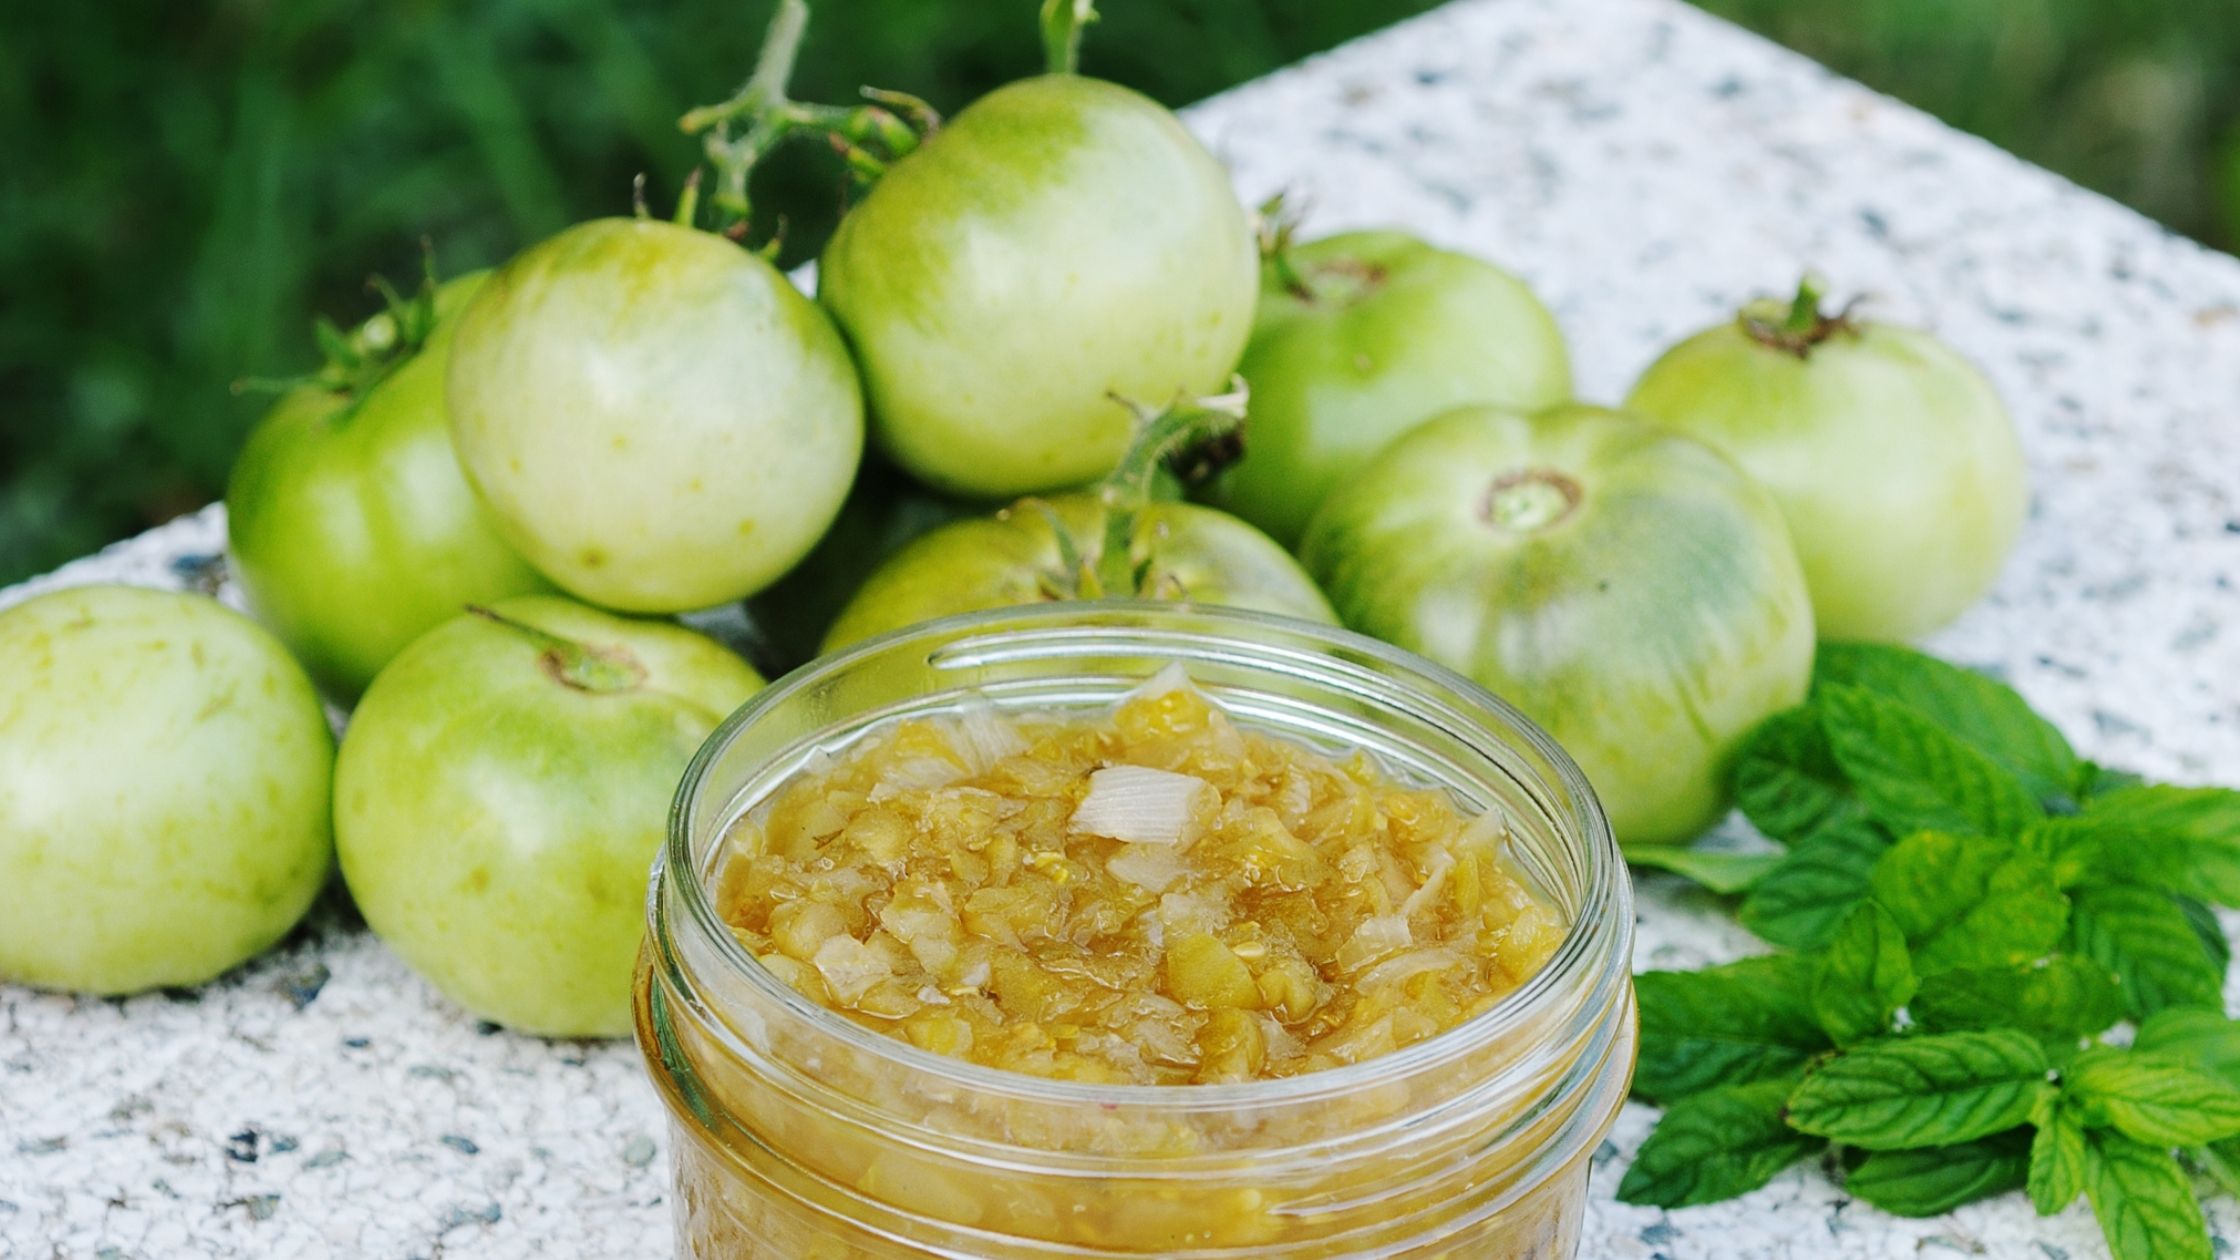
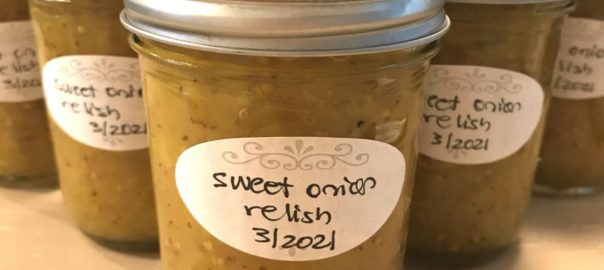
A perfect condiment for roast meats, hotdogs, and Indian food.

Oven-roasted tomatoes 

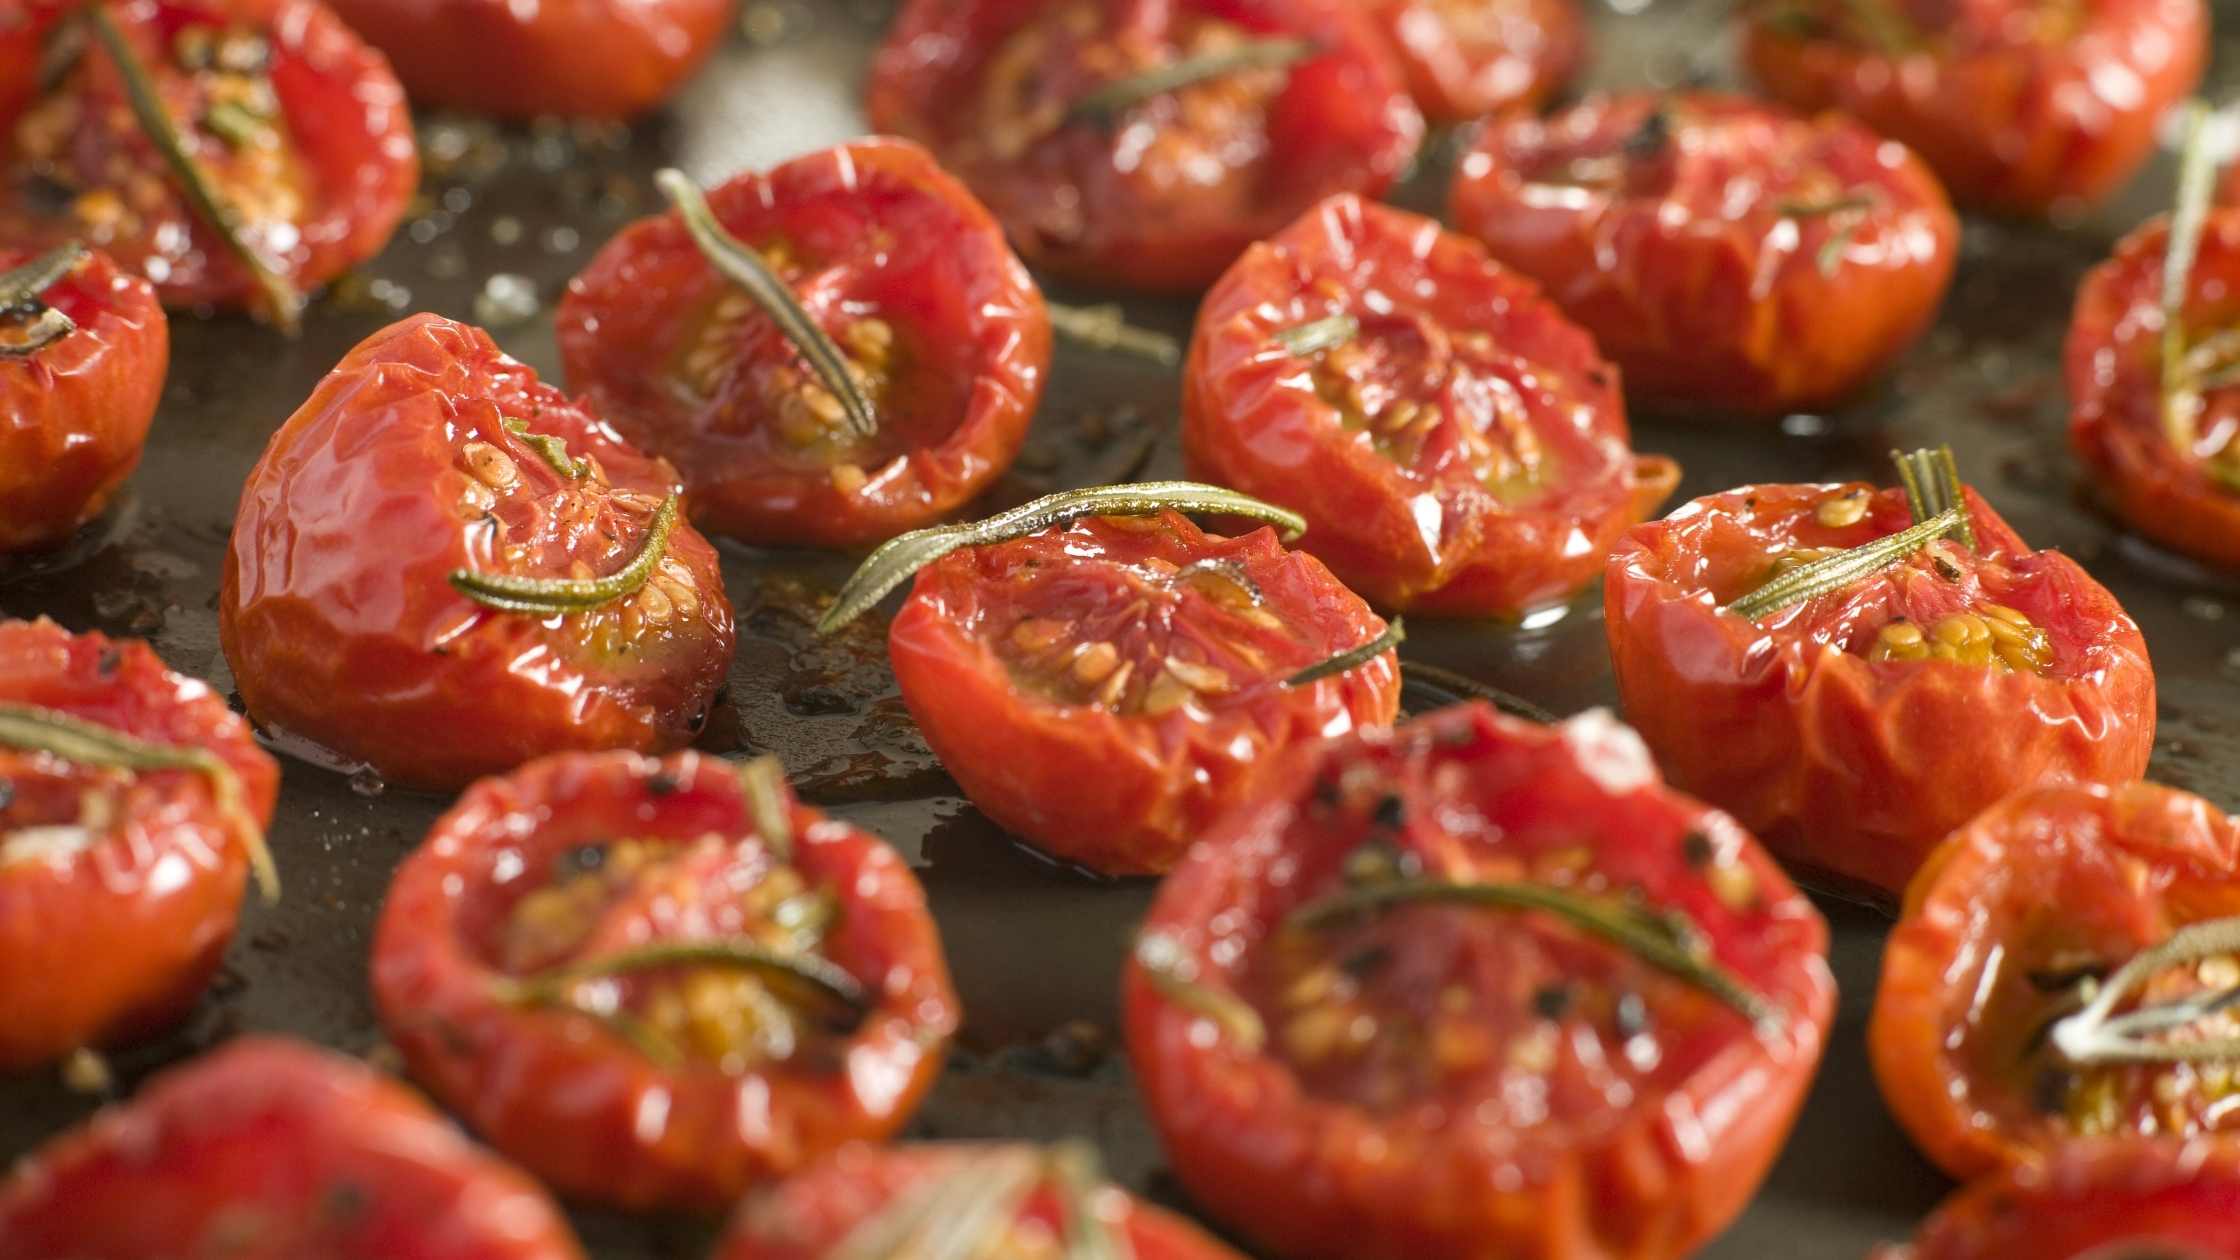
This is a good way to preserve tomatoes so you can enjoy them later in the year when they are no longer in season

Roasted vegetable soup with tomato and fennel

Although the recipe calls for Roma tomatoes really any tomato will do. This is a wonderful soup when tomatoes and fennel are in season. If you have enough you can make and freeze it to enjoy in the middle of winter.

Sources

"Toxicity Of Pesticides". Penn State Extension, 2021, https://extension.psu.edu/toxicity-of-pesticides.

Costa, Lucio, G. "Neurotoxicity Of Pesticides: A Brief Review". Frontiers In Bioscience, vol 13, no. 13, 2008, p. 1240. Frontiers In Bioscience, doi:10.2741/2758.

PMC, Europe. "Europe PMC". Europepmc.Org, 2021, https://europepmc.org/article/PMC/5285268.

Rauh, V. A. et al. "Impact Of Prenatal Chlorpyrifos Exposure On Neurodevelopment In The First 3 Years Of Life Among Inner-City Children". PEDIATRICS, vol 118, no. 6, 2006, pp. e1845-e1859. American Academy Of Pediatrics (AAP), doi:10.1542/peds.2006-0338.

Coconut Cream For Pi Day

Pi Day!

Beloved by math nerds everywhere. Pi Day comes on March 14 – because the first three numbers of the mathematical expression for Pi is 3.14. You should have seen all of the excitement in 2015 (the first five numbers are 3.1415). 

When my kids were little it was great fun to bring a pie to school on March 14th.  One elementary school hadn't heard of this delicious holiday until my child walked in with a Chocolate Silk Pie and utensils.  By then I'd learned that if I was sending a pie to school I also needed to be sure to send a pie knife, plates, napkins, and forks. 

Of course, some families prefer to celebrate at home. Which brings up a very important question…

What Kind Of Pie?

Every year on this day the question running all over the internet is … What Kind Of Pie? Because, after all, there are so many delicious kinds of pie. Of course, there's the standard apple or cherry. But let's not forget that pie doesn't only apply to sweet or fruit pies.

There are also a lot of savory choices such as pot pie, shepherd's pie, and even pizza pie.

The one thing that's pretty much guaranteed? Everyone has a favorite flavor of pie.

This year we're celebrating with a pie recipe much beloved by an elder member of our family.

You’ll need a baked pastry shell of some kind to put it in. While a graham cracker crust will work, it's not as good and tends to get soggy.  A traditional baked pie crust is the best option. Fortunately, you can buy pre-made unbaked gluten-free pie crusts. These are usually found in the frozen food section of the grocery store. You'll need to follow the directions on the crust and bake it before you make this pie.


Poppy's Coconut Cream Pie

This delicious coconut cream pie is very easy to make and looks fabulous once it's done.

Ingredients
  

  • 1/2 cup evaporated cane juice crystals
  • 3 Tbsp organic cornstarch
  • 2 cups shredded coconut toasted and divided
  • 1 Tbsp organic butter
  • 1/8 tsp sea salt
  • 1 1/2 tsp vanilla extract
  • 3 cups coconut milk with the cream — I prefer Native Forest Organic in the can — it takes 2 cans
  • 3 large eggs or 5 egg yolks for a richer pie
  • 16 ounces whipping cream or heavy cream read the label so there’s no gums, carrageenan or other negative ingredients in it
  • 1/4 cup evaporated cane juice crystals
  • 1 1/2 tsp vanilla extract

Instructions
 

  • Mix together cornstarch, sugar and salt
  • Add to a pan with coconut milk/cream
  • Cook over medium until thick and bubbling
  • Reduce heat and cook 2 minutes longer, stirring frequently to prevent sticking or burning
  • Remove from heat
  • Gradually add 1/2 C. of hot mixture into beaten eggs or yolks
  • Return egg mixture to pan and cook over medium heat until hot but not boiling
  • Cook at heat 2 more minutes
  • Remove from heat add in butter, vanilla, and one cup toasted coconut
  • Pour into pie shell
  • Cool completely 1-2 hours in fridge
  • Make whipped cream by combining whipping cream, sugar, and vanilla until firm peaks form
  • Spread whipped cream over the top of the pie
  • Sprinkle with remaining toasted coconut
  • Chill for 1-2 hours before serving

Umami No-Bean Chili

When I moved to Texas I learned that there’s a controversy when it comes to chili. Beans or no beans. Having grown up in New England I was definitely in the with beans camp.  But after living firmly in no bean territory for a number of years I began to appreciate the satisfyingly rich meatiness of a no bean chili.  

This recipe is so full of fresh veggies that you really don’t miss the beans.  Adding portobello mushrooms increases the umami factor.  Top it all off with flavorful herbs and spices and it’s satisfyingly delicious. You can add a wonderful quick onion pickle (recipe below) and a fabulous slaw for a nourishing comfort food meal.

Umami No-Bean Chili

Servings 6

Ingredients
  

  • 2 Tablespoons extra virgin olive oil
  • 1 medium yellow onion, diced
  • 2 large carrots, diced
  • 2 medium celery stalks, diced
  • 2 medium red bell peppers, diced
  • 1 pound portobello mushrooms, chopped
  • 1½ pounds organic or free range ground beef
  • 2-3 garlic cloves, minced
  • Sea salt and black pepper, to taste
  • 2 Tablespoons tomato paste
  • 1 Tablespoon ground cumin
  • 2 teaspoons dried oregano
  • 2 teaspoons chili powder
  • ½-1 teaspoon cayenne pepper (to taste)
  • 1 24-ounce can crushed tomatoes, undrained
  • 1 cup bone broth

    https://theingredientguru.com/healing-powers-bone-broth/ 

  • 1 medium jalapeno pepper, seeded and minced (optional)
  • Suggested Toppings:

    Quick Onion Pickle

    Avocado

    Fresh cilantro leaves, chopped

Instructions
 

  • Heat olive oil in a large soup pot over medium-high heat. Add in onion, carrots, celery, bell peppers, mushrooms, and jalapeno pepper (if using)
  • Stir occasionally, until vegetables are softened, approximately 5-7 minutes
  • Add in ground beef, garlic, sea salt and black pepper, to taste
  • Cook, breaking up meat, until the beef is browned, approximately 5-6 minutes
  • Add tomato paste and seasonings, stir to combine well and cook for another 1-2 minutes, or until the spices become fragrant
  • Add crushed tomatoes and broth and bring to a boil then reduce heat to medium and simmer for 15-20 minutes, stirring occasionally
  • Remove from heat and adjust seasonings, if necessary
  • Add desired toppings, serve immediately. Enjoy!

Delicious on top of your favorite Mexican or Tex Mex dishes, these quick onion pickles are super easy to make in the kitchen. They’re not just for Mexican food though.  You can also enjoy them as a condiment for just about anything including wraps, salads, or anywhere that you’d like a little extra flavor.  If you like a little heat you can add jalapeno.  The pickling liquid is really flavorful as well and can be substituted in place of plain vinegar in your marinades or homemade vinaigrettes. 

Quick Onion Pickle

Ingredients
  

  • ¾ cup apple cider vinegar vinegar
  • ¾ cup water
  • 2 Tablespoons kosher salt
  • 2 Tablespoons honey, preferably local
  • 3-4 cloves fresh garlic, minced
  • 1 medium red onion, sliced thin
  • 5-6 jalapeno peppers, sliced into rounds, seeds removed (optional)

Instructions
 

  • Combine vinegar, water, salt, honey, and garlic in a saucepan over medium heat
  • Whisk to combine well then heat until honey is fully dissolved
  • Remove from heat, set aside
  • Place sliced onion (and peppers if using) in a glass jar with a tight-fitting lid
  • Pour pickling liquid over the onions (and peppers) being sure to cover completely
  • Let sit one hour to marinate before using
  • Store in the refrigerator up to two weeks


Greens & Apple Slaw

Ingredients
  

  • ½ head of green cabbage, diced longwise
  • 1 cup Brussels sprouts, shaved
  • 1 small green apple, cored and diced
  • ⅓ pound bacon, cooked and crumbled
  • 1 Tablespoon apple cider vinegar
  • Sea salt and black pepper to taste

Instructions
 

  • In large bowl, mix cabbage, Brussels sprouts, and salt and let sit for 30 minutes
  • After salted vegetable mixture has released water, drain thoroughly
  • Add remaining ingredients to vegetables and toss well

Guilt-free Valentine’s Day Treats

Valentine’s Day may look a little different this year due to the COVID-19 pandemic, but there are still some ways to enjoy this special day at home. I put together a few of my favorite guilt-free Valentine’s recipes to indulge in with your loved ones. 

  1. Chocolate Hazelnut Truffles

There’s nothing better than a really good chocolate truffle.  These decadent treats are unique because they are naturally-sweetened by dates and maple syrup. There are no added refined sugars.  They’re even dairy-free!  It’s important to get the Medjool dates.  Sure they’re more expensive, but they are so tender and make this recipe amazing.

Chocolate Hazelnut Truffles

Prep Time 25 minutes

Ingredients
  

  • ½  cup raw hazelnuts
  • 12 Medjool dates, pitted 
  • 2 tablespoons cocoa powder, unsweetened
  • 2 tablespoon coconut flour
  • 1 tablespoon extra virgin coconut oil, melted
  • 1½ tablespoon pure maple syrup

    (https://theingredientguru.com/making-vanilla/)

  • 1 t. vanilla extract
  • ¼ tablespoon coarse sea salt
  • Optional Coatings: 

    ¼ cup hazelnuts or almonds, ground

    ¼ cup coconut flakes, finely shredded

    2 tablespoons unsweetened cocoa powder + ¼ teaspoon each cayenne pepper and coarse salt

    2 tablespoons unsweetened cocoa powder + ½ teaspoon cinnamon powder

    (https://theingredientguru.com/choosing-the-right-cinnamon/)

Instructions
 

  • Place pitted dates in a small bowl filled with warm water and set aside to soak for 10-15 minutes
  • Line an edged baking sheet with parchment paper and set aside
  • Pour each whichever coatings you are using into wide mouth bowls (sufficient to roll truffles in)
  • Add hazelnuts to a food processor and process until finely ground
  • Remove the softened dates from the bowl, draining off excess water
  • Add dates and cocoa powder to food processor blending until smooth, about 3-4 minutes
  • Be sure to scrape the sides, as needed, to make sure ingredients are well combined
    Tip: If needed add a few drops of water to form a smooth consistency (be careful not to add too much).
  • Add coconut flour, coconut oil, maple syrup, vanilla extract, and sea salt to the food processor and blend well until combined
  • Remove the mixture from the food processor, dividing it into 15-18 equal-sized balls
  • Roll each ball into one of the prepared coatings (whichever ones you are using)
  • Once coated, place balls on the parchment-lined baking tray and place in the refrigerator to chill for at least 30 minutes before serving. Enjoy!

2. Strawberries Romanoff

This updated twist on strawberries and cream is a wonderful and decadent dessert.  Be sure to read the label on the heavy cream to make sure there are no negative ingredients such as carrageenan or polysorbate 80 in the container.  You want a carton that contains only cream.  In order to make the cream whip well, it’s best to put your bowl and your whisk in the freezer for one hour before whipping.  The extra chill helps the cream to whip well.

Strawberries Romanoff

Ingredients
  

  • 1 pound strawberries, washed, hulled, and sliced lengthwise
  • 1 cup organic heavy cream
  • 1 tablespoon cane juice crystals
  • 1 tablespoon grand marnier (or use organic orange extract for a non-alcoholic version)

Instructions
 

  • After slicing, the strawberries can be covered and stored in the refrigerator until ready to serve
  • Pour heavy cream, cane juice crystals, and grand marnier (or extract) into chilled bowl and whip until firm peaks appear
  • Place strawberries in individual serving bowls and top with whipped cream

3. Almond Valentine Cookies

When it comes to Valentine’s Day treat’s let’s be honest if it’s heart-shaped that’s usually a pretty good start.  Having a set of assorted size heart cookie cutters means you can add a little love to anything brownies, sheet pan pancakes, cookies, and more.  You don’t have to save the hearts for Valentine’s Day either.  Use them anytime you want to let someone know you love them.

10 Hearty Recipes For Homemade Soup Day

What better way to warm up on a cold winter day than to have a steaming bowl of nourishing soup! And as we celebrate Homemade Soup Day this February 4, I am delighted to share with you my favorite homemade broth plus delicious recipes with meat and nutritious vegetables. 

Rest assured that the ingredients used here are “Ingredient Guru-approved” to provide you with healthy options and support your healthy diet. 

I hope you enjoy these hearty, filling meals! Don’t forget to rehydrate during the winter (soup is such a great way to do this) and boost your immunity to protect yourself from colds and flu.

1.Winter Soup 


This tomato-based soup with a bit of hot pepper’s warming kick perfectly goes with a simple salad and a delicious gluten-free cheesy biscuit. Toss all the ingredients in Instant Pot or slow cooker, then voila!-- a chunky, delicious meal for the whole family.

2. “Mockstroni” Soup 


This hearty soup is my take on the classic Italian minestrone. Traditional minestrone is packed with beans and pasta. For a lower-carb version, I replaced them with sweet potatoes. 

3. Roasted Vegetable Soup with Tomato and Fennel 


This particular roasted vegetable soup is a favorite. After all, who doesn't love tomato soup? But part of what makes this so wonderful is the fennel which gives it a delicious flavor boost. 

4. Meatball Soup


For a delicate yet filling warm bowl of comfort, try this main-dish soup! Meatballs and rice make this substantial enough to serve on its own. 

5. Chicken & Wild Rice Soup 


Using wild rice, instead of white, elevates this wonderful chicken soup.  The addition of portobello mushrooms gives it that umami flavor.  This is sure to be a new family favorite.

6. Potato Bacon Soup


Reminiscent of potato skins, it’s comfort food in a bowl. Served with a hearty winter salad this makes a filling and delicious meal.

7. Split Pea Soup 


The addition of the dulse, an edible seaweed found in the North Atlantic, to this recipe adds a wonderful flavor plus a boost of iodine and other trace elements our bodies need. If you want to make this as a vegetarian dish simply substitute vegetable broth or water for the bone broth.

8. Chorizo & Red Lentil Soup


 The red lentils are a great base for the richness of the chorizo sausage. Topping this with fresh basil gives the whole dish a flavor profile that will make your taste buds sing.

9. 15 Bean Soup


A New England favorite, this soup reminds me of home. And of my childhood. Warm, filling, and so flavorful, it’s even better the second day after the flavors have had time to come together.

10. Daikon Noodle Soup


Substituting daikon root for ramen in this recipe is a great way to add another vegetable to your daily diet. 

daikon ramen

Daikon Ramen Bowl

Substituting daikon root for ramen in this recipe is a great way to add another vegetable to your daily diet.  Popular in Japanese cuisine, daikon is a winter radish with a mild flavor that is a perfect fit for vegetarian, gluten free, and whole-30 diet plans. Using a spiralizer you can cut it into a noodle-shape that mimics ramen. 

daikon ramen

Daikon Ramen Bowl

Prep Time 20 minutes
Cook Time 1 hour 10 minutes

Equipment

  • Vegetable spiral slicer: https://amzn.to/362DLSM

Ingredients
  

  • 4” Daikon radish root
  • 2 medium white onions, sliced lengthwise into strips
  • 3 tablespoons organic extra virgin olive oil
  • 3 tablespoons dry white wine
  • Sea salt and pepper, to taste
  • 8 ounces baby Portobello mushrooms, cleaned and cut into thin slices
  • 1 quart vegetable stock
  • ¼ cup pesto
  • Garnish:

    3 green onions, green parts only, finely sliced

    ½ cup carrot, peeled and shredded

    1 cup bok choy, sliced into ribbons

    1 cup bean sprouts

    Sesame seeds

Instructions
 

  • Peel Daikon root and using the smallest blade, spiralize into long, thin, ramen-like strands
  • Trim strands to be 10-12 inches long, placing on a clean kitchen towel to absorb excess moisture
  • In a pan set to medium heat add olive oil and onions, cooking until the onions soften and start to turn golden
  • Add wine, and deglaze to get all the brown bits off the bottom of the pan
  • Add mushrooms to the pan, with extra olive oil if needed, and sauté until tender, 5 minutes
  • Add vegetable stock and pesto, simmer until heated through, 10 minutes
  • Add the Daikon “ramen noodles” and season with salt and black pepper, to taste
  • Cook another 4-5 minutes, or until Daikon are crisp tender -- do not overcook
  • Remove from heat and serve in a bowl
  • Allow each person to top with their preferred garnish serve immediately
    Enjoy!