Category Archives: storage


Making Baby Food With Real Ingredients

What parents can do to keep their child safe from toxins in food


A recent congressional report reveals the FDA’s failure to regulate heavy metals in baby food seems to have created more questions about why the agency failed to adequately regulate toxins such as arsenic, lead, cadmium, and mercury in baby food. While these toxins don’t belong in baby food, or any food for that matter, their presence in baby food can cause serious and often irreversible damage to infants’ and young children’s brain development. 

Tips to avoid heavy metals in baby food:

  • Read labels carefully
  • Avoid foods with confusing labels
  • Choose the healthiest foods
  • Make your own baby food
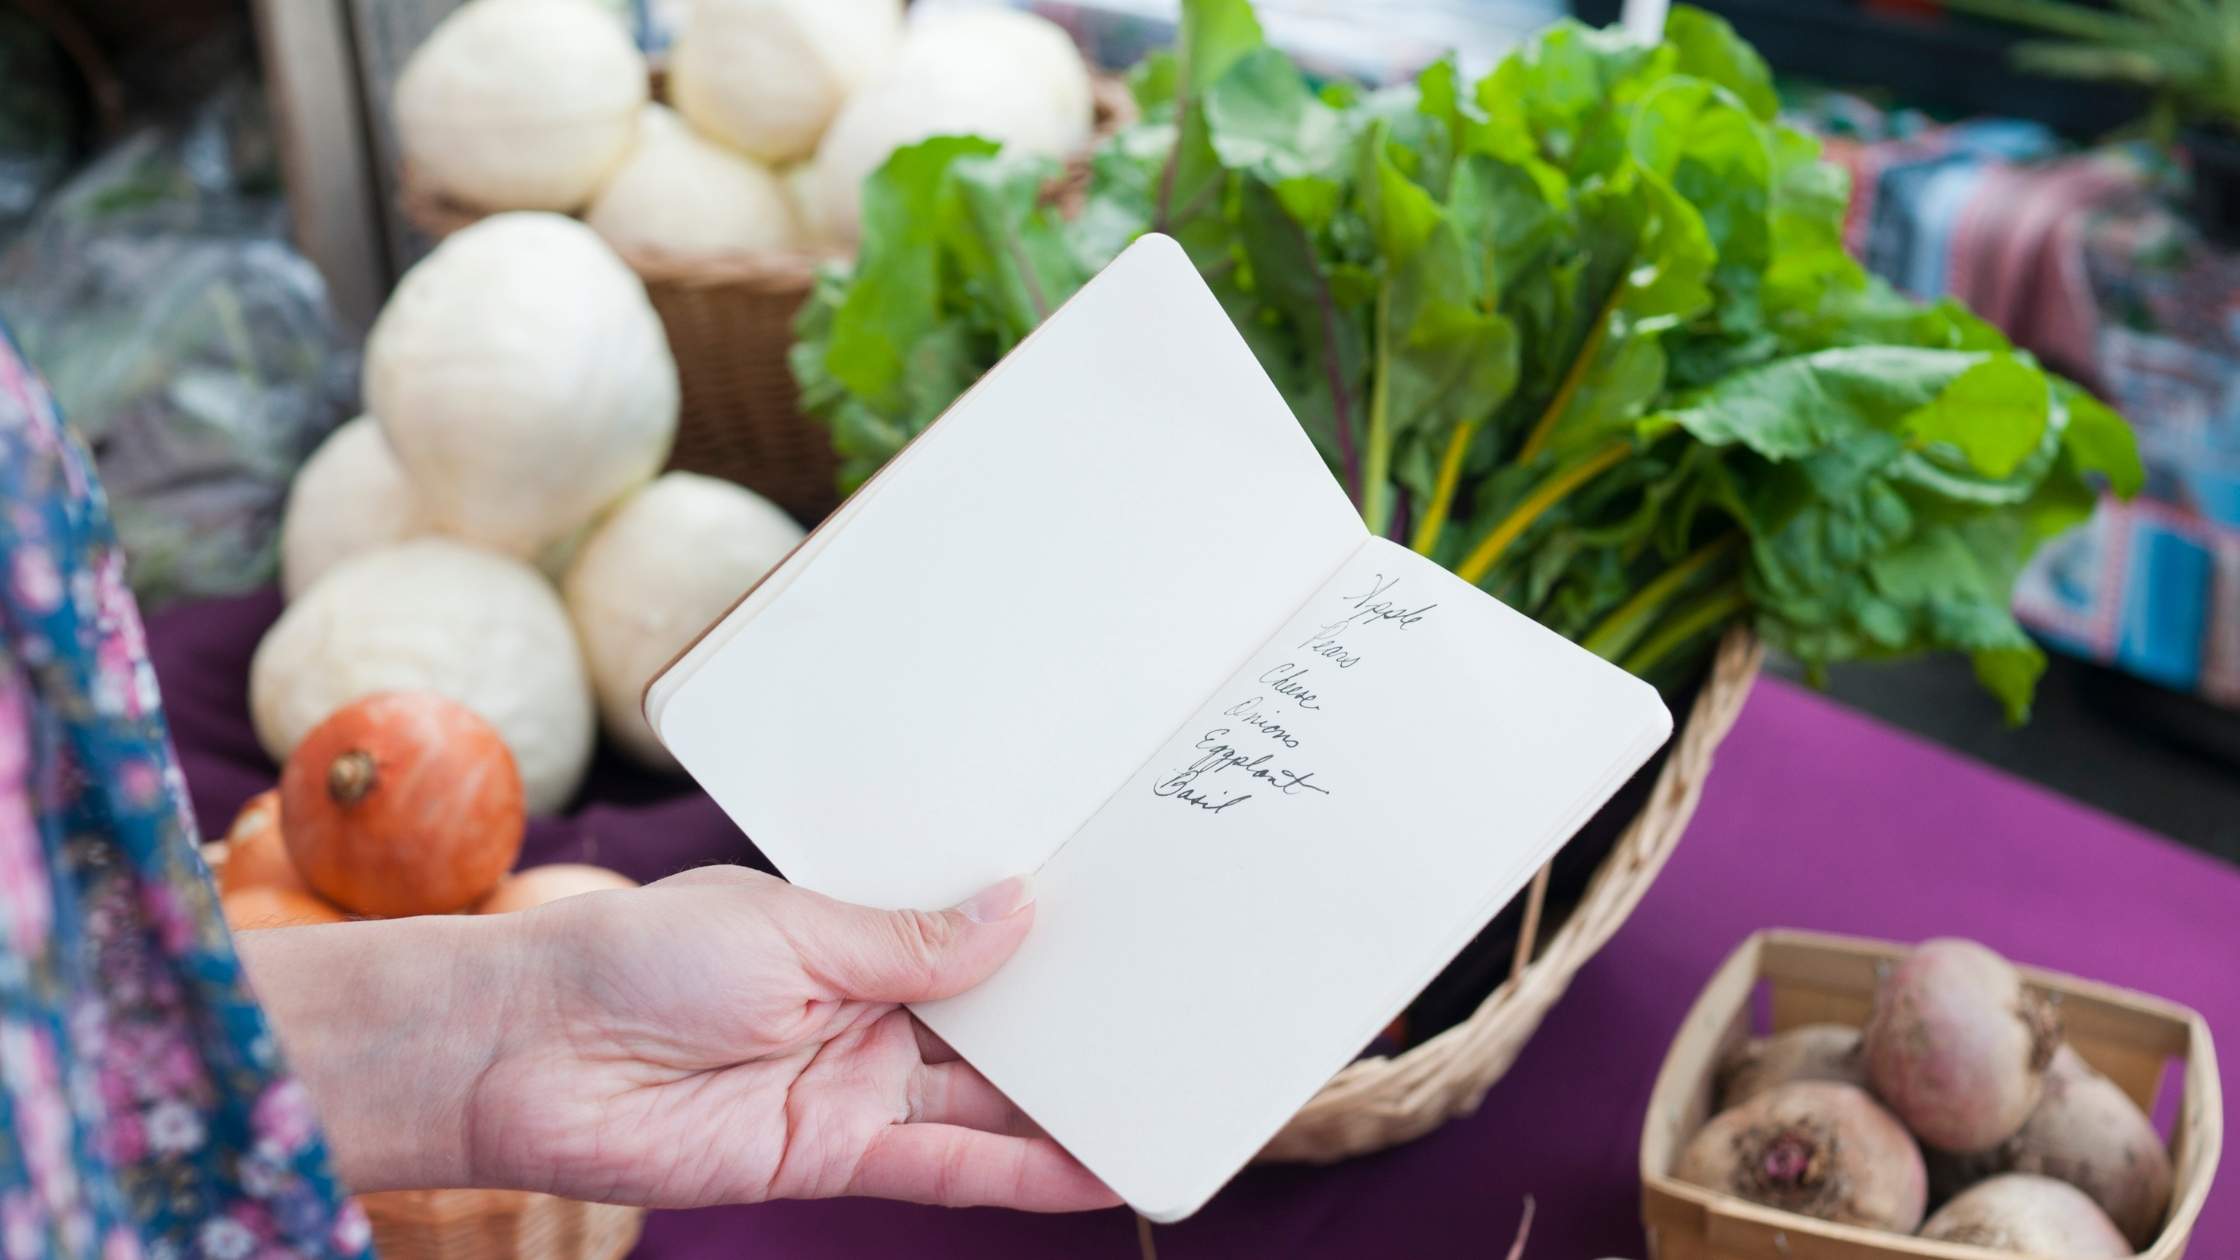
  • Use local or homegrown foods sources
  • Avoid snacks - especially crackers, puffs, rice products, and sweet potato

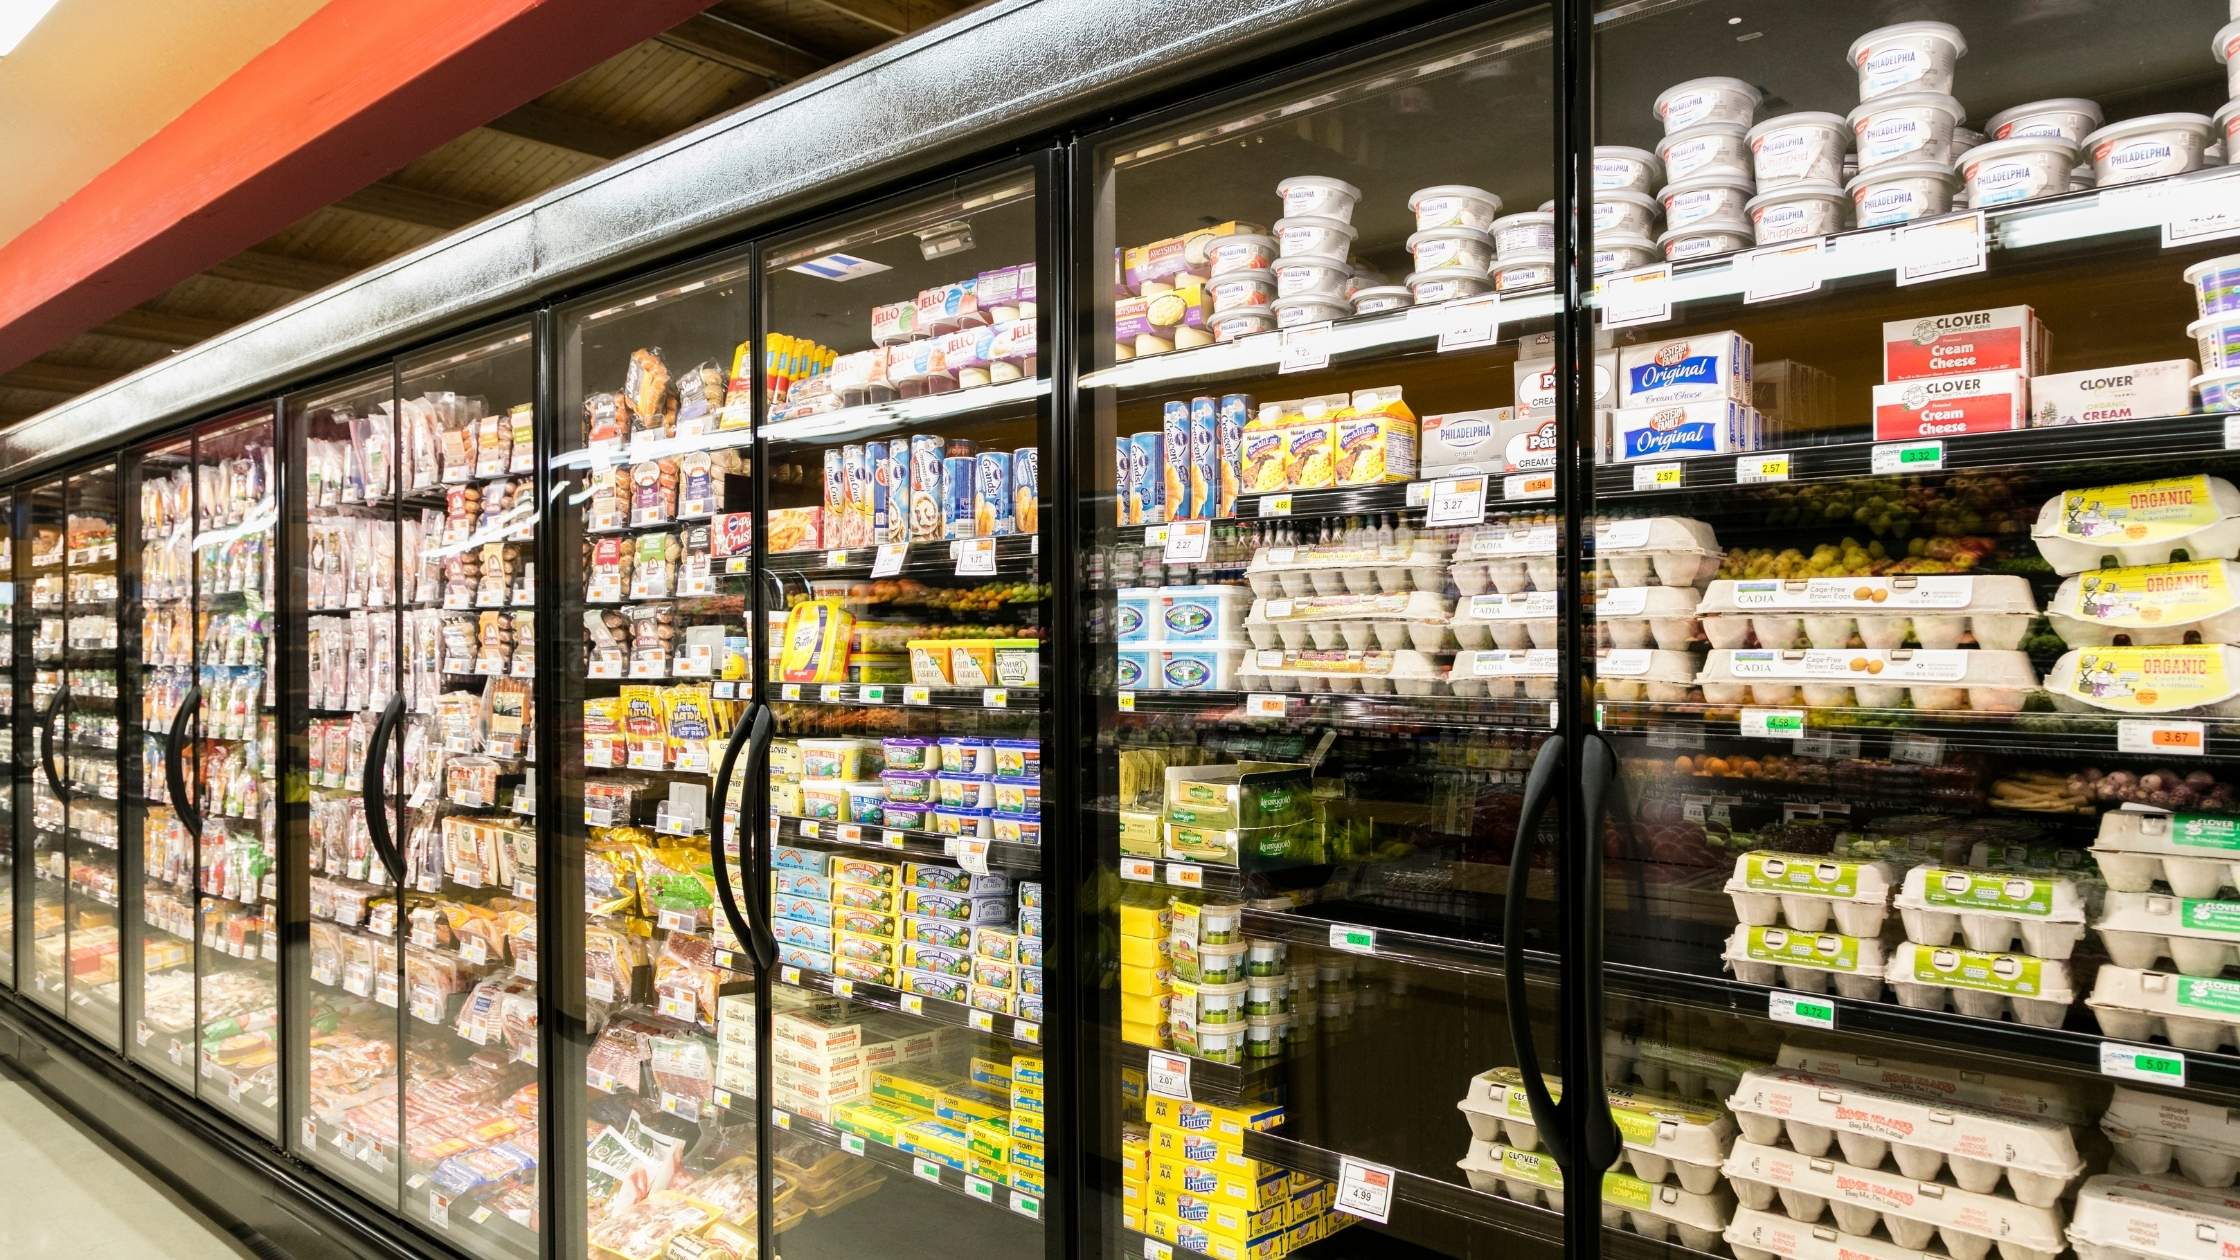
Reading labels is an essential part of picking out the healthiest commercial options available. Make sure you take time to review the label carefully and understand the ingredients in the foods you choose. Know that food labeling is often misleading, making you think something is healthier than it really is. Choose healthy foods, made from whole food ingredients. 

Reduce your baby’s exposure to toxic heavy metals by choosing the best commercial foods you can, making your own baby food, getting vegetables and fruits from reputable local sources, and avoiding the highest risk baby foods (rice-based foods and sweet potatoes).

Hygiene When Making Baby Food

There are many good reasons to make your own baby food at home. Store-bought baby foods, while convenient, also have many drawbacks. Even those that are safe foods may contain unhealthy additives, extra starch, and high sugar levels. If you opt to make your own baby food, proper hygiene and food handling is essential. Here are some things to consider to make baby food that is safe for your child to eat:

  • Wash and rinse in hot water
  • Boil utensils
  • Store in the fridge or freezer
  • Discard leftover food 
  • Introduce new items slowly
  • Start with fruits and vegetables

When making your own baby food at home, remember that all cooking equipment, utensils, and storage containers that come in contact with the food should be properly cleaned and sterilized. Hot water, including boiling water, can be used to sterilize cooking equipment, like pots, spoons, knives, and mashers. Since homemade food does not have any added preservatives, it needs to be kept refrigerated (or frozen) and should never be left to sit out for an extended period. Even cooked food should only be stored for a few days in the fridge. Freezing is a good option to keep food safe (and fresh) for longer. 

When preparing for meal time, take out the amount you plan to feed your child using a clean utensil. If there is food leftover from the meal you should discard it for safety. New foods can be introduced slowly and in small amounts, to see how your baby handles it. The best foods to start with are fruit and vegetable purees, and eggs, beans, and meats can be added later as your child is able to eat more foods.


Tips for storing homemade baby food

Whether your child is still in the puree stage or becoming comfortable eating solid foods, you are going to need to store food in the fridge. Baby foods can be stored for up to 48-72 hours in the refrigerator, or 3 months in the freezer.

Luckily, there are a variety of storage solutions offering easy-to-portion storage for the fridge or freezer, with stackable options to help save space. Storing homemade baby food in the freezer allows you to make a bigger batch at once, and then serve it over the span of a few weeks or months.


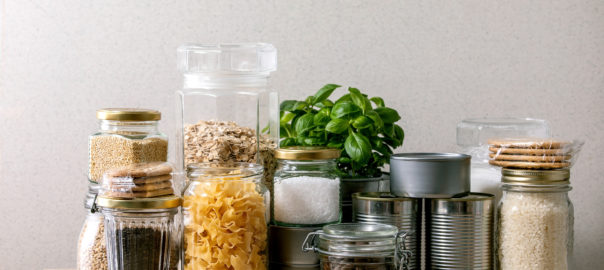
Best containers for homemade baby food

There are many baby food storage containers available. Look for glass or silicone containers for the healthiest food storage options. Glass and food-grade silicone containers are non-reactive. They will not absorb odors or leach chemicals into food, and they are safe to use at different temperatures.

It’s important to avoid plastic containers if you are making your own baby food. Small amounts of potentially harmful chemicals – including BPA (bisphenol A) and phthalates – may leach from the plastic into the food. Even “BPA-free” containers may contain other bisphenols that are unhealthy for you and your baby. These chemicals are hormone disruptors that cause problems in the endocrine system. Ultimately, the best storage solutions are glass or silicone.

Glass

If you are making baby food for the first time, glass baby food containers and storage jars may be best for you. Glass is one of the safest materials to use, and it’s durable, reusable, and easy to clean and sterilize. 

As you already know, glass is breakable, so glass containers require a little bit of care to use. Glass can also sometimes crack with sudden temperature changes. Warm foods stored in glass containers should be refrigerated to chill before moving them to the freezer, and food frozen in glass should be thawed carefully (preferably in the fridge, or if you need it quickly thaw in the microwave on a defrost setting). Still, glass is long-lasting and does not react with foods or retain any odors or residues when washed properly, making it an excellent option for homemade baby foods.

Silicone

Silicone is another option for storing homemade baby food. Silicone molds (like large ice cube trays) are a great way to store homemade baby foods in the freezer. You can take out whatever portioned amount you need to thaw in the fridge, while leaving the rest in the freezer for later. It’s easy to remove frozen foods from silicone containers or molds. Silicone is a durable, easily washable, easy to store option for baby food containers, and they are not breakable like glass containers. However, they can sometimes wear down after extended use, and may become cloudy or worn if washed in a dishwasher. They are probably a better option for vegetable and fruit purees, or foods without any fats added, as oils can leave a residue on silicone.

How to make baby food at home

Making baby food at home can be relatively easy. Steaming and mashing are the key methods for making baby food at home. Starting with good quality, fresh foods is important, and making your own baby food gives you full control over what you put into it. Plus, you can cook in batches to save on time and money.


General steps to make baby food at home:

1.Wash your work area

Thoroughly wash your hands, food preparation area (sink, counter), kitchen tools, and storage containers. Rinse with hot water.

2. Get produce ready

Wash and peel the produce, making sure to thoroughly clean everything.

3. Cook the food (if needed)

Steaming is an easy way to gently cook tougher fruits and vegetables. You can get a layered steaming basket to cook multiple groups of produce at the same time to cut down on prep time. Baking is another way to cook food until soft. If you bake foods to use for puree, it’s best to cook them in a covered dish so they don’t lose too much moisture. 

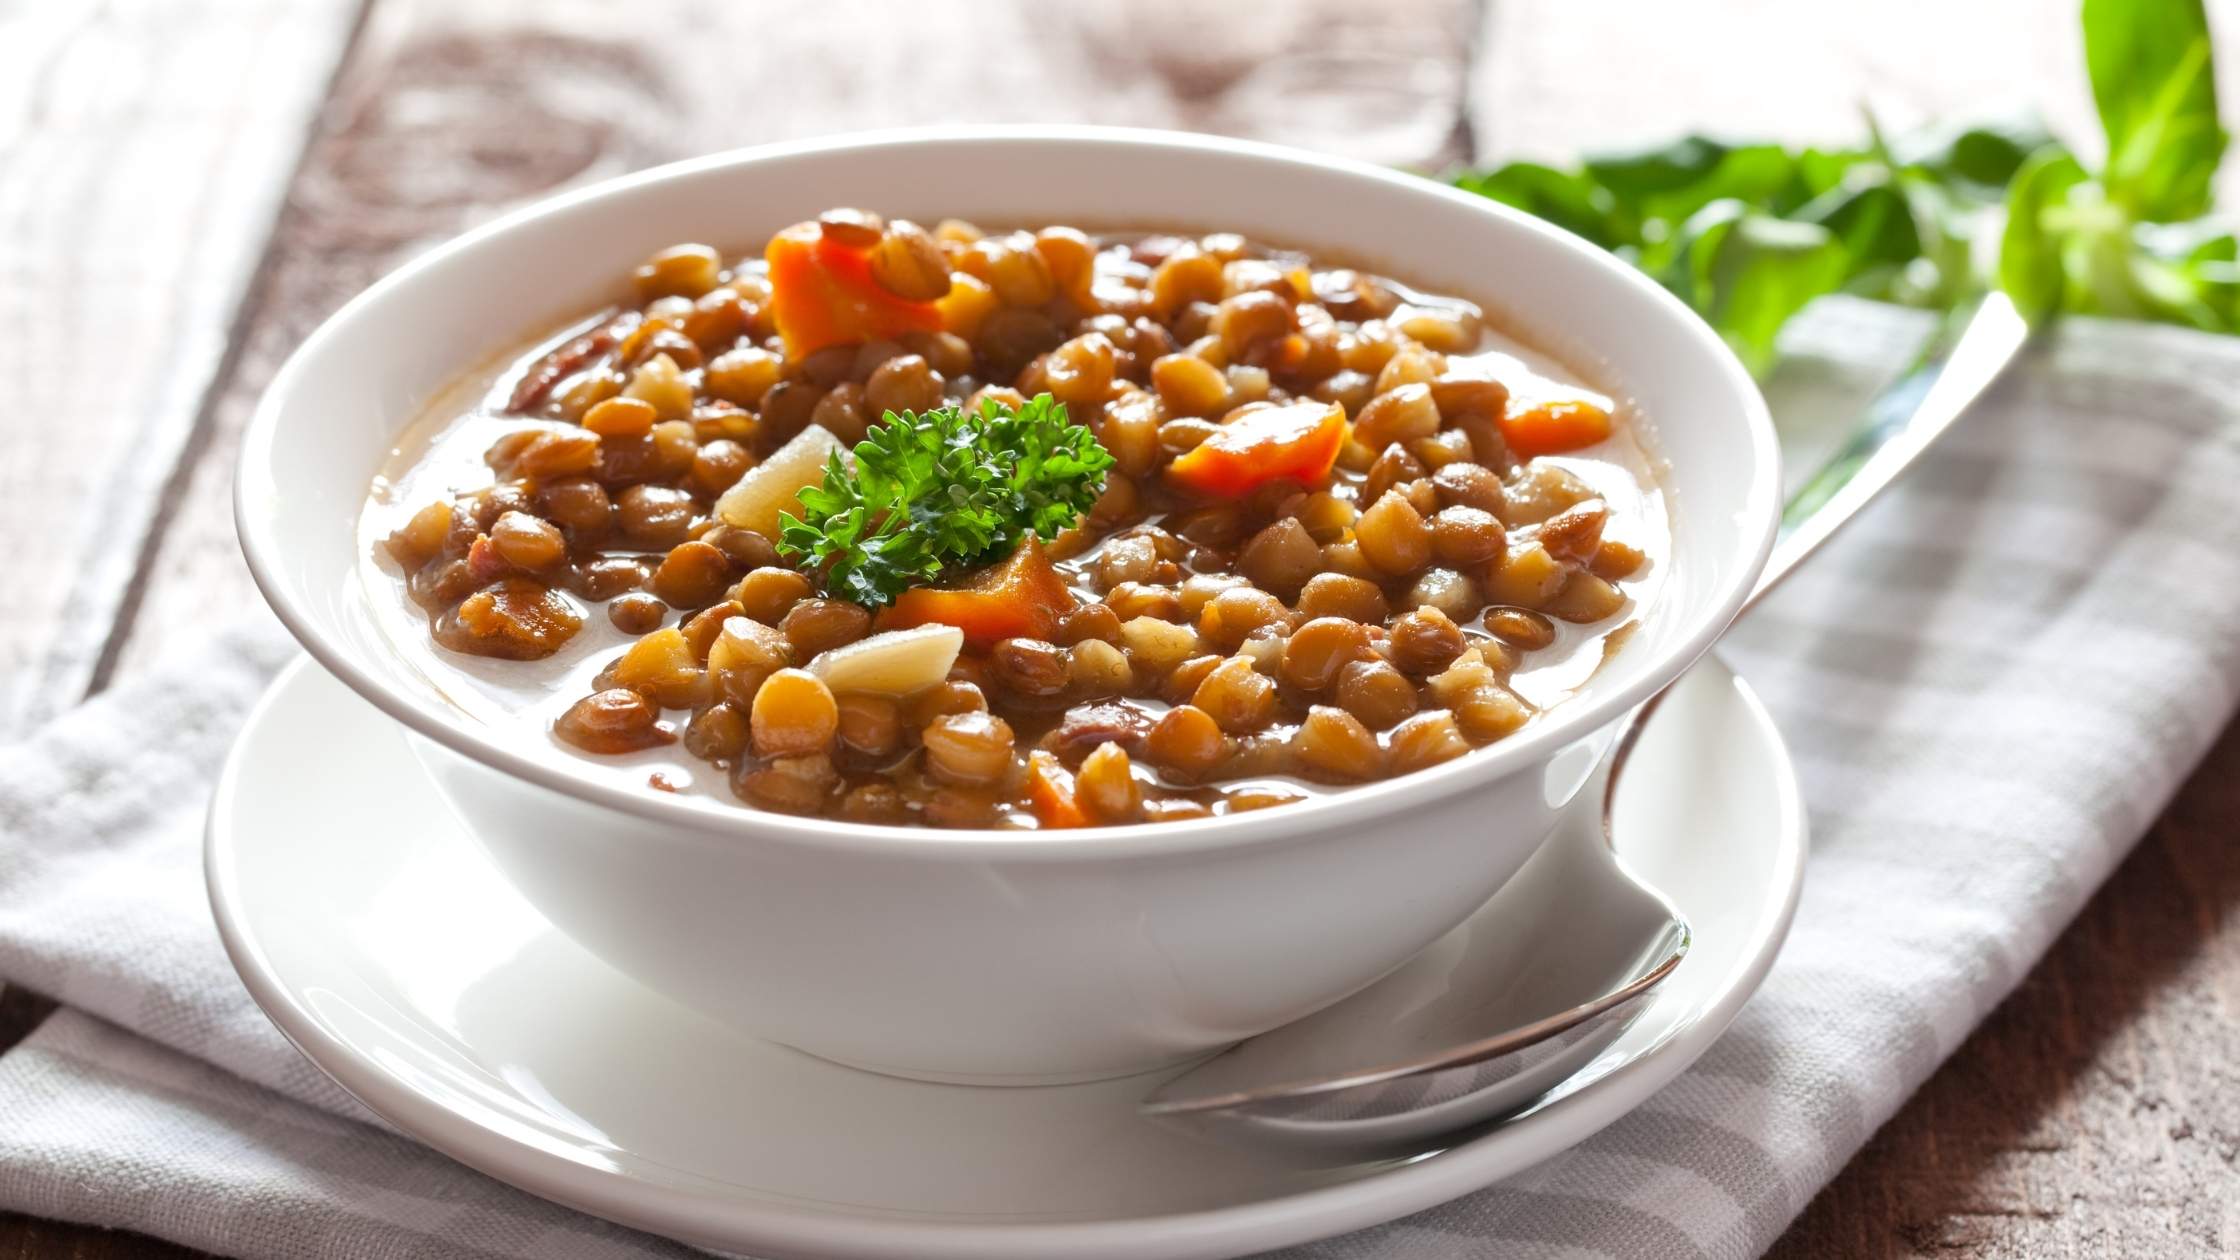
Beans, eggs, and meats (with fat removed) can be well cooked and prepared into baby food as well.

Skip the cooking for foods that are already soft and easy to mash or blend, like bananas or other soft fruits and avocados.

4. Puree or mash the food

Puree foods using whatever kitchen tool you have that gives you a fine, smooth result. This could be a ricer (handheld tool for making fine puree), food processor, or blender. Depending on the food, you may need to add a small amount of water to get the right consistency for the puree. When your baby is ready to start chewing foods with more texture, you can mash foods, leaving small pieces in the food.

5. Store it

Pack your healthy homemade baby food into the containers you already cleaned. Store them in the fridge to use in the next couple days, or in the freezer to use over the next couple weeks or months. 


Baby Food Ingredients

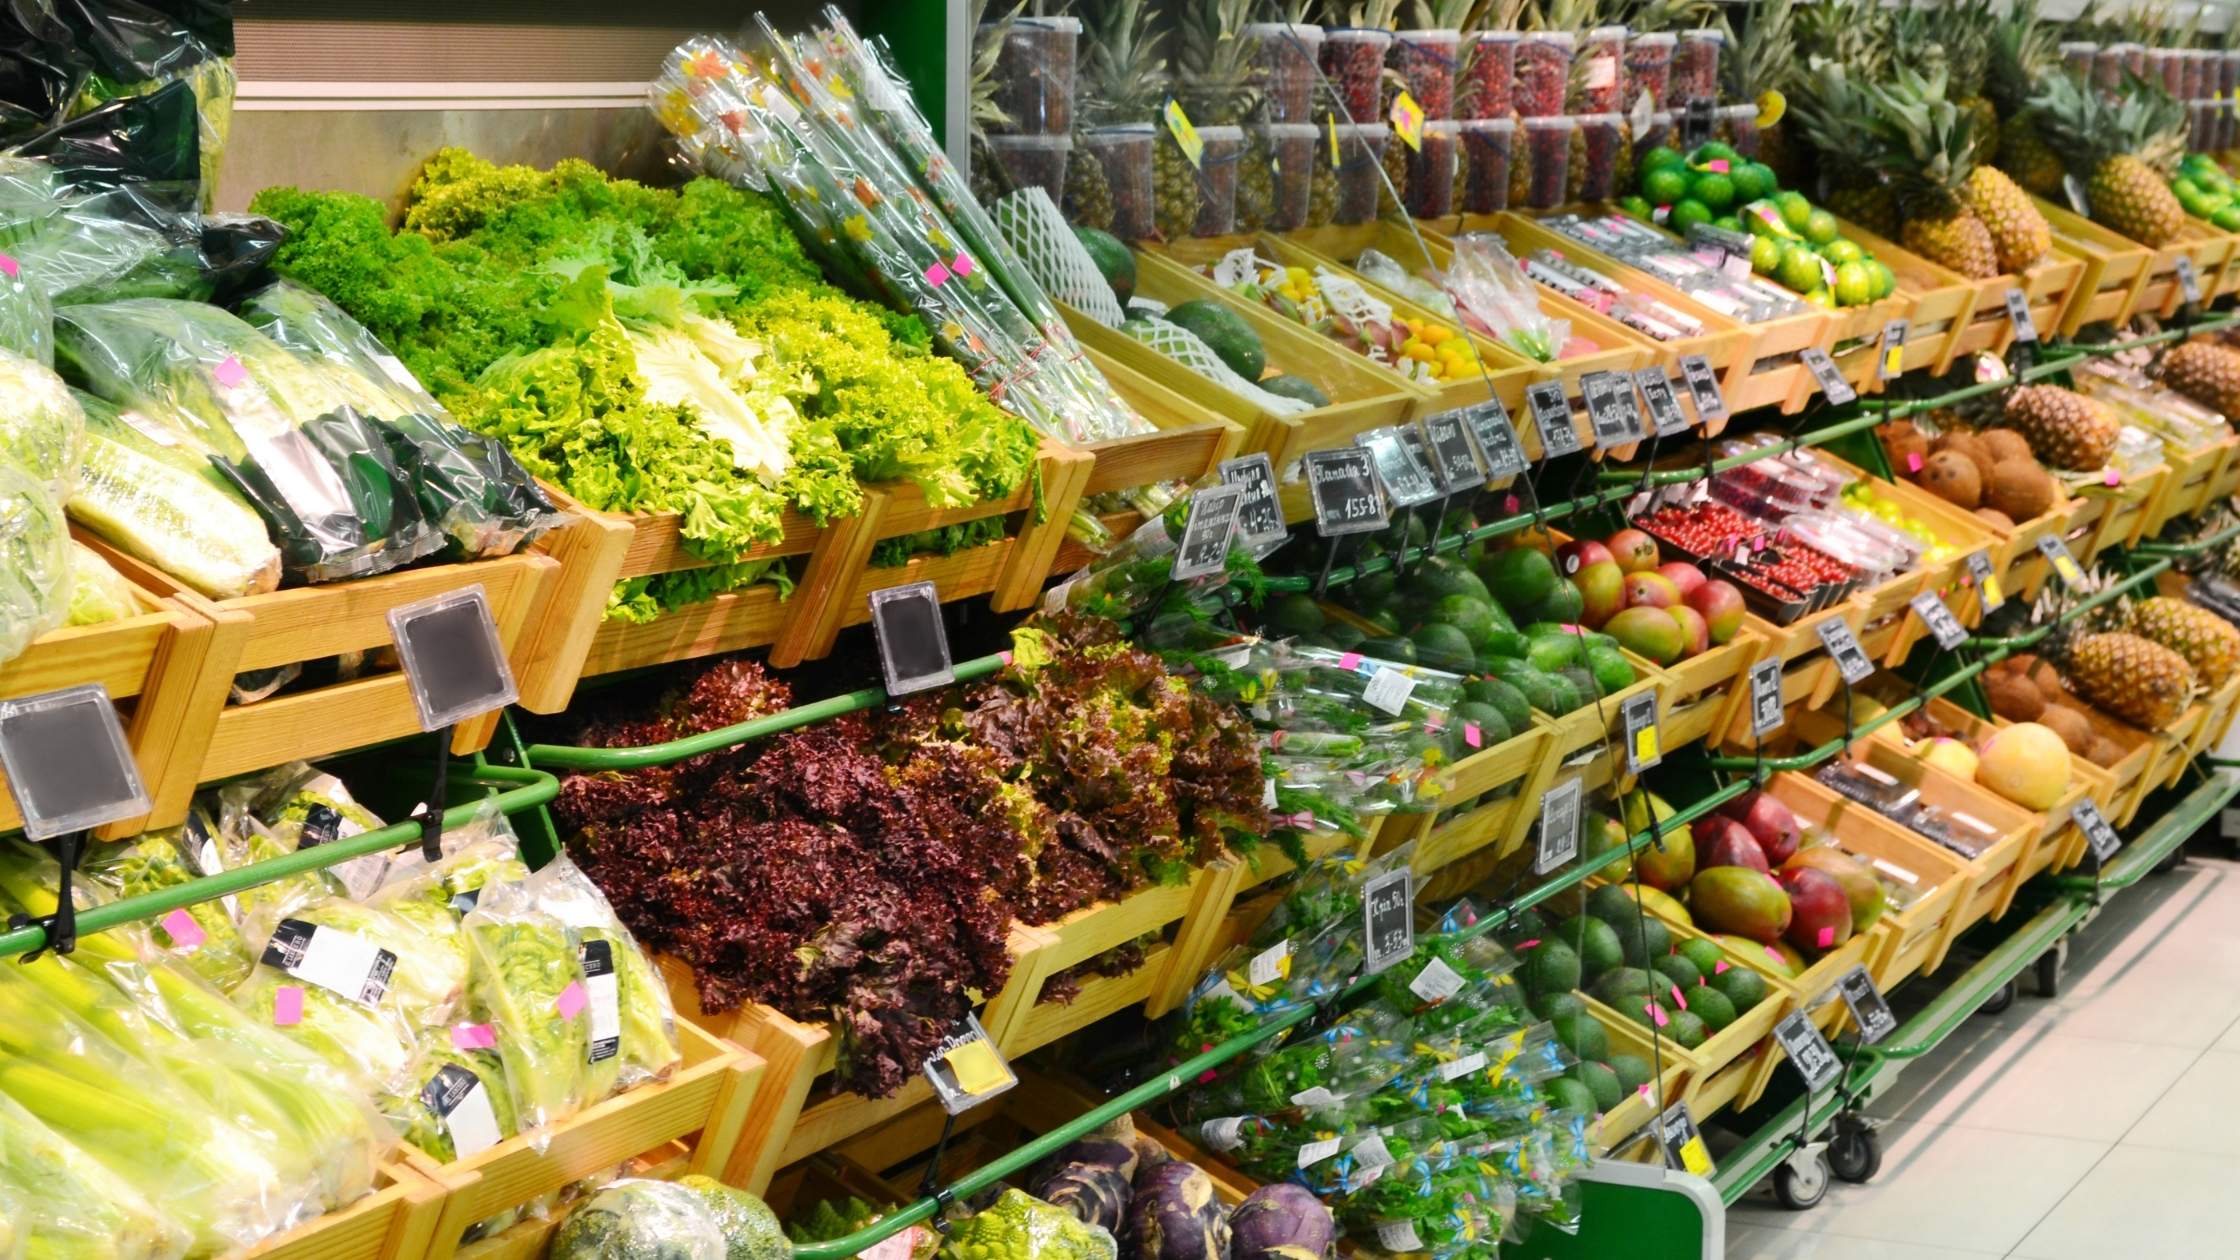
When making baby food it’s best to start with fresh, single-ingredient options. Choose organic fruits and vegetables for those foods on the Dirty Dozen list.

Unless it’s something like a ripe avocado or a banana, which mashes well without any cooking, produce should be well washed, peeled and cored, and then lightly steamed before serving.

It’s best to serve baby food unseasoned. Salt, pepper, and spices can be overwhelming for their systems. Plus, as they get used to eating semi-solid foods, it’s best to let them adjust to the flavor of the actual foods.

Although babies, like all humans, are geared to like sweet things, it’s generally recommended that you start them off with vegetables first and then eventually add in a little fruit. If you start with fruit, because it’s sweeter, it may be more challenging to encourage your baby to eat vegetables.

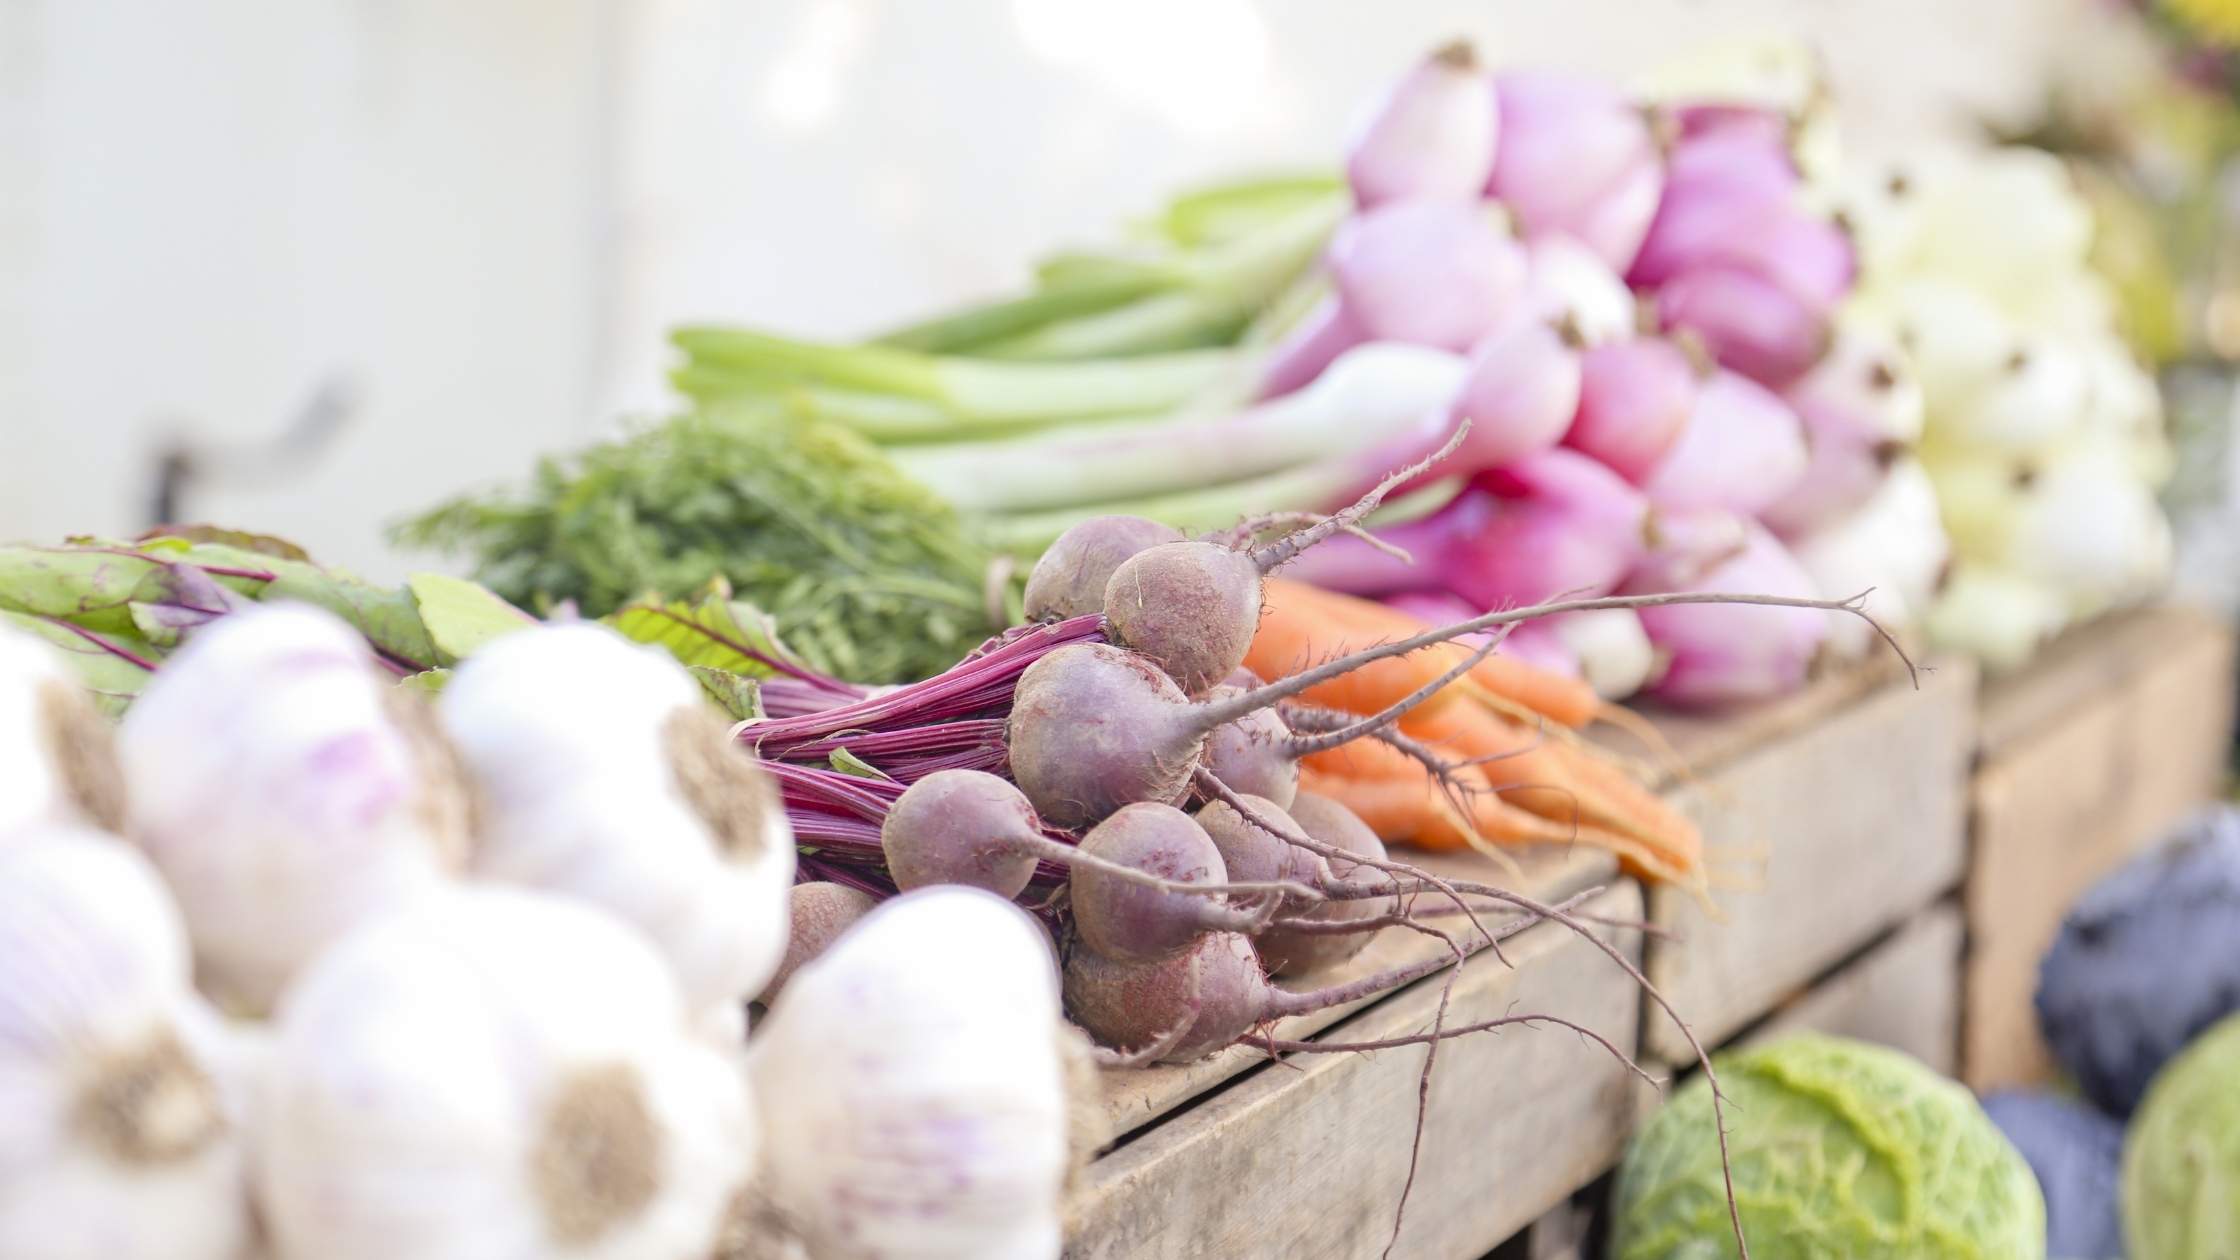
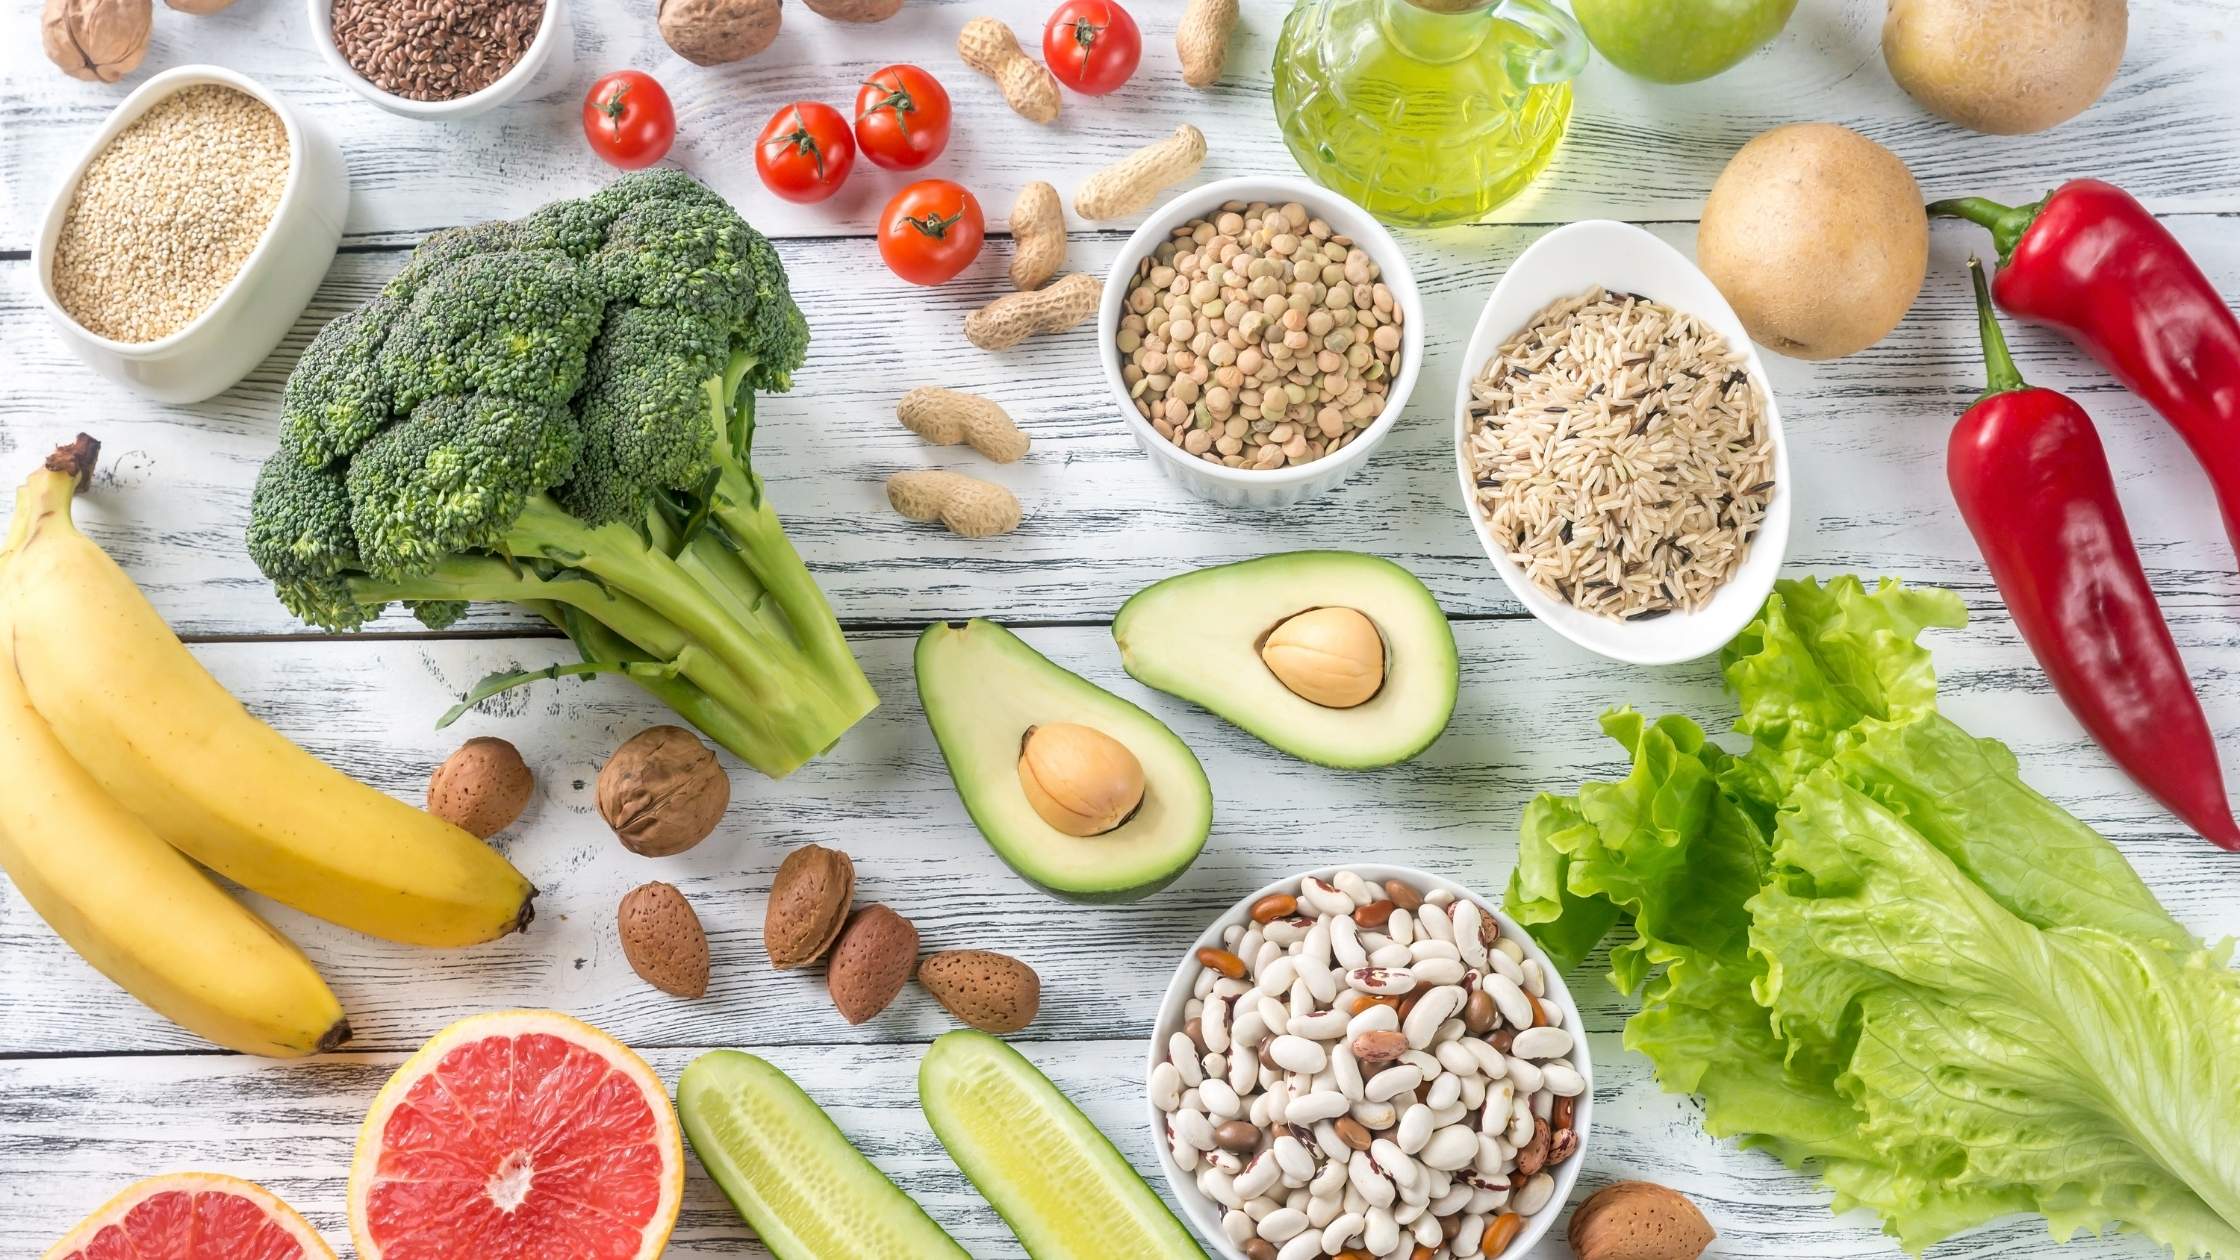
In addition to avocado, good vegetable choices to start with include steamed or cooked (to get to a mashing point):

  • carrot
  • turnip
  • sweet potato
  • squash
  • peas
  • green bean
  • beet
  • spinach
  • parsnip
  • zucchini
  • cauliflower

Fruit choices, in moderation once vegetables have been introduced, include:

  • banana
  • pear
  • peach
  • melon
  • plum
  • apple
  • mango
  • papaya
  • apricot (fresh)

After your baby has started regularly eating single foods you can try mixing them together. Some suggestions for blends include:

  • carrot + apple
  • spinach + banana
  • sweet potato + peas
  • zucchini + pear
  • spinach + peas + peach
  • cauliflower + plum
  • pumpkin + cauliflower + zucchini
  • sweet potato + beet + green bean
  • carrot + spinach + pear
  • avocado + zucchini + mango

When feeding your baby, be aware that pediatric guidelines recommend not feeding them egg whites or honey until they are at least 1 year old.

Realistic Food Budget Tips


With the rising cost of groceries many people are beginning to look more closely at their grocery budget. Unfortunately costs are probably going to continue for a while due to supply chain shortages and reduced resources. 

Although you want to save money on groceries this is not the time to revert to buying poor quality food solely to reduce your costs.  You still want to make sure you are nourishing your body and eating as well as possible.  

The idea of reducing your food budget needs to start with knowing where you are and what you’re actually spending.  You can calculate your family’s current grocery amount using the USDA Official Food Plans: Cost of Food at Home chart.  Once you know what your amount is you can begin to make changes from there.

While you’re working on a food budget, whether this is the first time or something you’ve done regularly, you need to keep it realistic. Be mindful of how many people you are feeding as you work to create a sustainable real food budget.


Food Budget Tips

Eating Out Costs

Figuring out how much you are spending on groceries doesn’t just mean what you buy for your pantry.  More than 30% of each food dollar in the United States is spent on eating out. You need to remember that when planning your food budget.  

If you eat out, either getting take-away or sitting in a restaurant, those costs should be part of your food budget.  Some eating out expenses, such as a vacation or trip to visit friend or family, may be more difficult to anticipate, but they should be included in the total.  

Track Your Spending

In the beginning of your planning it’s helpful to know what you’re typically spending your food dollars on.  Was it snacks, highly processed foods, or convenience foods.  It seems counterintuitive but real food can be a good buy.  That’s because it has higher nutrient density and you’re likely to be satisfied faster when you eat real food versus processed foods.  

As an example, a bagel or muffin and a cup of coffee seems like it’s not that expensive.  It’s also not nourishing.  When you eat a high carb, over processed breakfast this can spike blood sugar and you’ll find yourself feeling hungry mid-morning for a snack of some time.  When you have a real food breakfast you’re getting protein, healthy fats, and more nutrition.  You’re more likely to be able to make it through your morning until it’s time for lunch. This is not only better for your nutrition, it’s better for your budget as you’re not spending money on snacks. 

Meal Planning

One of the biggest ways to save money on groceries is to know what you’re going to eat.  Meal planning is really useful when it comes to making seasonal, inexpensive, real food meals.  Having a plan for shopping and cooking, and sticking to it, will help you get a handle on your food budget. 

As part of your meal planning look at doing some kitchen DIY.  There’s a great book, Make The Bread, Buy The Butter, that breaks down what’s worth it and what’s not when it comes to making things from scratch.  

One thing that can be a great way to save money is making your own bone broth, condiments, and salad dressings.  When you stop to consider the cost of the prepared items at the grocery store and the pennies it costs to make it at home, all of a sudden it makes sense to take the time to do it yourself. 

Consider making meals that you can cook once and eat again is a great way to save money. Simple yet nourishing and delicious foods are a great way to feed your family and manage your grocery budget.  Chili, soup, and stew are great choices for this strategy.  I’m also a big fan of what I call sequential eating — creatively using leftovers to make another meal.  When you meal plan it becomes easy to know what you’re going to make next with your leftovers. 


Shopping Tips


Farmer’s Markets

Buying fresh foods, produce, eggs, dairy, and sometimes meat, from a farmer’s market can be another way to get better quality food.  This tip may or may not be less expensive than the grocery store however you’re getting truly fresh food and you’re supporting your local farmers.  If you buy a large amount of fresh produce from the farmer’s market you can freeze it and have seasonally fresh food out of season.  

The Convenience Factor

The grocery store and food producers thrive off charging a hefty price to do things for you.  Think about if you really need it and/or the convenience it offers.  Or can you make it yourself.  Pre-shredded cheese for example or pre-cut vegetables are a premium price at the grocery store.  You can easily buy a block of cheese or a bunch of vegetables shred/cut it yourself for a big grocery savings. 

Get the Biggest Bang For Your Grocery Buck

If you're going to buy organic fruits and vegetables get the ones that really matter, the dirty dozen. Those are the twelve fruits and vegetables that are most likely to be contaminated by pesticides.  The grocery store would love to convince you that you need to buy everything organic but that’s not necessarily true.  If budget is a factor save your money by not purchasing those organic bananas and buy organic strawberries instead.

Buy Organic Dairy

From a health perspective I truly deeply believe that organic dairy is the way to go.  It has no added hormones, no antibiotics, and the cows are not fed pesticide-laden grain.  What goes into that cow goes into its milk, so it makes sense to not drink or eat those products by choosing organic dairy.  Having said that, it's not always easy to find or afford 100% organic dairy products, I truly understand that.  If you cannot add organic dairy to your budget it is important that you at least purchase products that are free of rBGH.  This hormone was created to make cows give more milk.  But it doesn't go away just because the cow has been milked.  So we consume it right along with the cheese or yogurt or whatever dairy product we are eating.  Check out the RGBH Free Dairy list and see how your brand stacks up.

Buy More Whole Foods

Yes those organic apples may seem more expensive.  But how much is that applesauce?  And how much more applesauce can you eat than whole apples?  Orange juice?  Did you know that there is an average of four oranges in one eight ounce glass of juice?  That glass goes down pretty easy but I think most people won't sit there and eat four oranges in one sitting.  On average the more whole foods you buy the more nutrient dense your dietary intake.  Overall this should equate to less money spent at the grocery store.

Eat Less Meat

Somehow we have become convinced that we NEED meat and we have to serve it at almost every meal.  Nothing could be further from the truth.  Most Americans eat far too much meat.  We could stand to eat more beans and other legumes which are a great source of protein with less environmental impact and far less expensive.  A package of lentils costs less than a dollar at my local grocery store and makes five cups cooked.  That's a LOT of lentils and a lot of protein.

Waste Less

Reducing your food waste is probably the biggest money saver out there.  According to the USDA more than one third of the food that is grown is wasted.  Some resources put that at more than $1,800 per family per year.  That’s a lot of money and lot of food.  Stop for a moment and think about how much food you may have thrown out in the last week, two weeks, a month?  That's all food that you paid for.  You probably even cooked it, increasing its value more as you spent time and energy to create the dish which rotted in the back of the fridge before being sent to the landfill.   Planning and being more mindful can help you avoid food waste.  

Be Mindful

Remember that not every budget will be the same.  Food costs vary widely across the country.  They also tend to fluctuate with the seasons and availability of certain foods.  Then there’s the issue of how many people you are feeding and what their dietary needs are (if there’s a special dietary requirement). Before you begin to look at your food budget, you need to consider all of these things. 

Remember also that creating a budget is just one step.  Budgets can and do change depending on changes in your family system, income changes, if you are traveling, etc.  Once you’ve learned to create a food budget that works for you I encourage you to revisit it at least a couple of times a year to see how you’re doing and if you need to make any additional changes. 

Finally, it’s important to remember that if you are making changes to your eating habits and to your grocery budget, you need to make shift gradually and sustainably.  Change does not happen overnight.  In order to be successful with the changes you are making you want to shift one thing at a time.  Once you’ve mastered on change you can make another.  Over time you will find that you’re continuing to improve your grocery shopping habits.

Sources

"Over A Third Of The U.S. Food Dollar Is Spent On Eating-Out Services". Ers.Usda.Gov, 2021, https://www.ers.usda.gov/data-products/chart-gallery/gallery/chart-detail/?chartId=58354. 

"Food Loss And Waste". Usda.Gov, 2021, https://www.usda.gov/foodlossandwaste.  

"Food Waste In America In 2021: Statistics & Facts | RTS". Recycle Track Systems, 2021, https://www.rts.com/resources/guides/food-waste-america/.

State, Chuck. "The Average American Household Wastes $1,866 Of Food Per Year - Futurity". Futurity, 2020, https://www.futurity.org/food-waste-united-states-sustainability-consumers/. 


Related articles:
Healthy Budget-Friendly Ideas For When You Hate To Cook
Clean Eating On A Budget 

Preparing An Emergency Food Supply, Long-term Food Storage 

Pandemic, natural disasters, and terrorist attacks often come with little to no warning. To weather the storm, stocking up NOW would be a wise idea.

Some food, if properly sealed and stored correctly, can last for years. According to ready.gov, it is important to stock canned foods, dry mixes, and other staples that do not require refrigeration, cooking, water, or special preparation.

I’ve listed below necessary items for your emergency supply plan -- food, water, and other essentials -- to help you build your survival kit. 

Preparing an emergency food supply

As we all know, global crises like COVID-19 can easily disrupt the food supply. Planning to have at least a 14 day supply of food can help you build an emergency stockpile in your home.

Keep food that:

  • Has a long storage life
  • Requires little or no cooking, water, or refrigeration
  • Meets the needs of family members who are on special diets
  • Meets pets’ needs
  • Are not very salty or spicy, as these foods increase the need for drinking water, which may be in short supply
  • Have no artificial ingredients, MSG, unpronounceable chemical names, etc.

Note: Read the labels. Just because this is emergency planning doesn’t mean that you want to buy those kits with all the cruddy ingredients in it!

Recommended emergency food items

It should be understood that you only want to store what your family will eat. For example, don’t buy canned lima beans if no one eats them. Here’s what you should store in your pantry:

  • Ready-to-eat canned meats, fruits, vegetables
  • Protein or fruit bars
  • Dry cereal or granola
  • Nut or seed butter
  • Dried fruit
  • Canned juices
  • Non-perishable milk
  • High-energy foods
  • Food for infants (if you have one in your home)
  • Comfort/stress foods

How to store emergency food

Certain storage conditions may enhance the shelf life of foods. The ideal location is a cool, dry, and dark place. The most suitable temperature is 40° to 70°F.

  • Store foods away from ranges or refrigerator exhausts. 
  • Store food away from petroleum products. Some food products absorb their smell.
  • Items stored in boxes or in paper cartons will keep longer if they are heavily wrapped or stored in waterproof, airtight containers.
  • If you have extra space in your freezer, fill it with bags of water. This can help keep food cold if the power goes out. If you need to leave, it will provide ice for the trip. 

Also read Guide To Freezing Food: What You Can And Can’t Put In The Freezer to learn more on how long you can keep food in the freezer and food safety during power outages.

Essential tools and items for food preparation

Having the following items available will help you to prepare meals safely:

  • Cooking utensils
  • Knives, forks, and spoons
  • Paper plates, cups, and towels
  • A manual can- and bottle-opener
  • Heavy-duty aluminum foil
  • Wax paper and/or parchment paper
  • Propane gas or charcoal grill; camp stove
  • Extra water to be able to rehydrate dehydrated food
  • Fuel for cooking, such as charcoal 

Preparing an emergency water supply

Water can be a critical item, especially for those on a well without power. Do not store water in the plastic containers they come in (those leaks — ask me how I know that — one soggy closet floor later). Use an aquatainer, they’re made for longer-term water storage. 

  • Requirements are 1 gallon of water per day for each person and each pet for cooking and drinking. Also, store an additional gallon per person for sanitary needs.
  • Store at least a 3-day supply of water for each person and each pet. Try to store a 2-week supply if possible.
  • Observe the expiration date for store-bought water
  • Store a bottle of unscented liquid household chlorine bleach to disinfect your water and to use it for general cleaning and sanitizing.

Note: As much as possible, do not drink liquid that can dehydrate the body; i.e.,  caffeine, soda, and alcohol.

Recommended items for emergency supply kit

Aside from the food, water, and other items for food preparation, here are other recommended items to include in your family’s emergency supply kit:

  • Battery-powered or hand-crank radio and a NOAA Weather Radio with tone alert
  • Flashlight
  • First aid kit
  • Extra batteries
  • Whistle (to signal for help)
  • Dust mask (to help filter contaminated air)
  • Plastic sheeting and duct tape (to shelter in place)
  • Moist towelettes, garbage bags and plastic ties (for personal sanitation)
  • Wrench or pliers (to turn off utilities)
  • Local maps
  • Cell phone with chargers and a backup battery
  • Glow stick for pets’ collar (so you don’t trip over them at night)
  • List of important addresses and phone numbers
  • Gas refill (always refill your tank if you are at ½)

Join my Exclusive Community: The Kitchen Table!

Join me and an empowering community dedicated to your health journey!
 
  • Access to masterclasses on gut health, migraine management, and preparedness pantry.
  • Library with all my ebooks covering holistic health topics.
  • Engaging monthly book club discussions.
  • Specialized modules to enhance your wellness journey.
  • Interactive calls for personalized guidance.
  • Comprehensive community support
Don't miss our limited-time 70% off sale this 2024! Join us today!

Sources: 


Storing Half-used Ingredients

Half Used Ingredients

Do you throw away half-used ingredients such as the remaining portions of a carrot, cabbage or a big plump tomato? There are easy ways to keep them fresh and use them later. Food waste is a huge problem in this country and many people do not plan how to store or use their leftovers.  This contributes to increased landfills, economic loss (you paid for that food didn't you?) and a waste or resources.  Before putting those half-used ingredients in the trash, let's learn how to keep them fresh.

(more…)

Canning…not That Kind

Recently I was invited to a canning event where I could learn about dry pack canning.  It was loud, fascinating, fun, and definitely a bit of work.

We assembled in the early evening at the warehouse.  We were instructed on the different stations on the assembly line and how to operate the machine (for those who were doing that).  We then all trooped over to the sinks to wash our hands and put on nets (two for the guys with beards), gloves and aprons.  Next we lined up in our spots along two different assembly lines.

The responsibilities were:

  1. opening the large containers that the dry goods were in
  2. filling the #10 cans almost to the top
  3. adding an oxygen absorber for long term storage
  4. running the machine to seal the lid
  5. labeling the cans
  6. checking the inventory
  7. boxing the cans. 

My spot was at the end of the line and my responsibilities went something like this:

  • write the date on the label
  • put the label on a can
  • check inventory to see how many of that particular can goes in a box
  • put the cans in the box
  • label the box
  • do it again

While the canner was running it was very loud in the warehouse and all conversation either stopped or was limited to the person standing next to you.  Otherwise it was not too noisy.  Although there was an occasional lull in the process as one part or another of the line got backed up, we spent a fairly solid couple of hours processing dry food.  While it was obvious that many of the others had done this before, they were very supportive of those of us who were new to the process.  Overall we still managed to be quite an efficient team and the lines moved along fairly smoothly.

The items that we canned were:  rolled oats, rice, macaroni, dried apples, black beans, pinto beans, refried beans, non-instant milk powder, dried carrots, and dried onions.  I was fascinated to learn that the shelf life for these dry good in this type of can is quite long.  Some of these foods, because they are so dry, and with the use of an oxygen absorber, can last for up to 30 years in the can.

Many people use these dry goods as part of their pantry system, rotating the cans through as needed.  Instead of purchasing their dry goods in bags or boxes, they purchase them in cans which are vermin proof and watertight.  Other people purchase these items as a part of an emergency food storage system.

It was work, but it was also fun.  I had the opportunity to chat with a number of the people there and really enjoyed our conversations.  I also learned something new that I hadn't known before.  Maybe next time I can run the canner.

Food Storage

Becky wrote and asked about storing food.  She's starting to make more of her own foods and would like to purchase in bulk but is not sure how to store things.  This is a brief post but one that shares my experience and what I do.  The storage that I am talking about here is dry storage, I'm assuming that if you have a freezer or even two freezers you are already using them to full capacity.

dry beans in jars | photo: dancesincreek

For smaller items (seeds, beans, herbs, etc) I collect glass jars.  Lots of them.  I confess that I have aspirations of being one of those wonderfully well organized people who has all their jars coordinated and they are the same so they all fit neatly on the shelf.  The truth is, well, let's just say a little more practical.  It's a mis-matched hodgepodge of jars.  I use smaller jars for smaller things and bigger jars for larger quantities.

If it is something that requires a good seal (such as agar agar) I will sometimes cut a piece of wax paper to put over the top of the jar before placing the lid on it.  Obviously things kept in jars do better stored in a cool dark place.

I like using glass jars, even though they are more breakable, because I feel that they are the best, least contaminating containers.

For large quantities I use five gallon buckets.  Although they are plastic, it is not possible to store very large quantities in other containers.  Many people can get five gallon buckets for free from their local grocery store.  In the bakery section simply ask for their buckets; the grocery stores throw them away.  These are food safe buckets.  Sometimes they come with some of the contents (frosting, etc) still stuck to the inside, but washing them out is a small price to pay.

For the lid I use something called a gamma seal.  This is a great thing to create a water-tight, air-tight, vermin-proof seal.  I like them in part because they are spin-on/spin-off rather than a rip-off-your-fingernails-prying-the-lid-open.  Essentially there is a threaded plastic ring which snaps onto the rim of the bucket.  The lid then threads into the ring.  If I am planning on very long term storage (more than six months) for the contents of a bucket I will add oxygen absorbers to help the contents last longer.  The trick with the oxygen absorbers is to figure out how much airspace is left in the bucket so you know how many absorbers to use.

I find that a five gallon bucket easily stores twenty-five pounds of dry goods.  I use mine to store grains such as hard wheat, barley, oats, and buckwheat.  I also use these buckets to store sucanat and evaporated cane juice crystals.  Due to the weight I don't stack them more than three high.

In order to make sure that I am staying on top of my large scale dry goods I write the contents of the bucket on a piece of scotch tape with weight and the date it needs to be used by.  This piece of tape is placed on the rim of the lid.  This way the buckets are clearly marked and when I go into them and I can see how much I still have left.  The tape sticks well enough to be used but comes off easily enough if the information needs to be changed.